American Strings - In Our Shop - Restorations - Upgrades - For Sale - Parts Reviews

Restorations And Maintenance

  This category contains guitars that are being restored to like factory condition. some times they will end up in both categories if they are getting mostly restored but then get something custom like a after market pickup set or an after market bridge. It is a look into some of the past restorations we have done and can do for you.


Latest: Used Guitars Revival - Part 2 Reassembly and Finishing

  Jun 2nd 2018 by Sam

  In part 1 we covered a few different areas of consideration, but mainly the body and the tremolo system, 
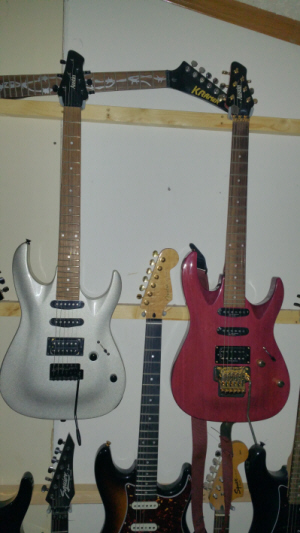
in step 2 we will reassemble and finish our used guitar. So lets 
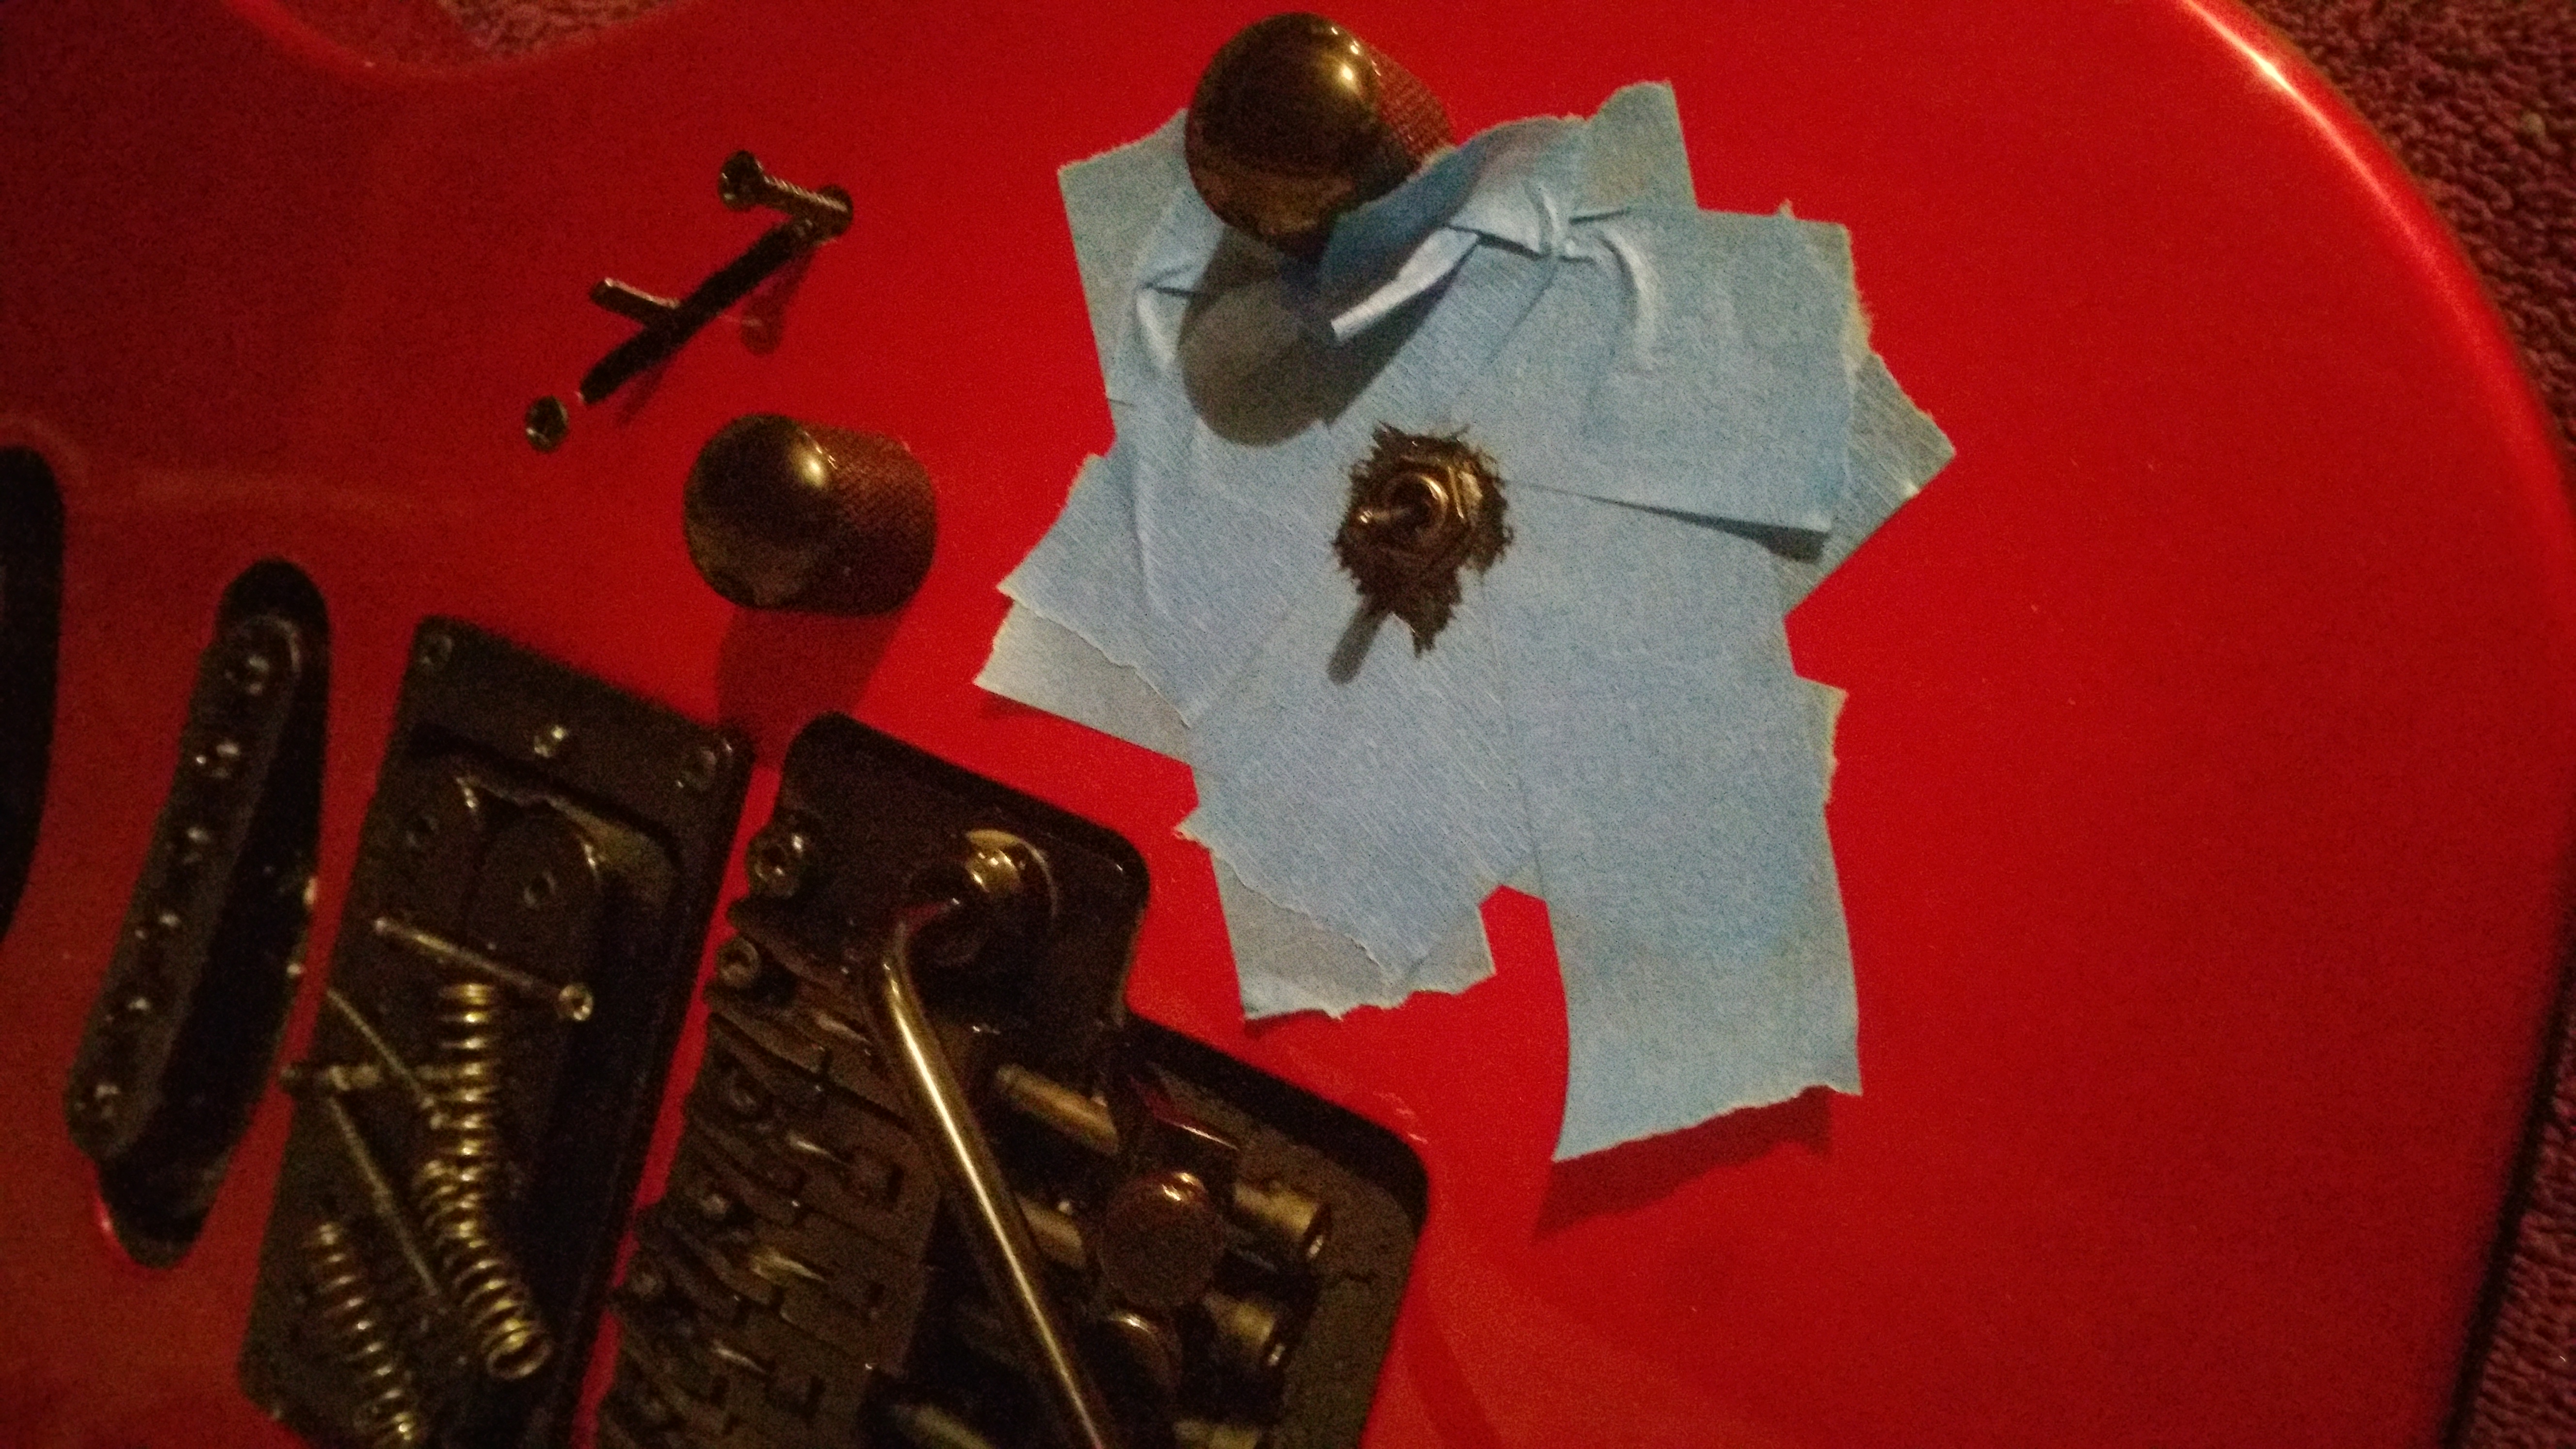
start with all the new parts laid out in some kind of order so that everything is visible but in a way the body or neck won't get laid on any parts or screws causing damage to the paint or wood.

1.  The order in which you reassemble is a personal preference 
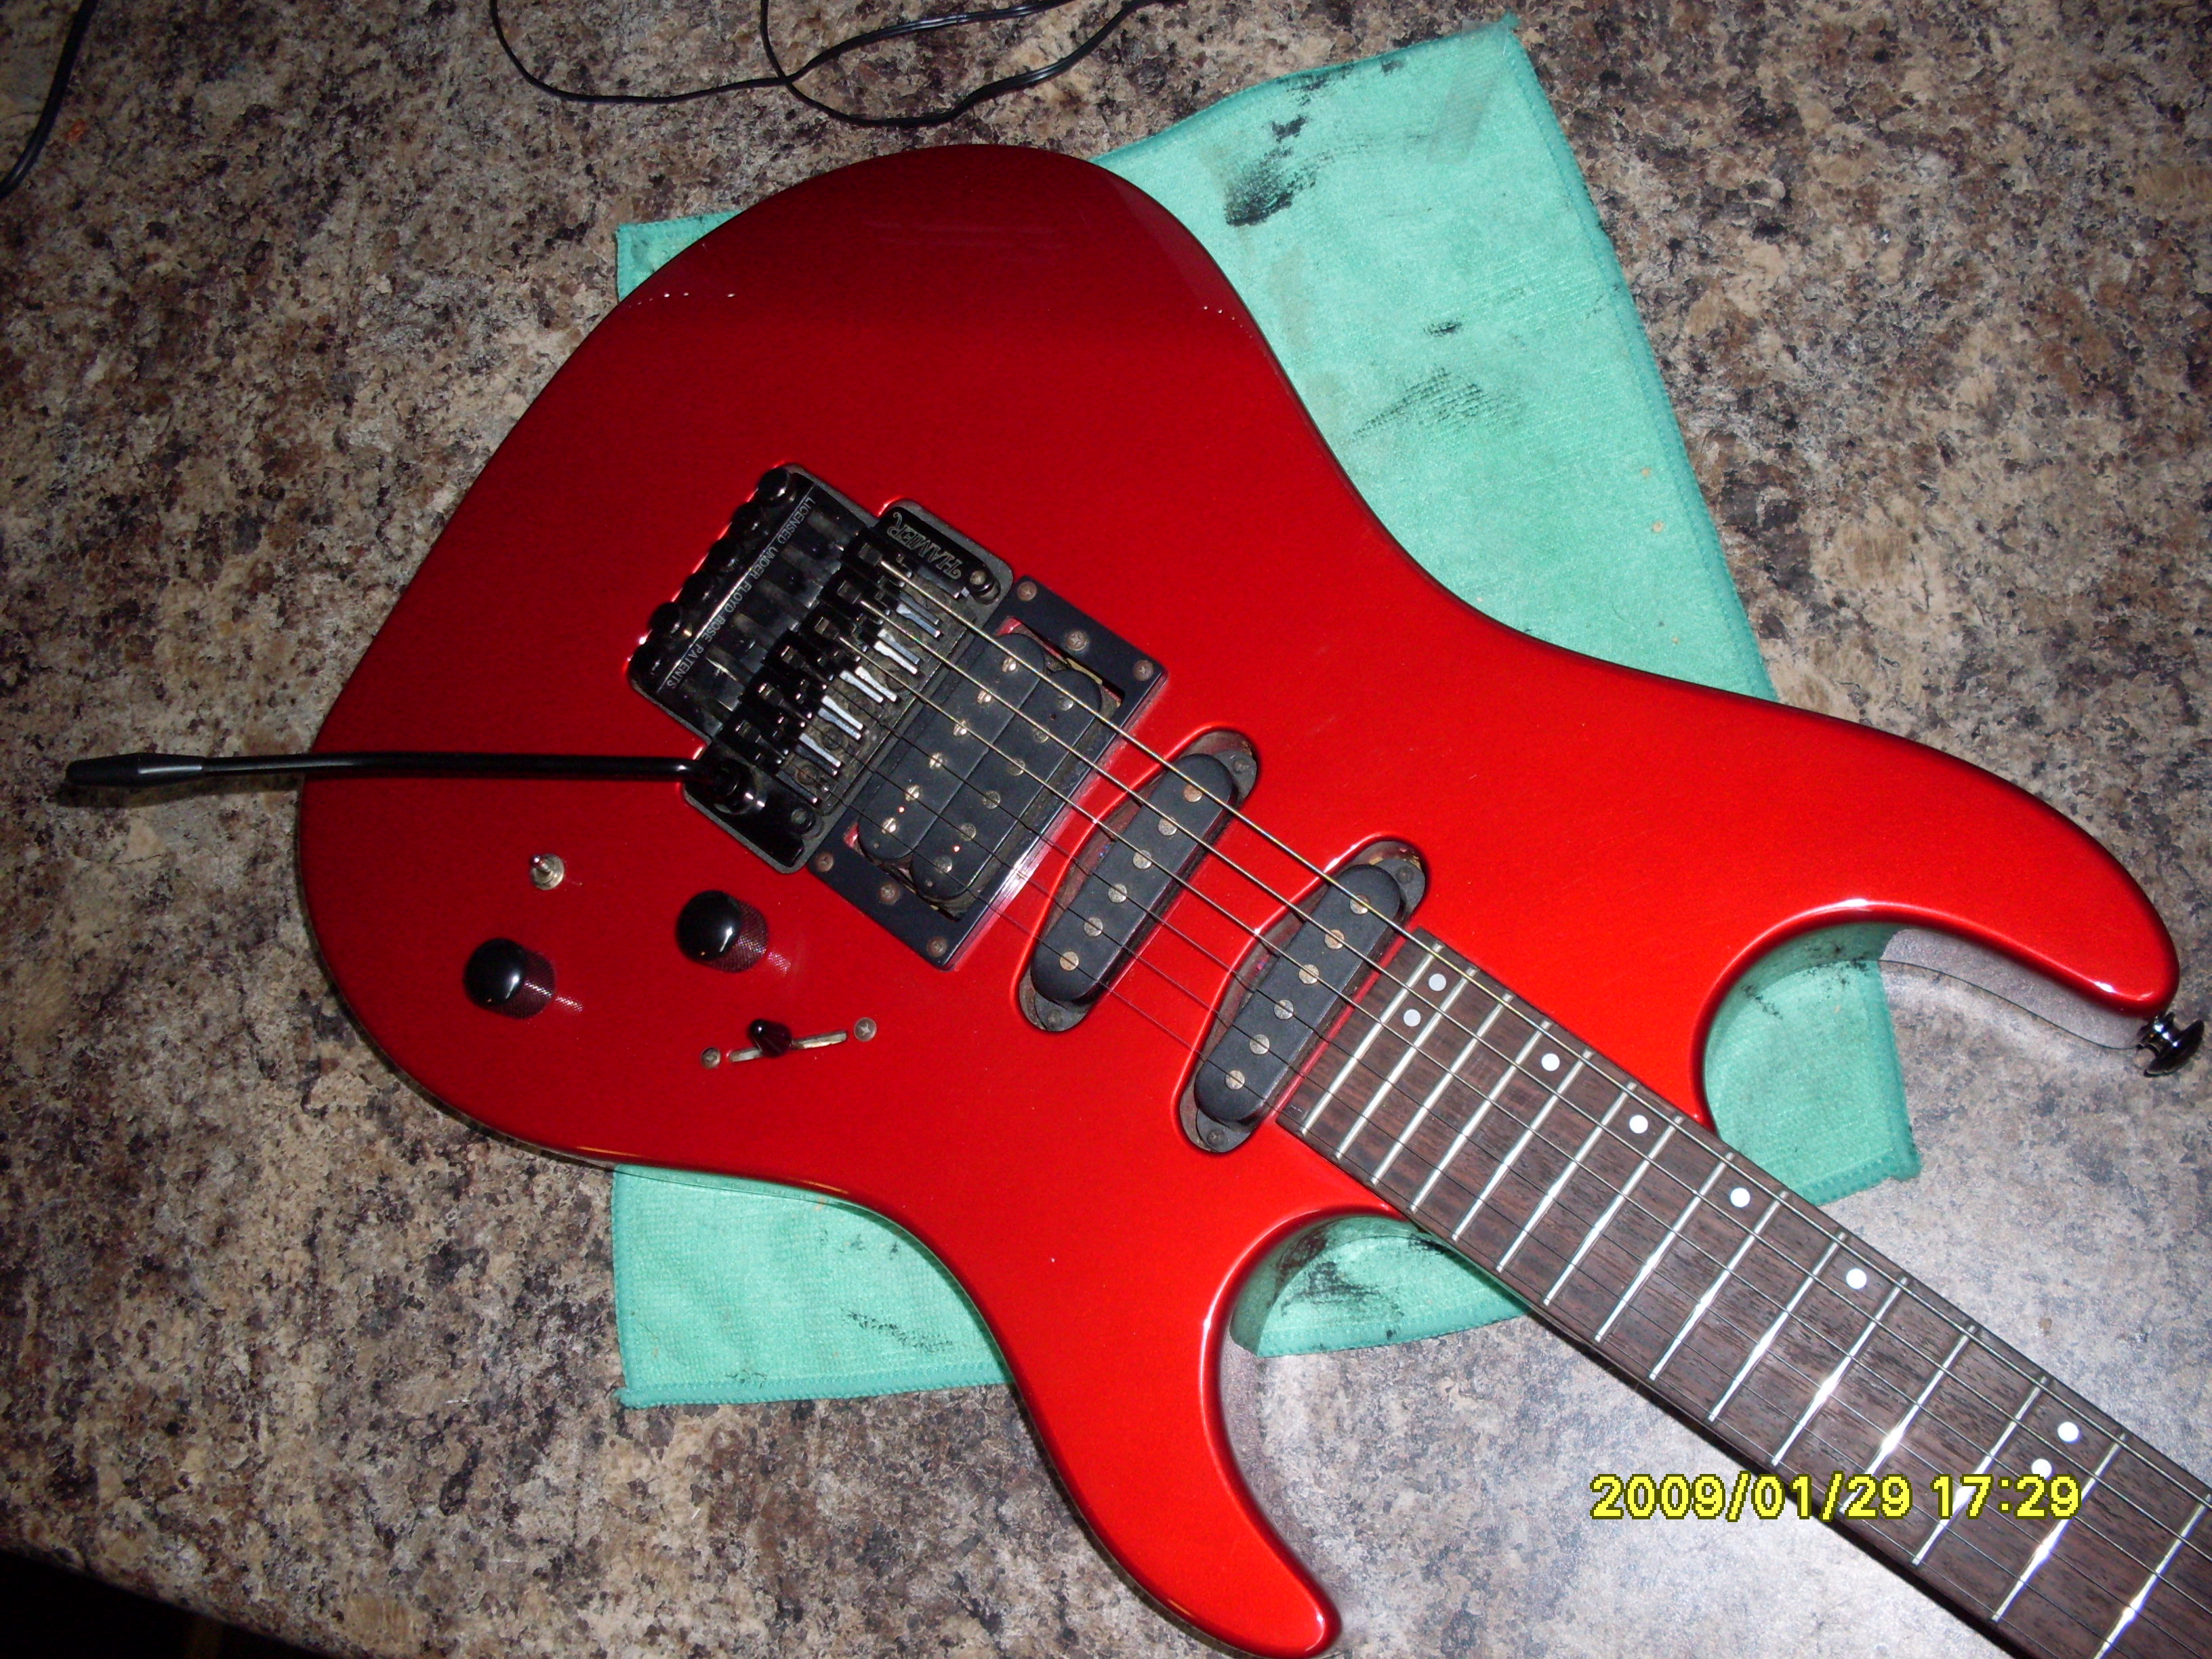
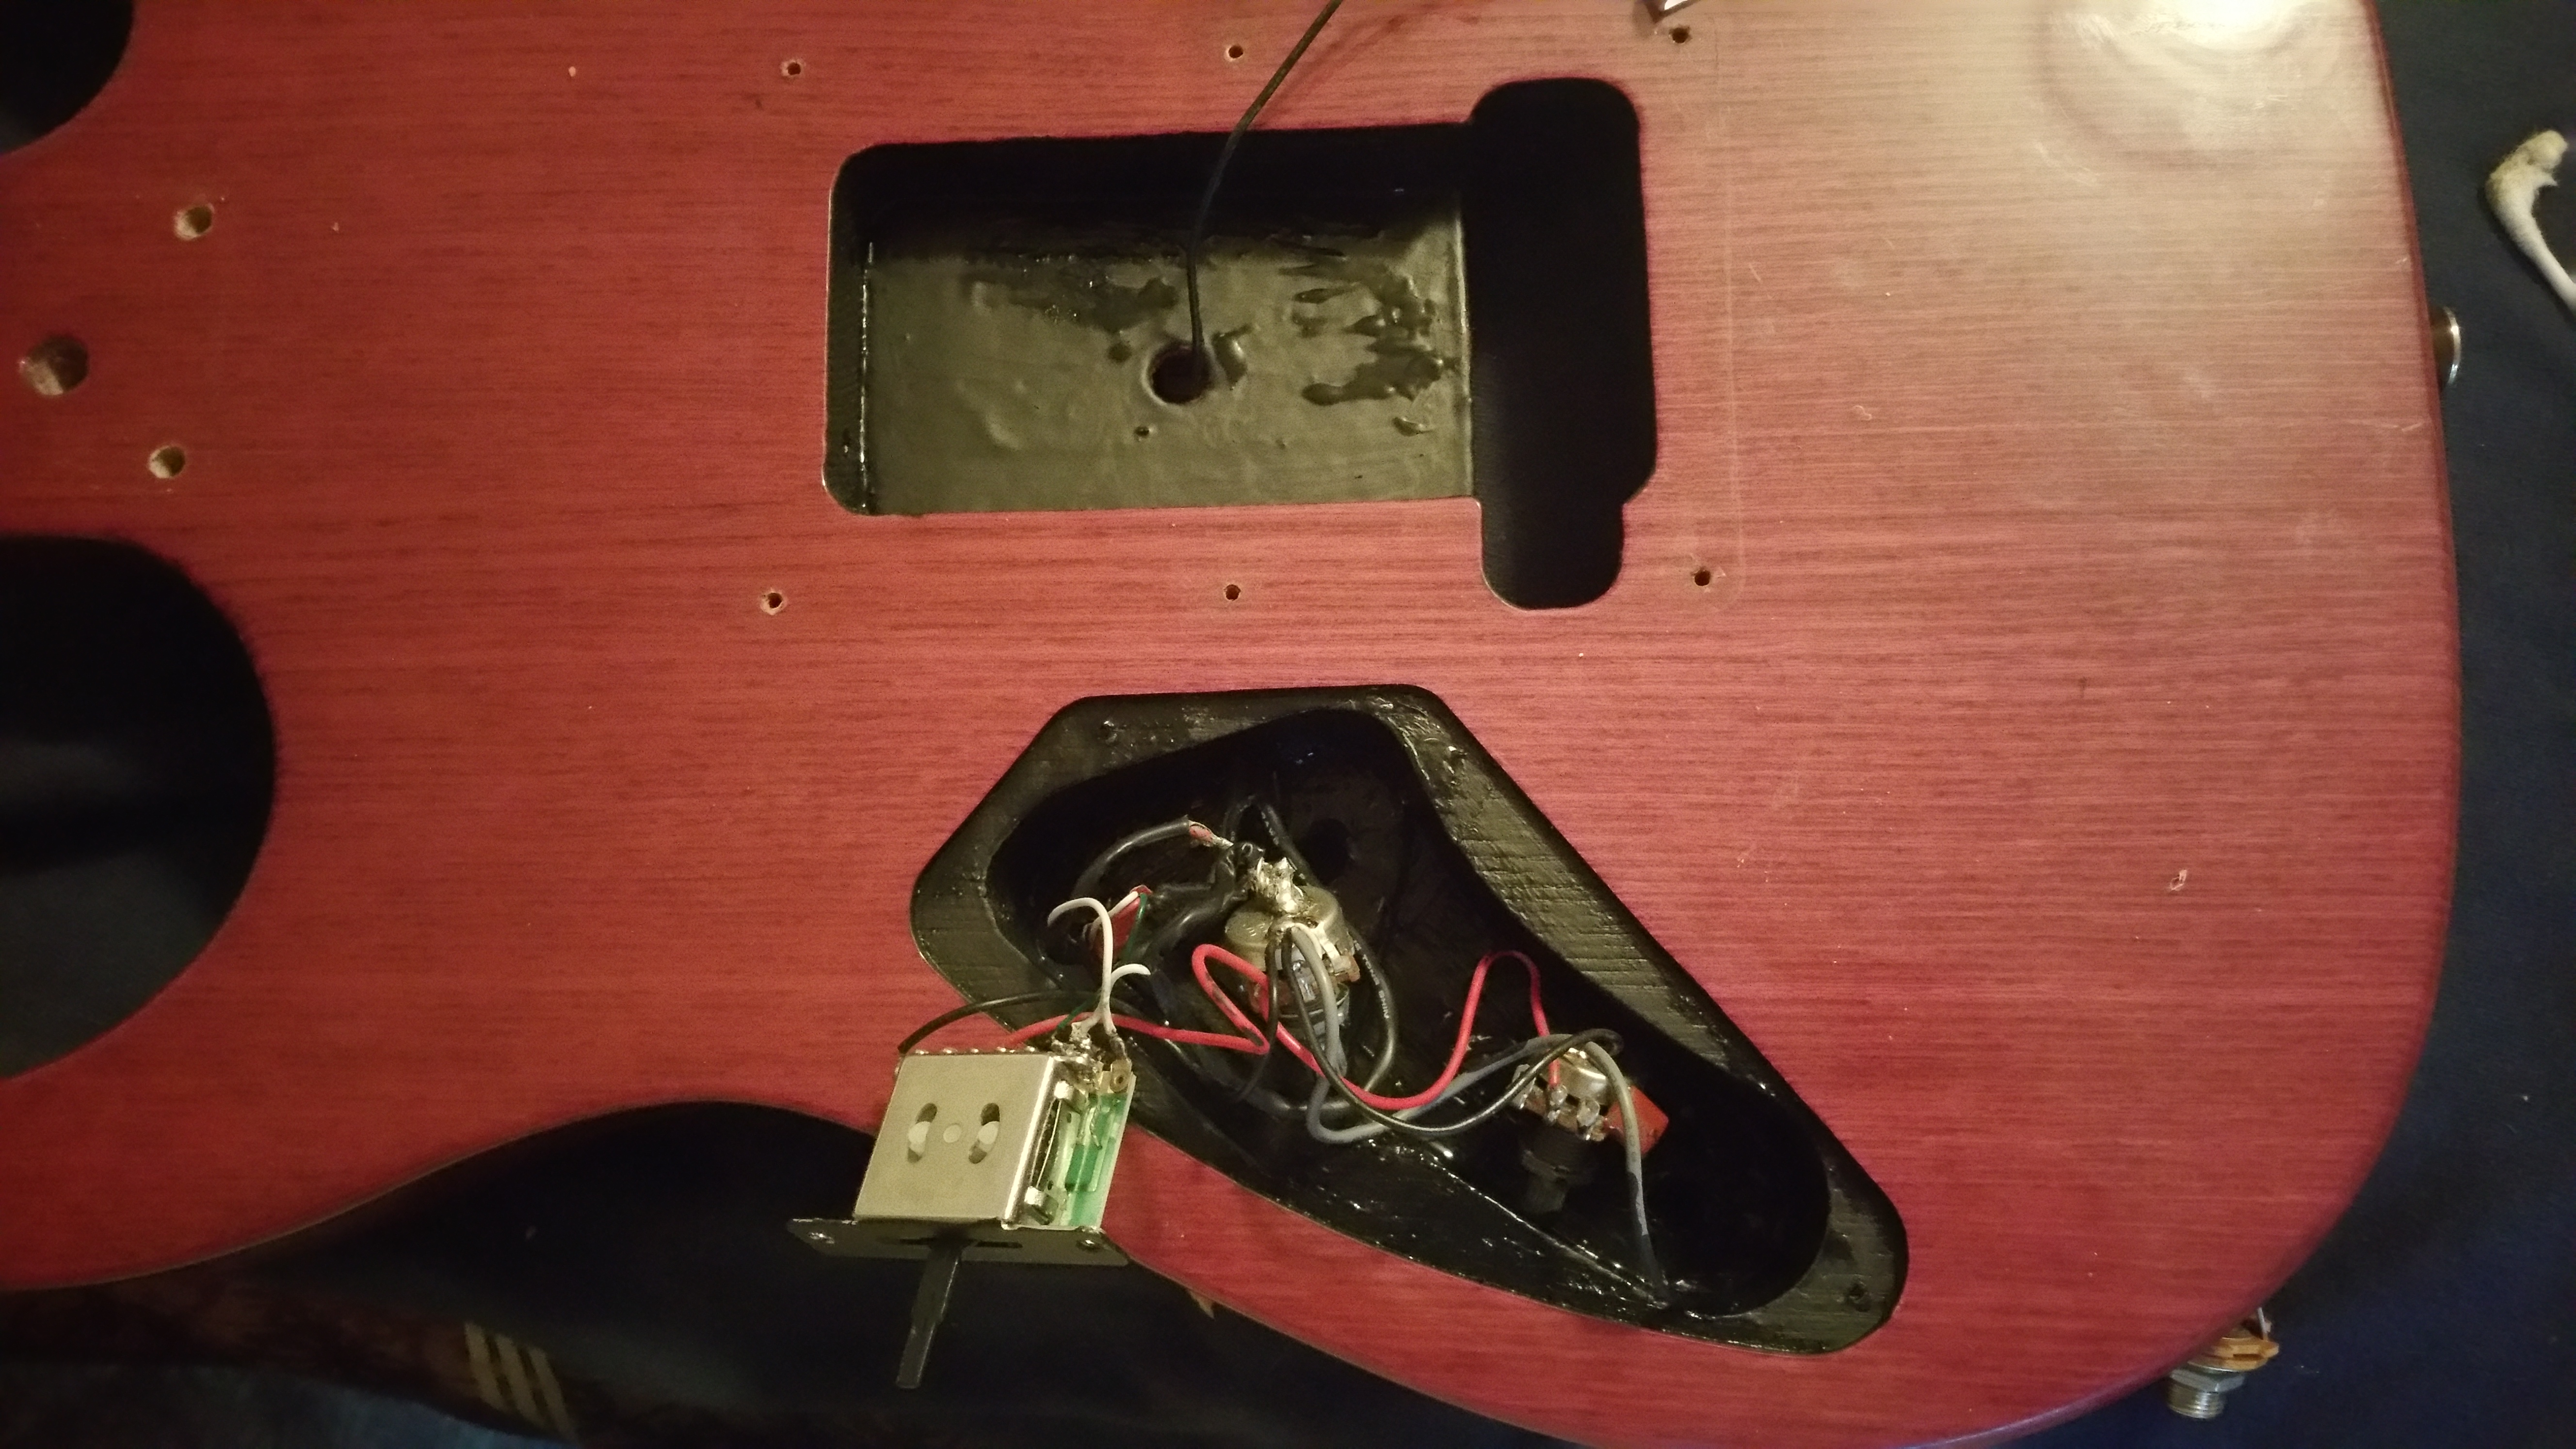
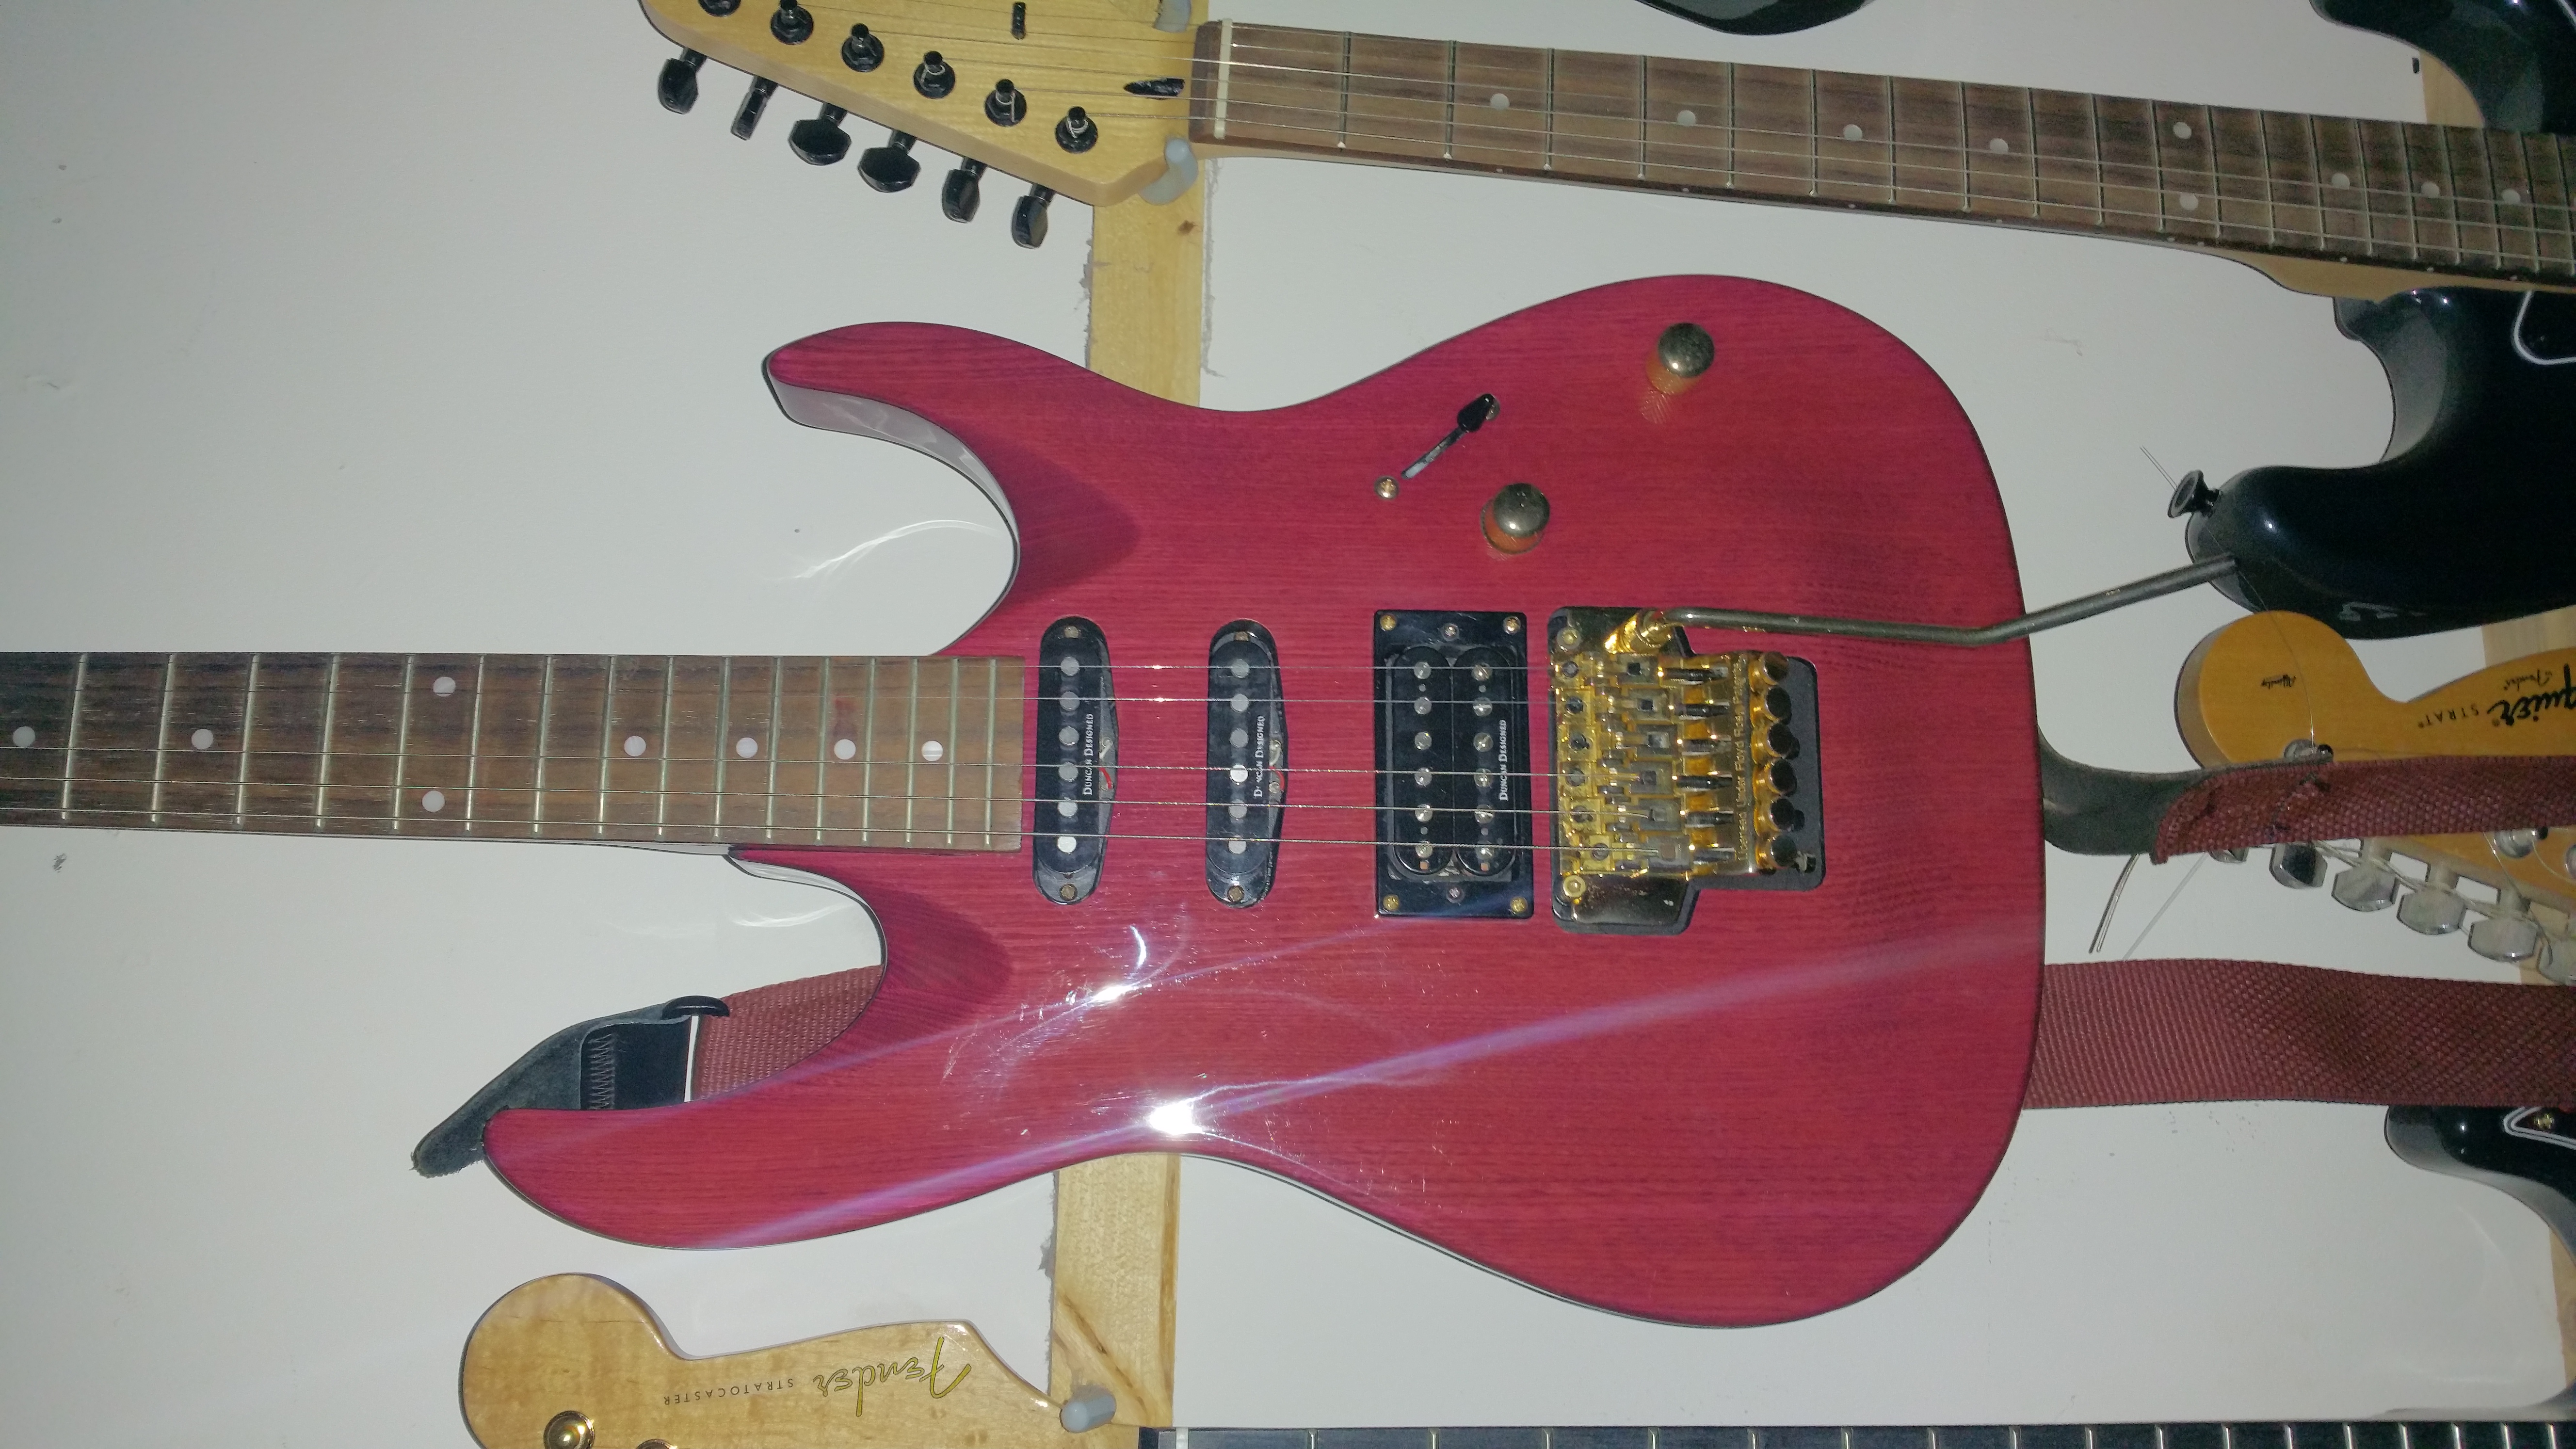
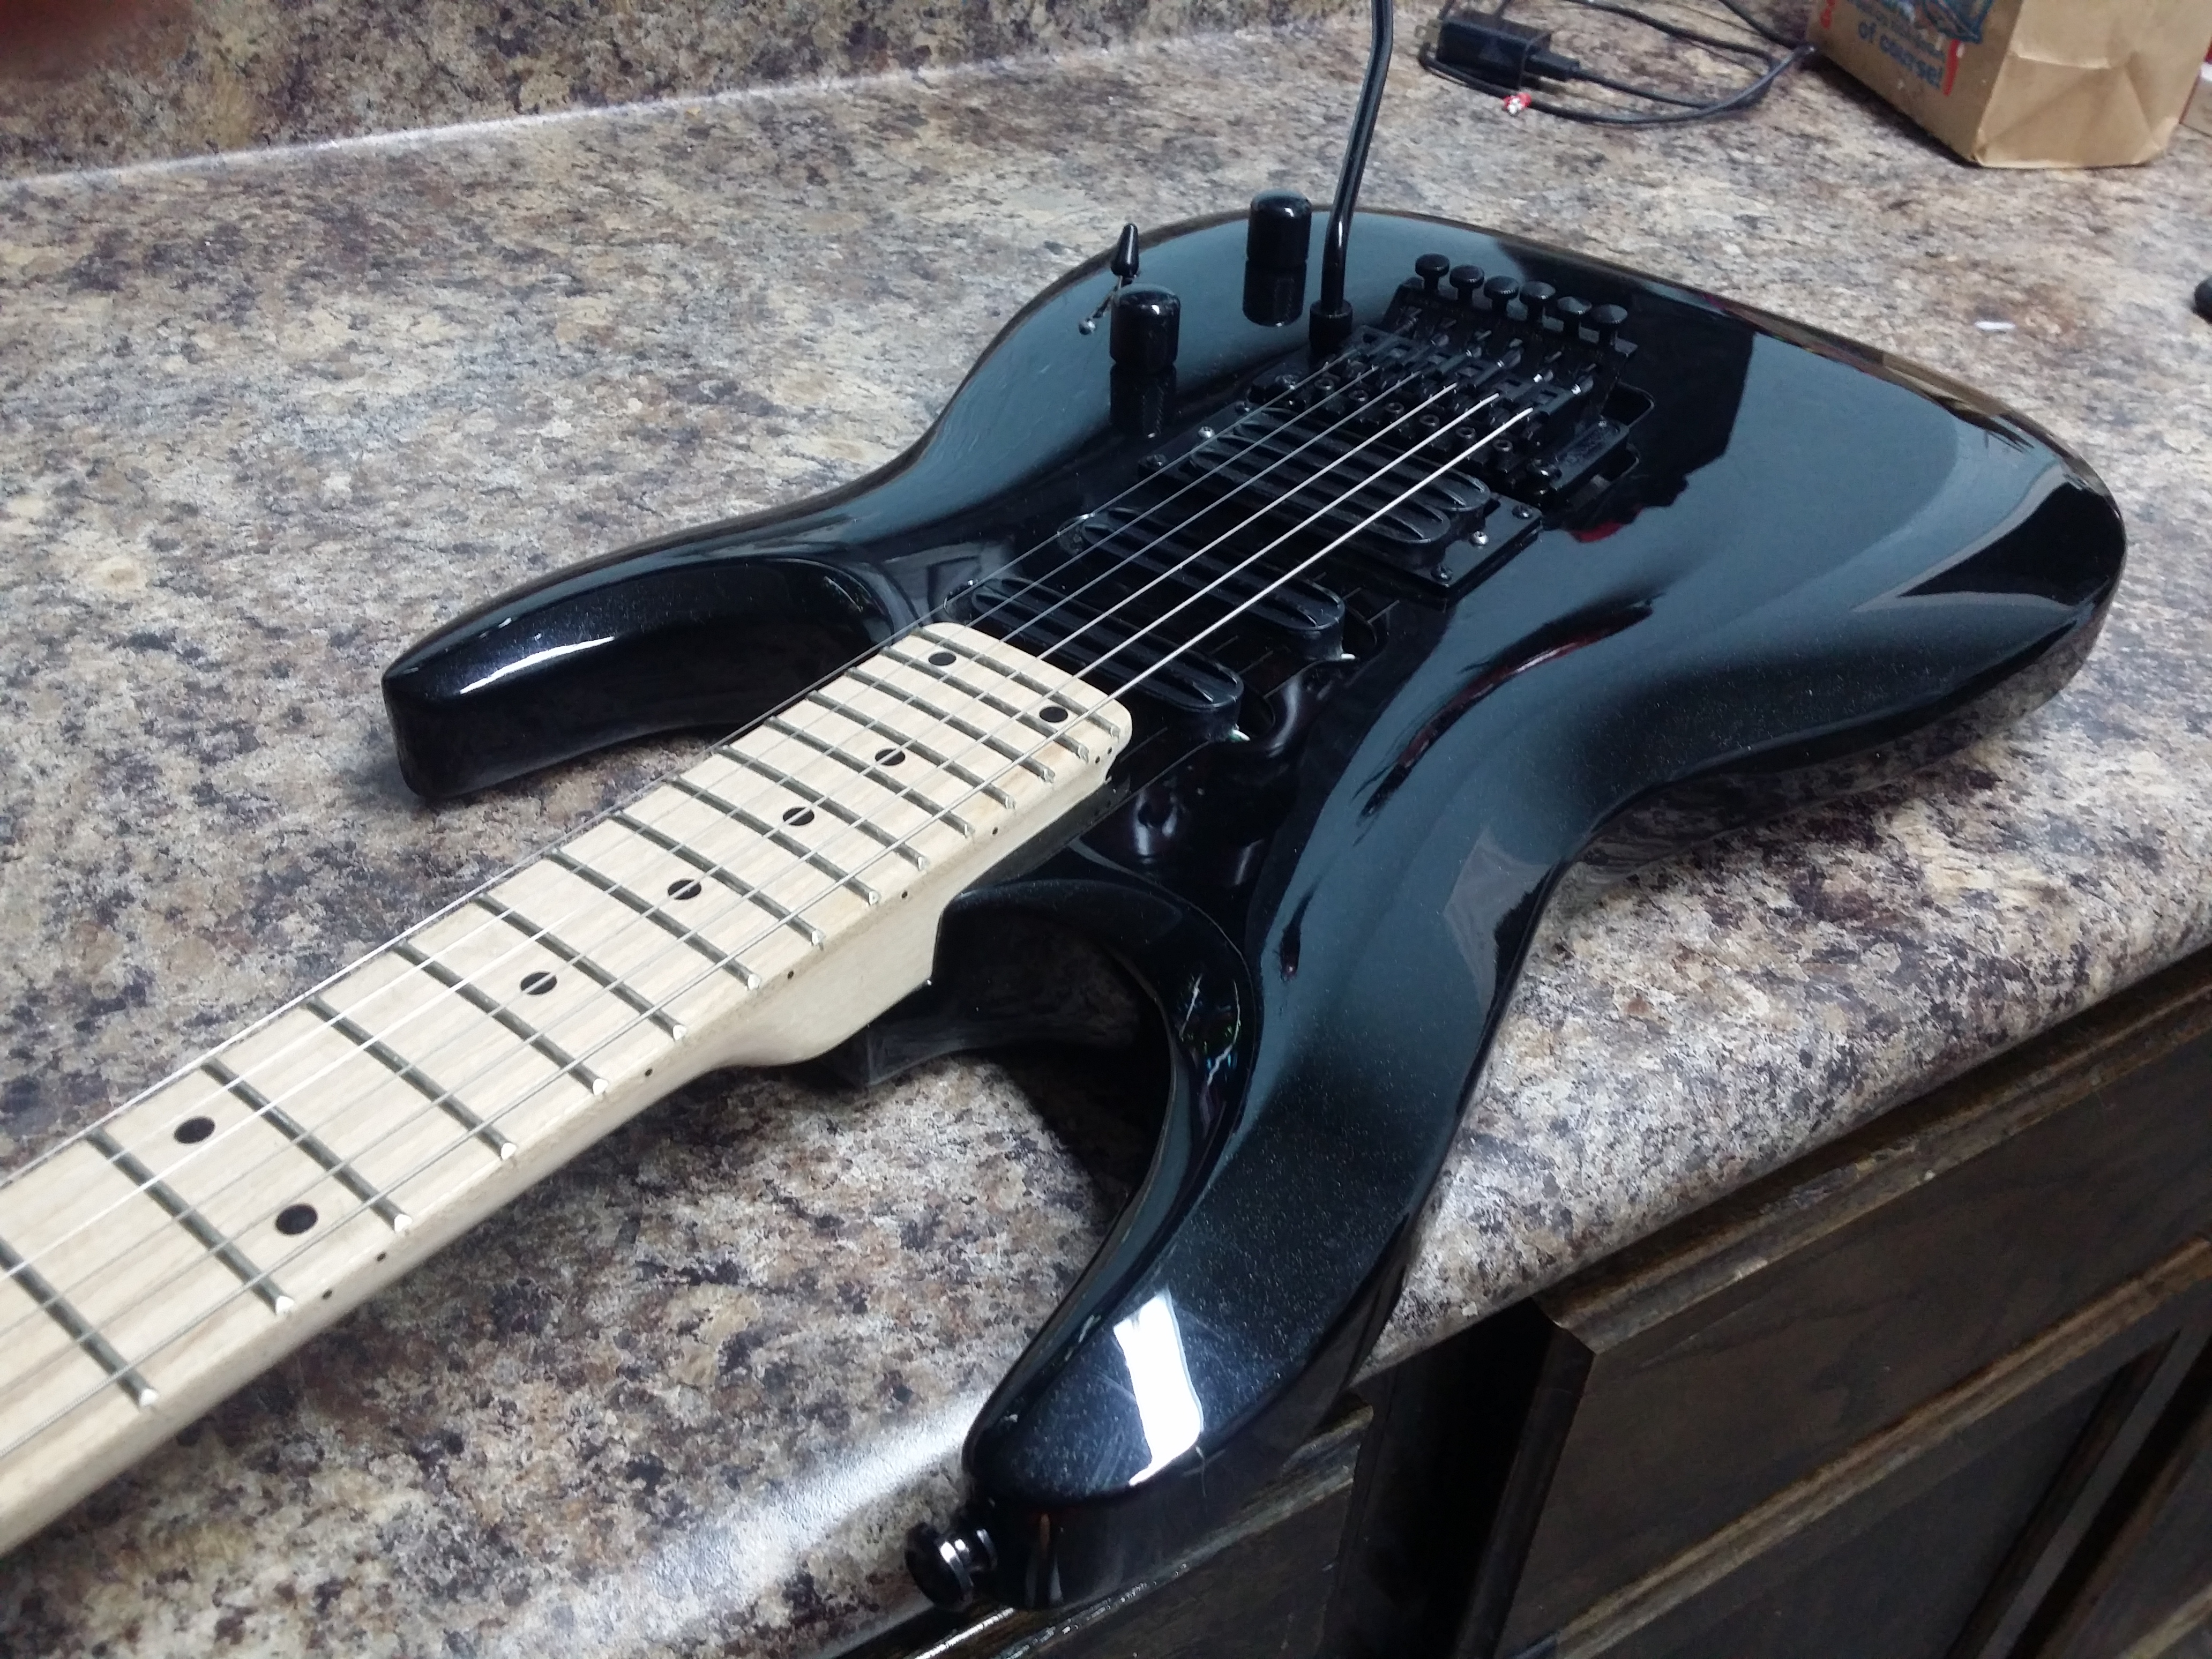
but we start with the wiring harness and pickups. Ours is an HSS (humbucker, single coil, single coil pickup configuration) so we start with installing the neck pickup, feeding the pickup wire all the way up in to the control cavity, then installing the middle pickup and doing the same with it's wires, then finally the bridge pickup. Once they are in and all three pickup wires are fed into the control cavity we go ahead and mount all three now. (in the end it wont matter if they work or not if you can't mount them)


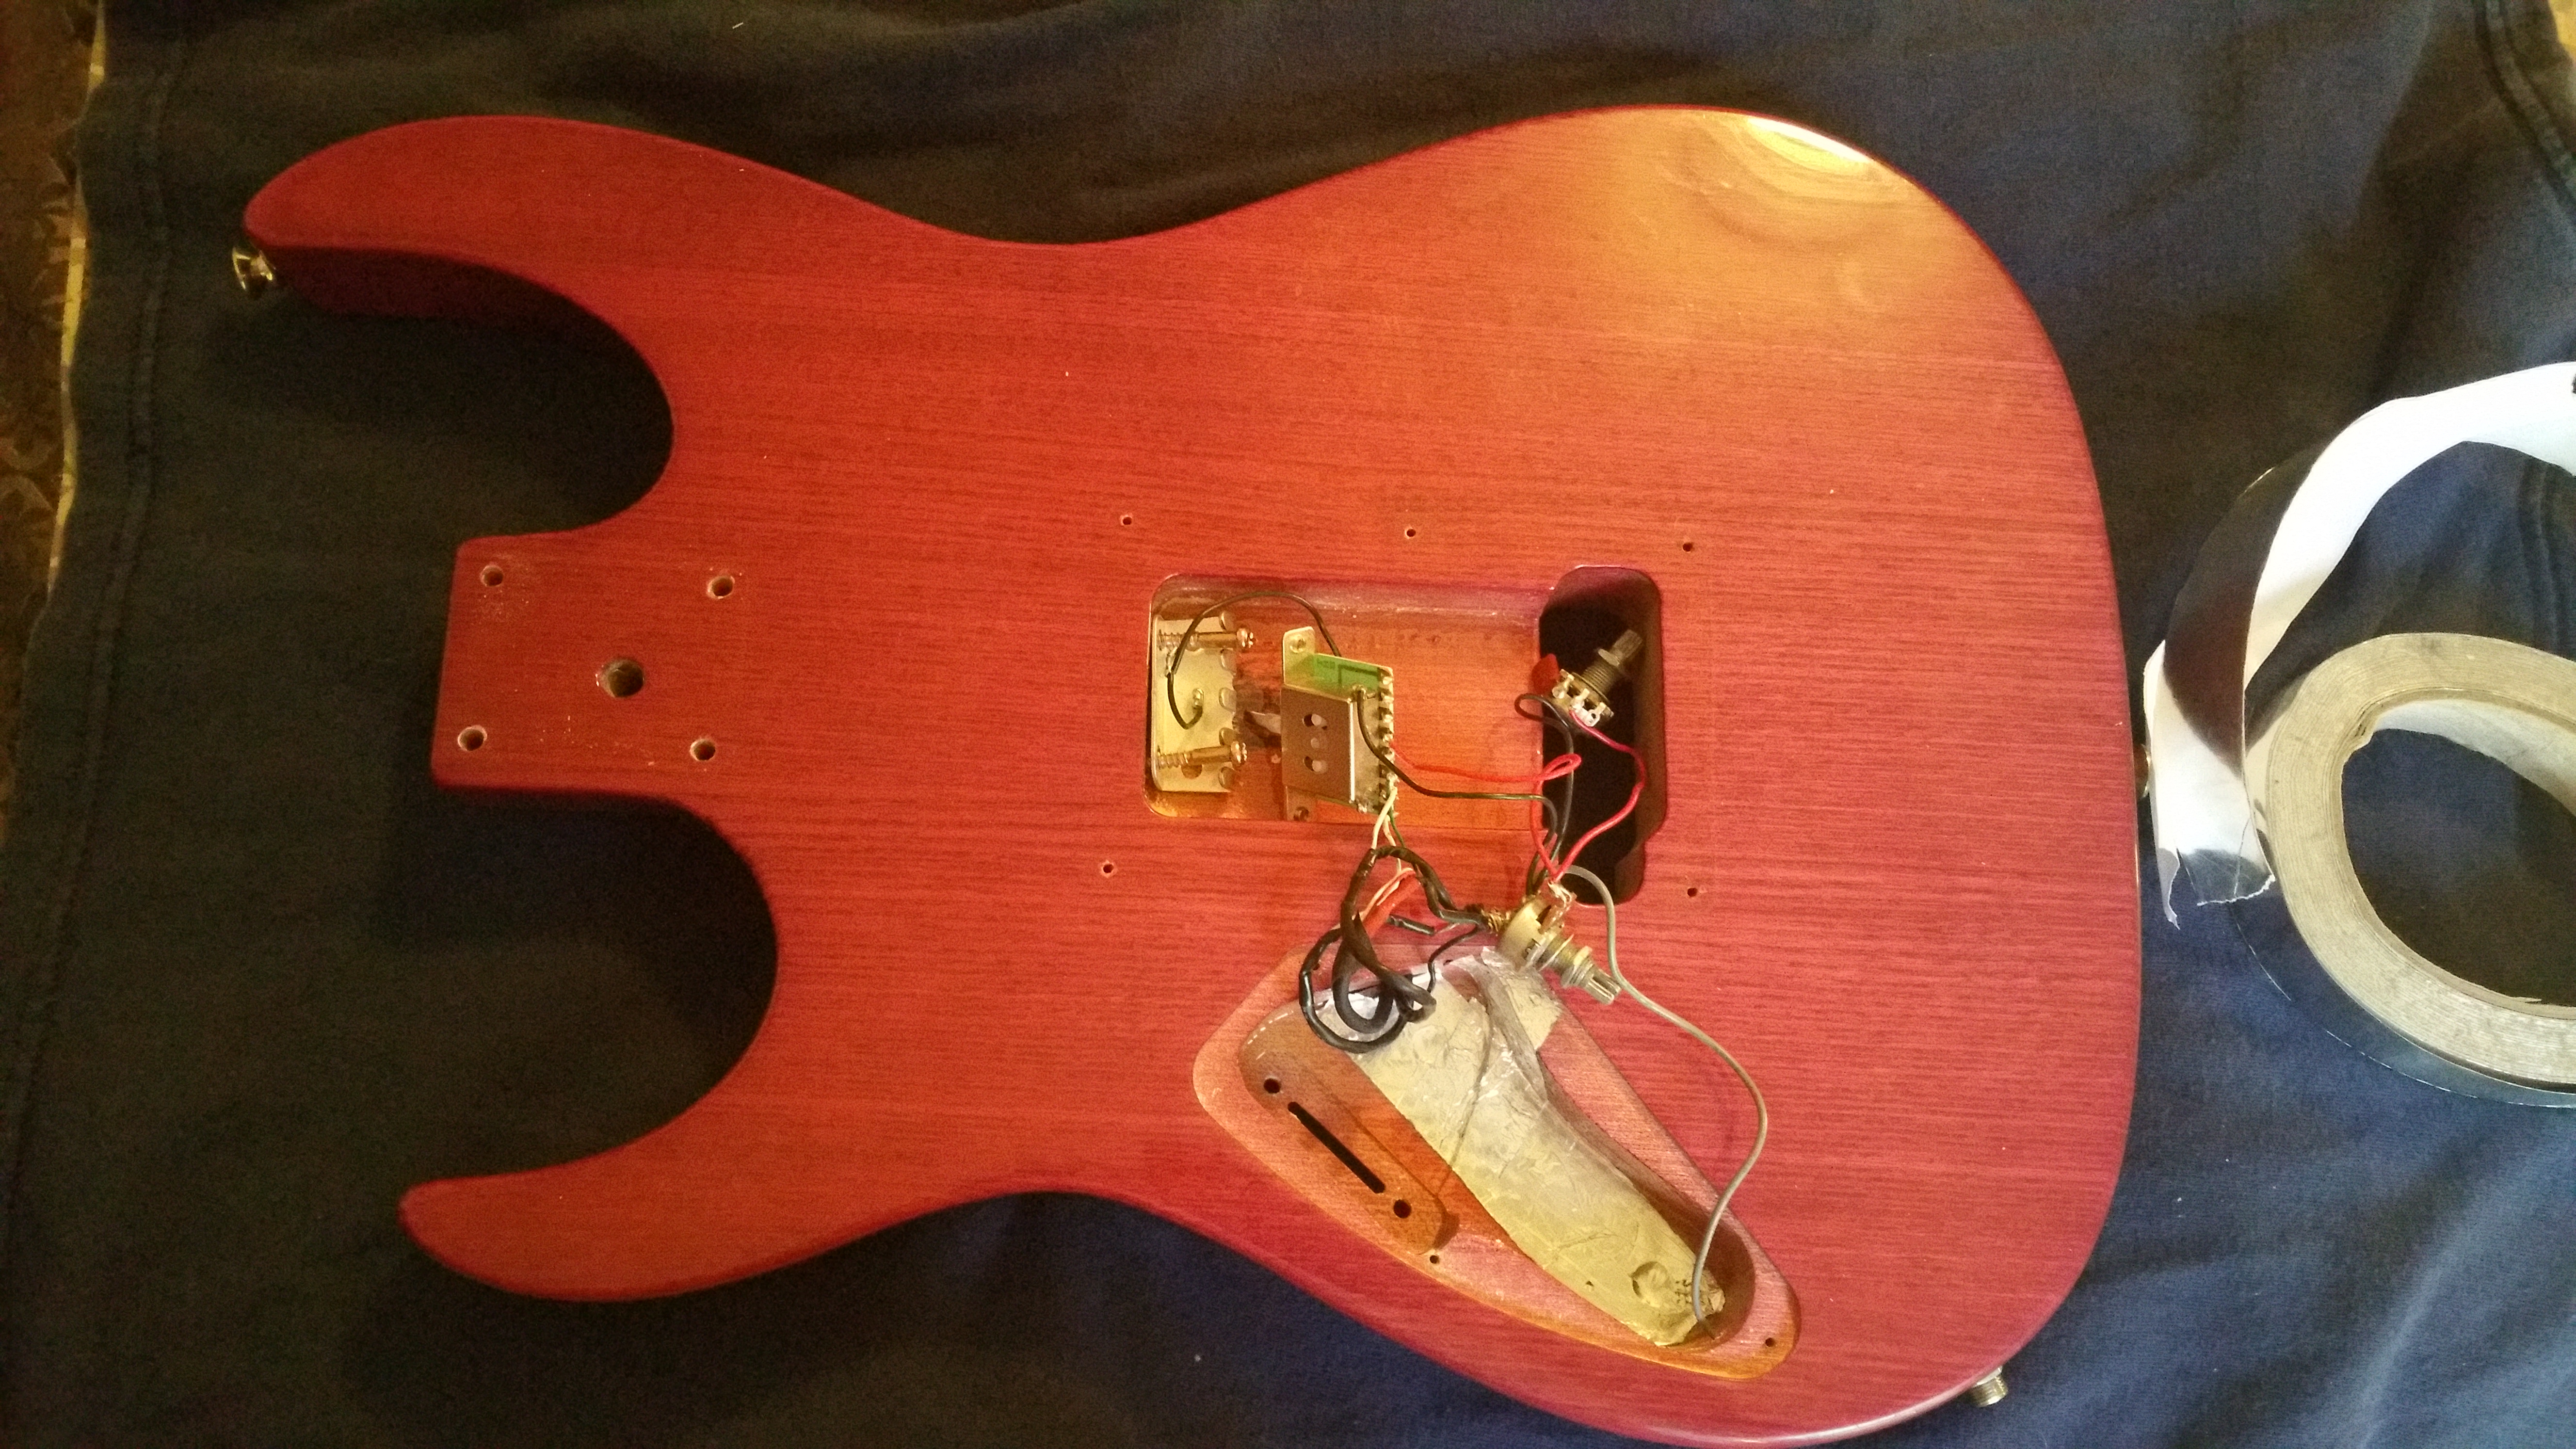
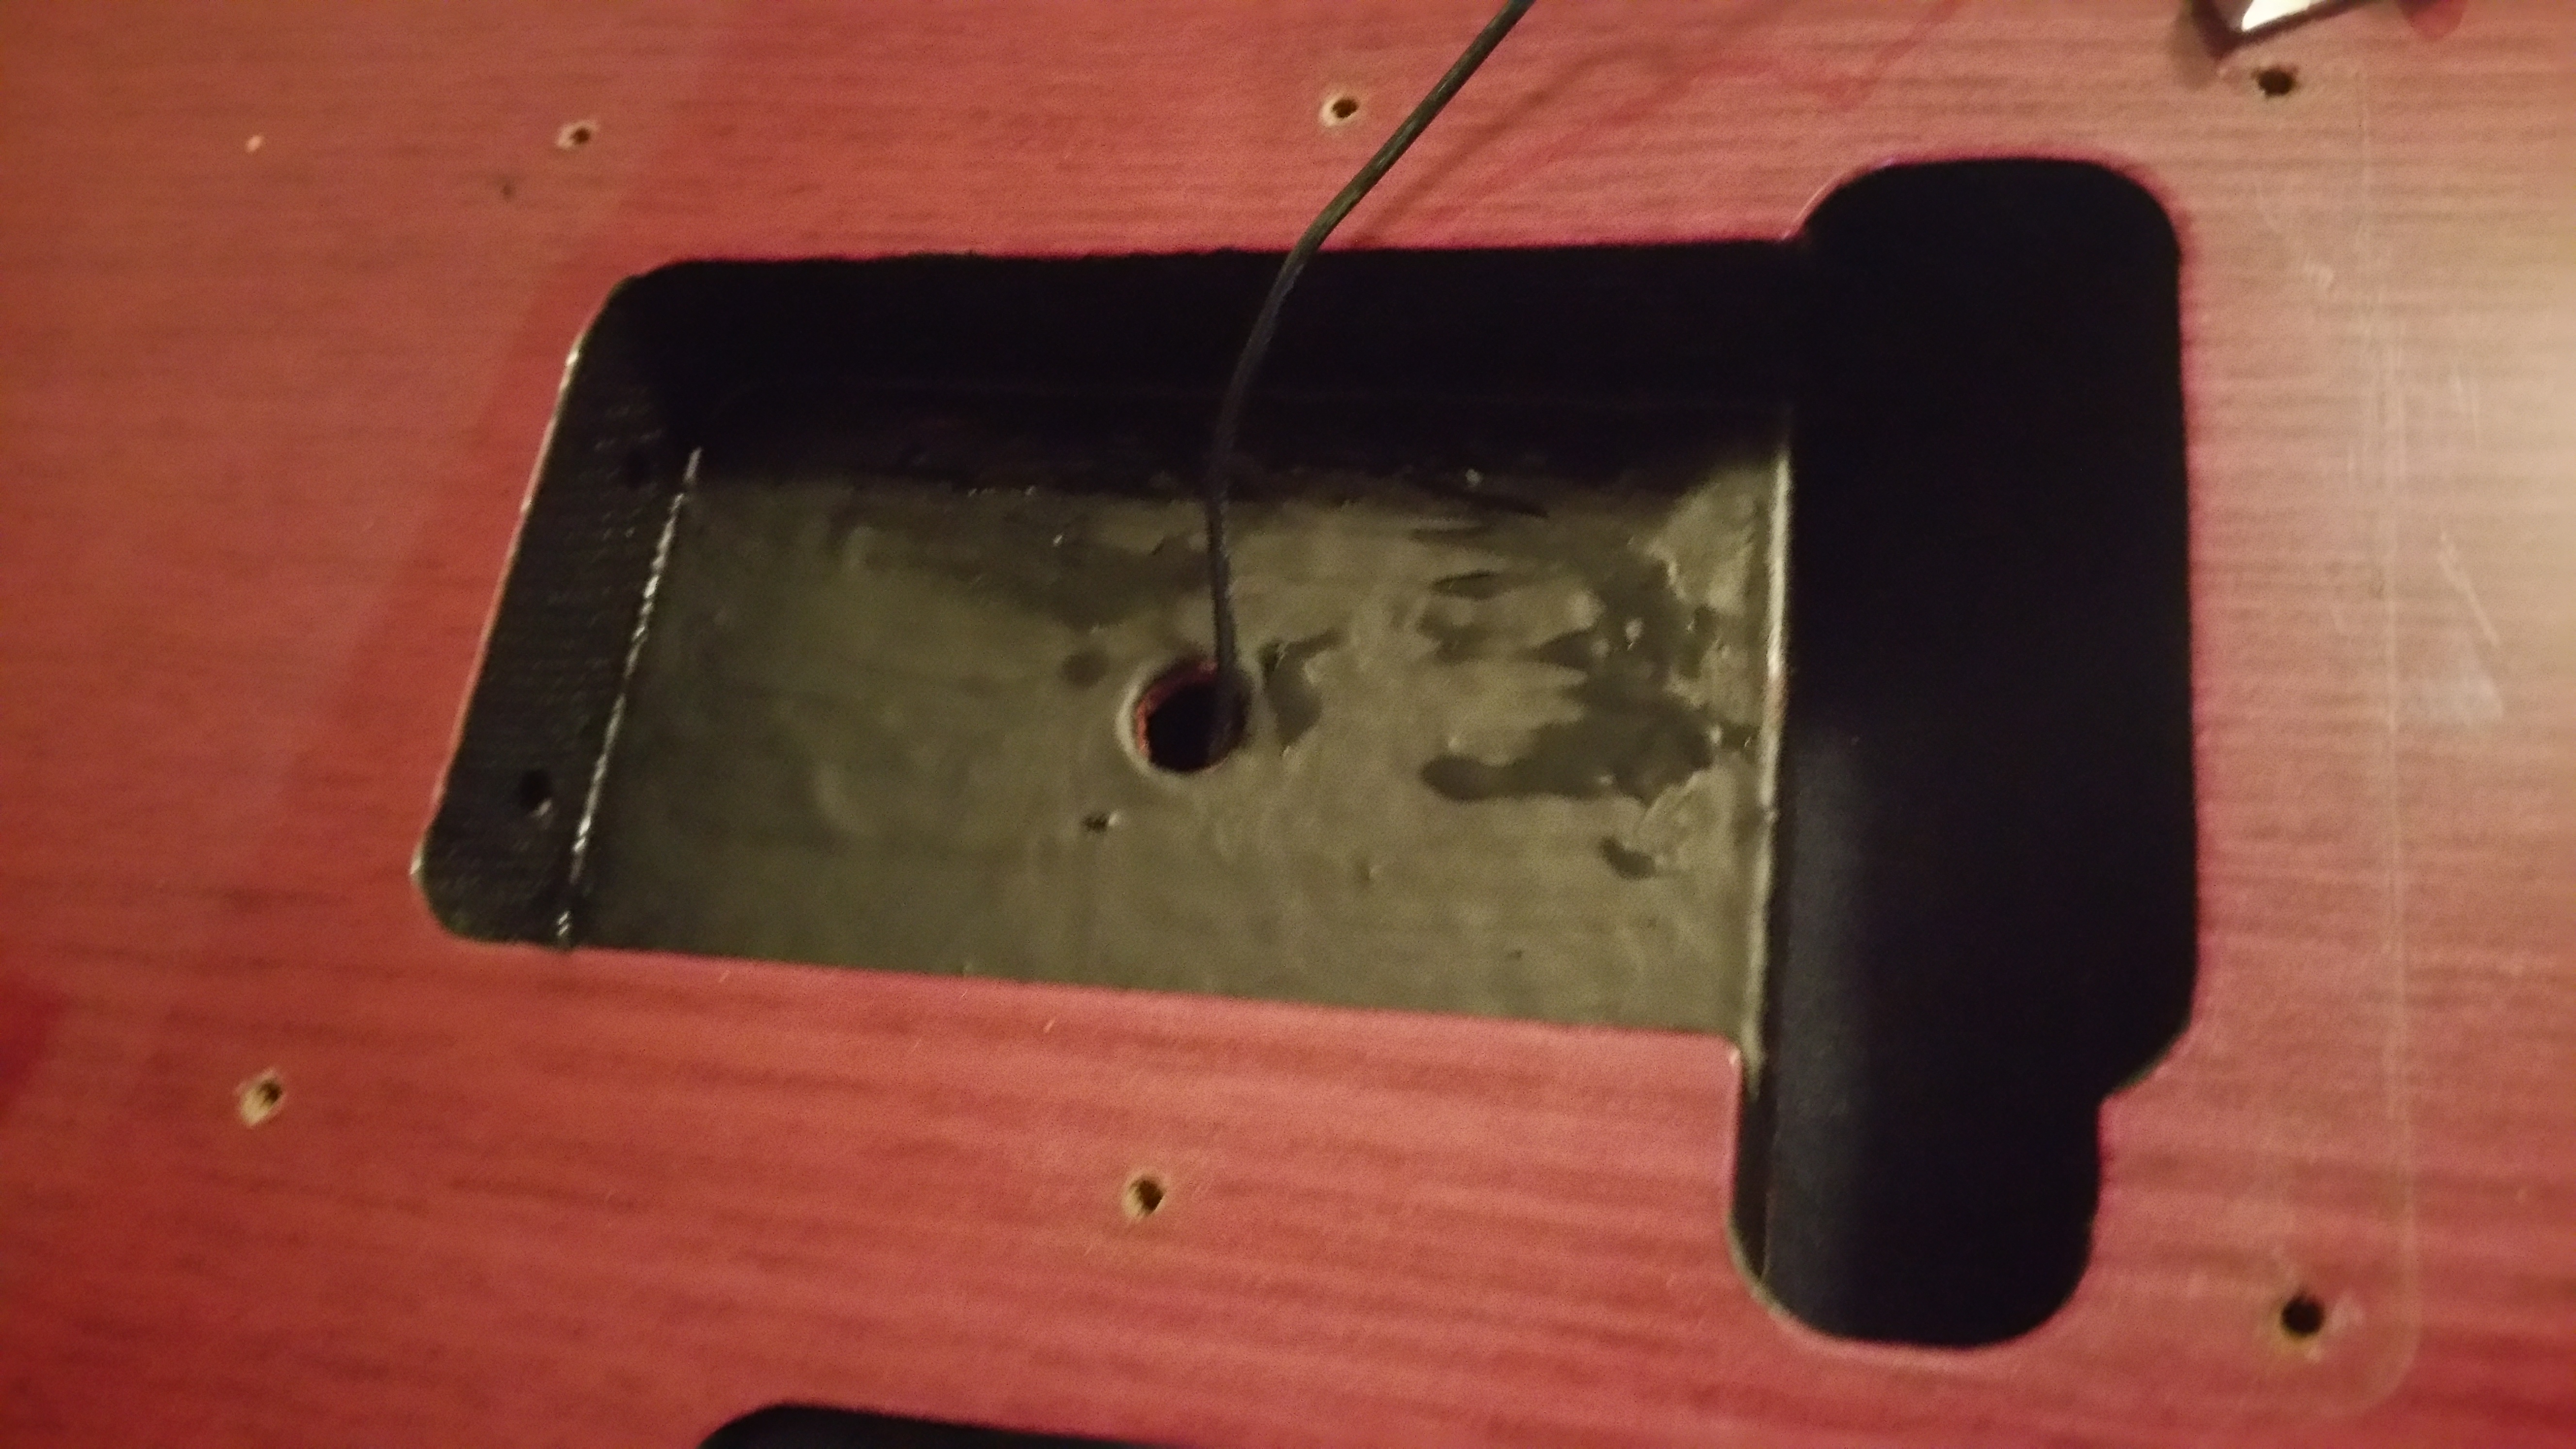
2.  Install the harness by inserting the pots and tightening them, install the input jack, I like to leave the selector switch loose until after the pickups have been soldered in but some guitar bodies provide ample space to go ahead and mount your selector switch before you solder the pickups in. the same is true with the "bridge on" switch, sometimes you can mount it first then solder to it but I like to leave it loose until its soldered up.


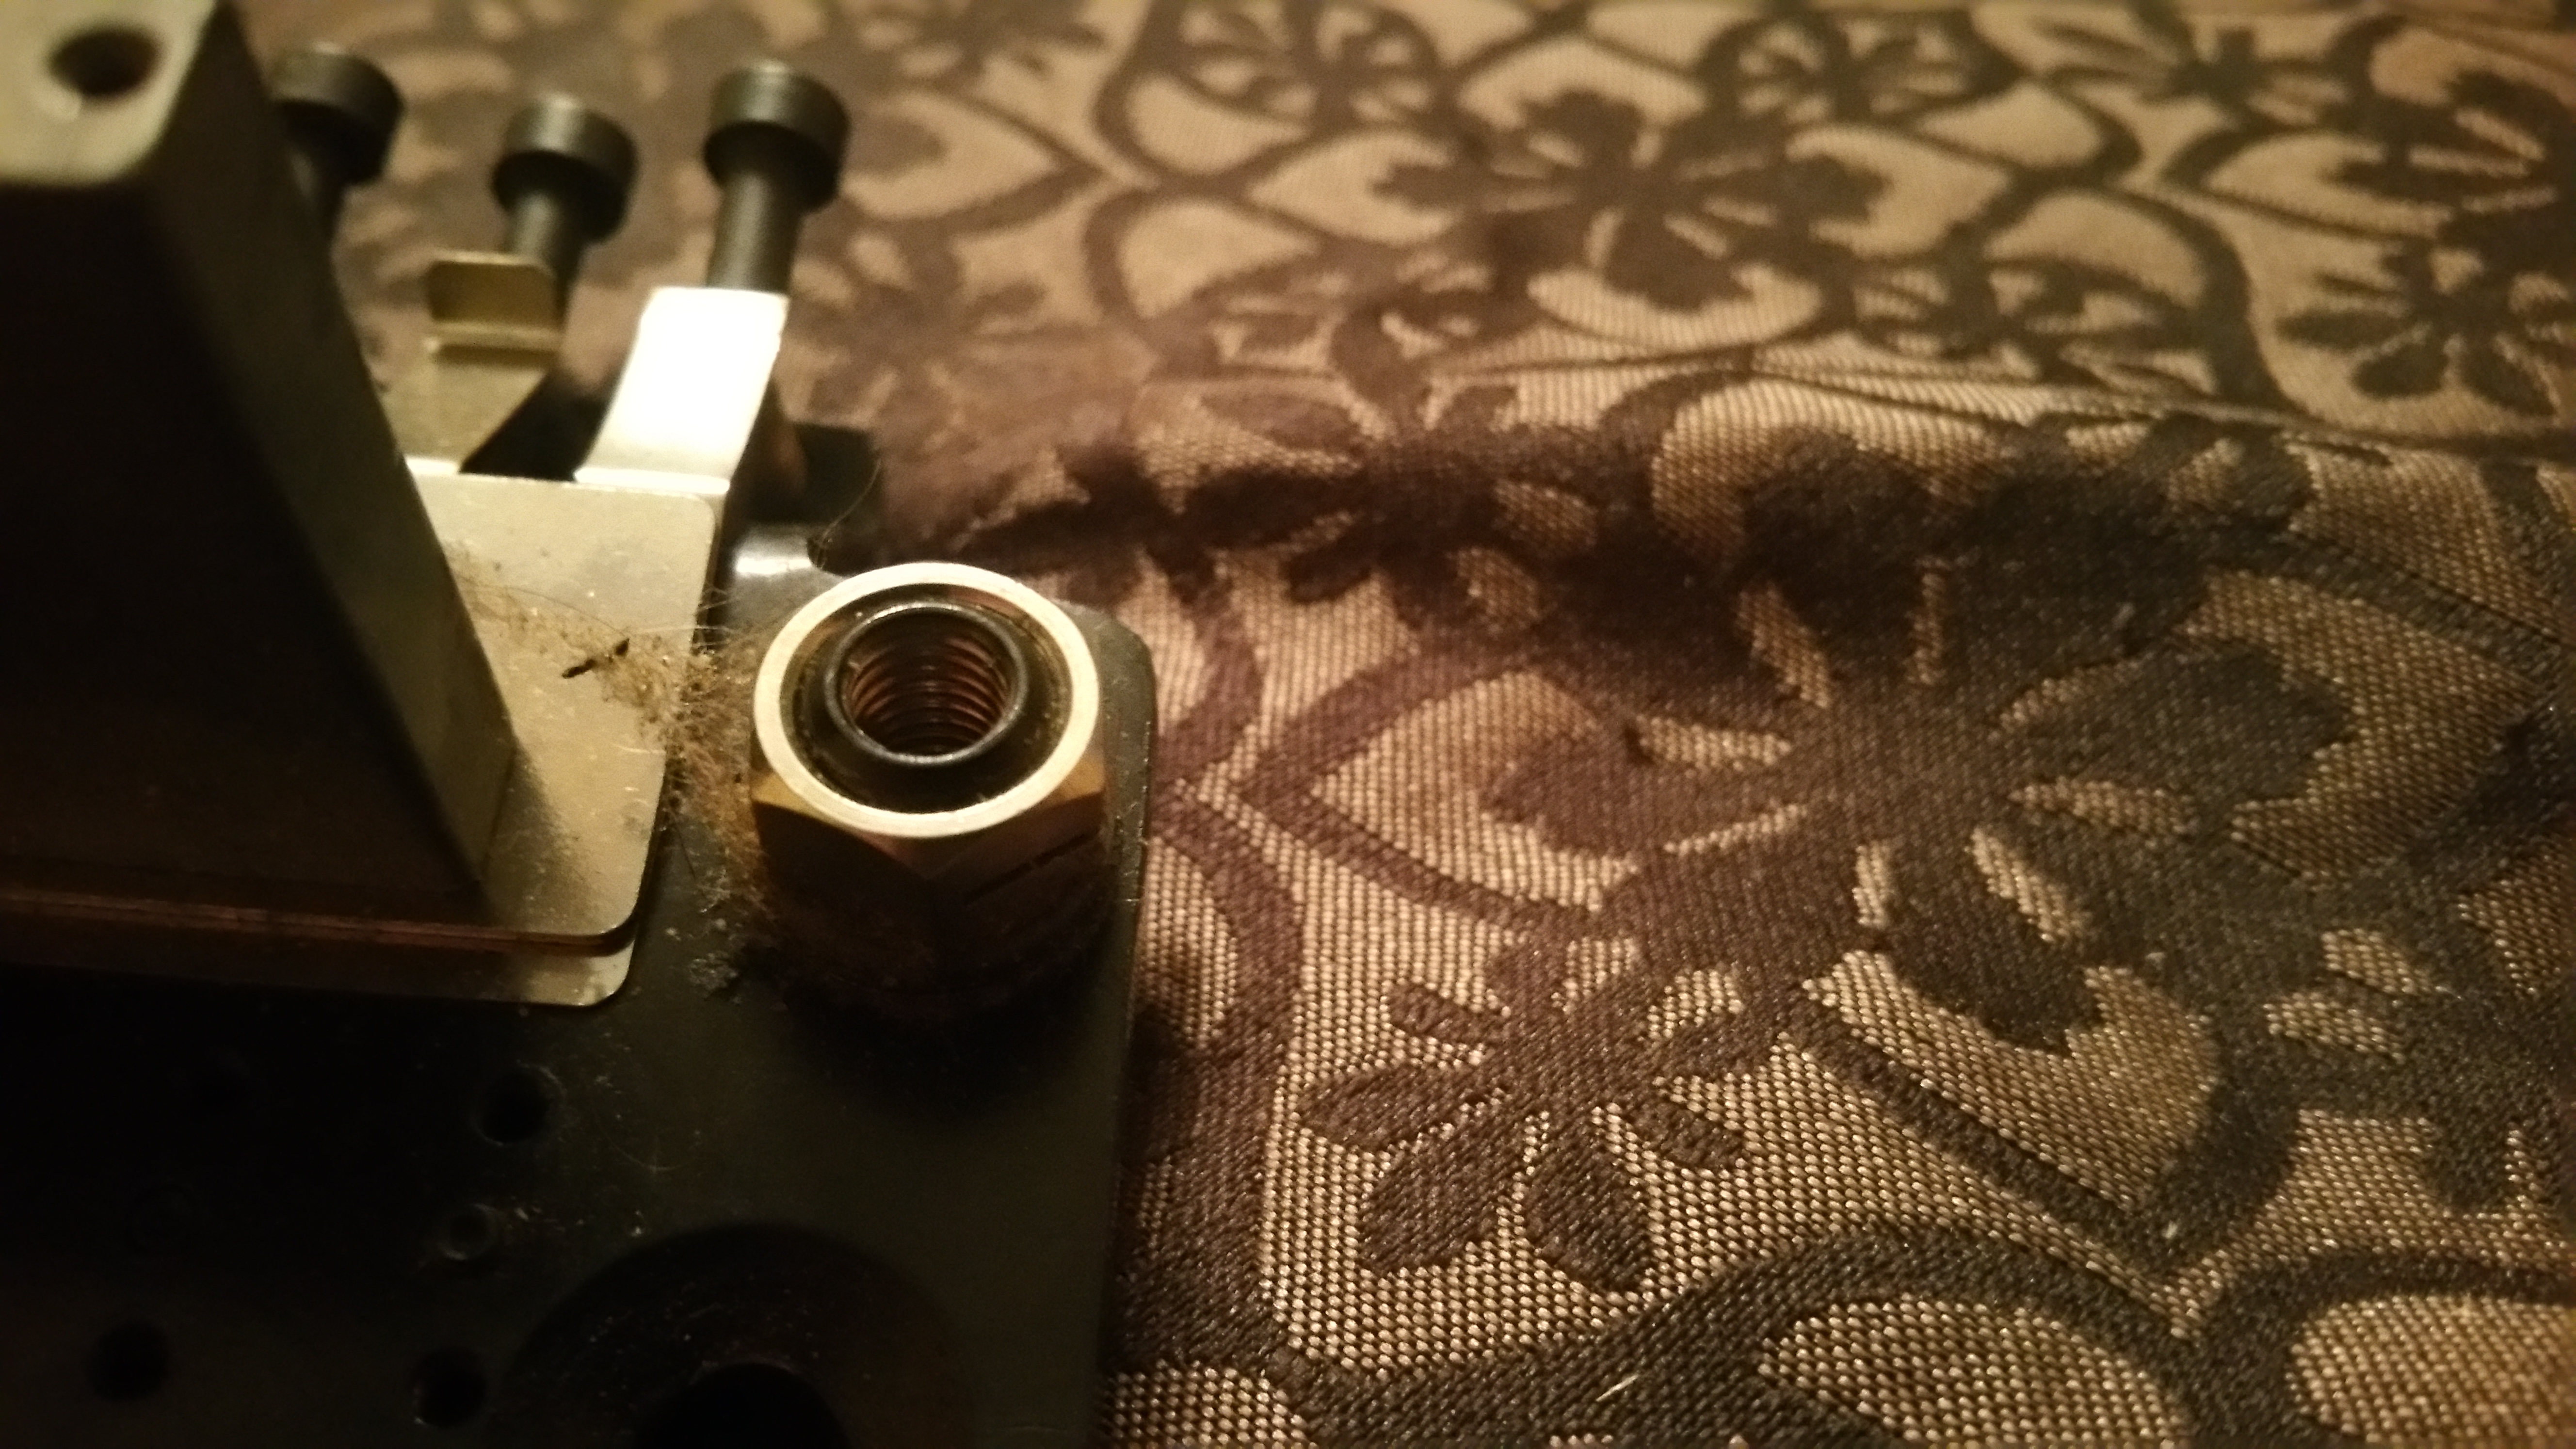
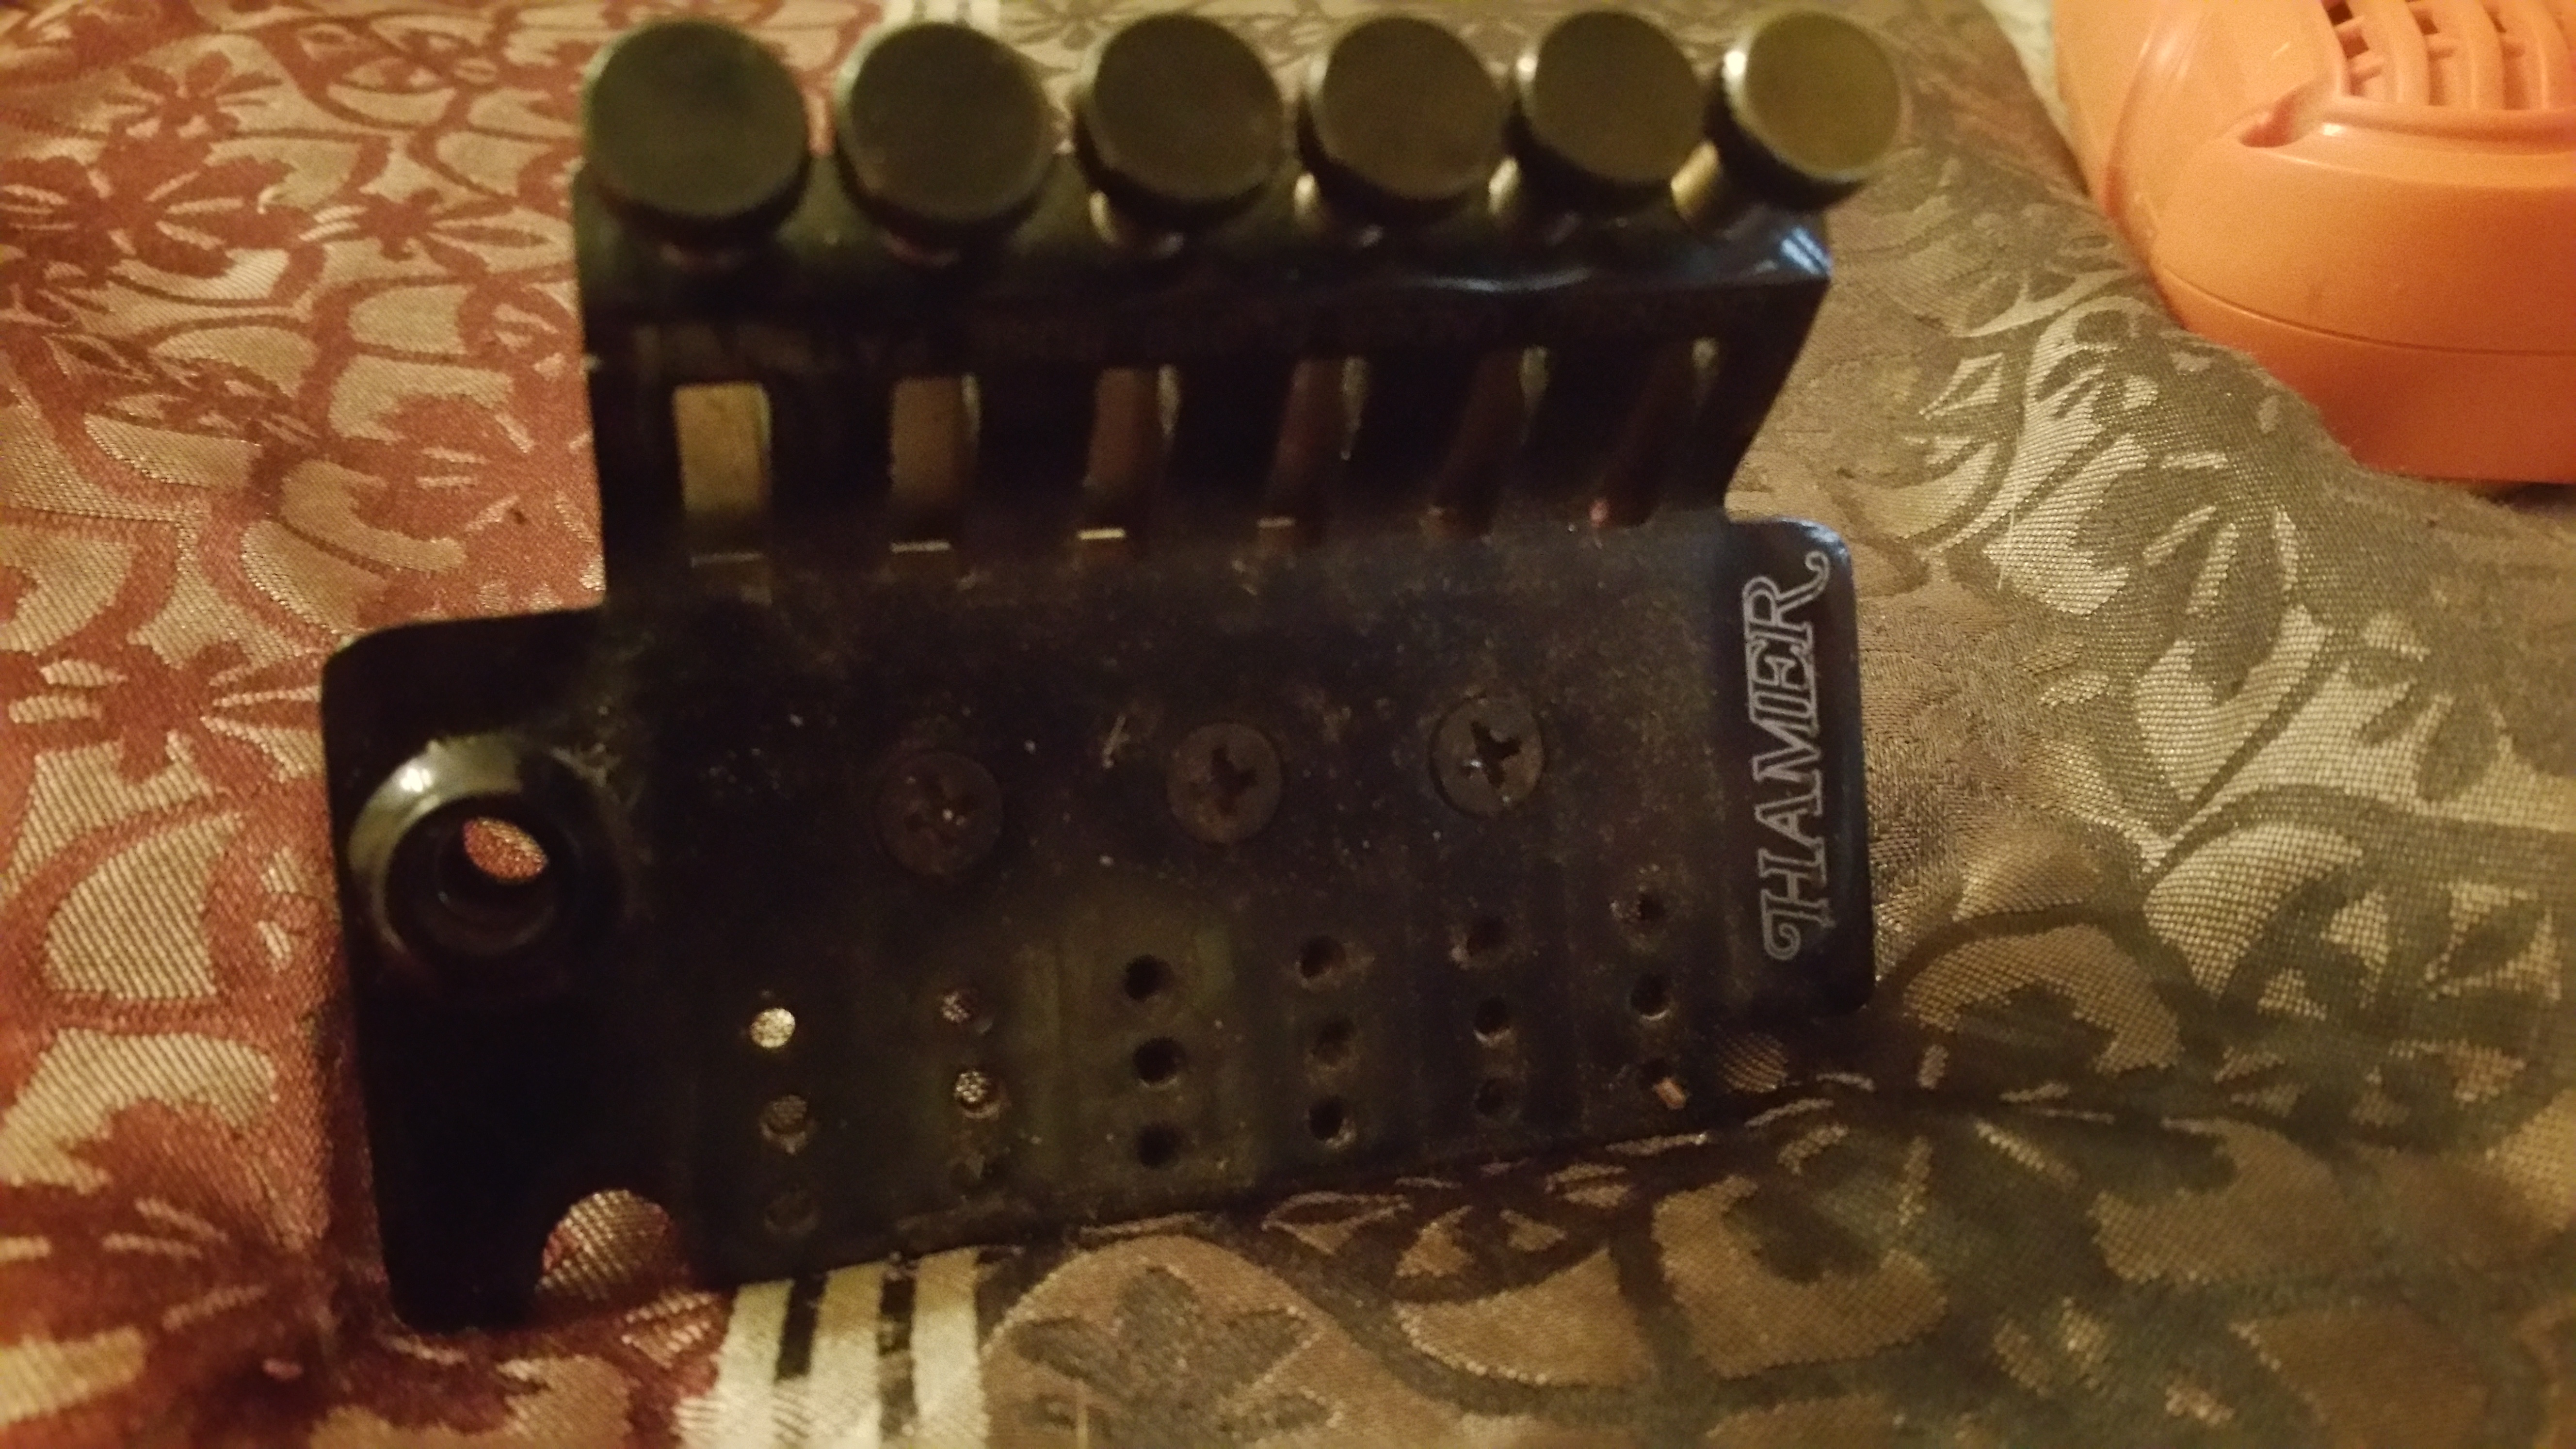
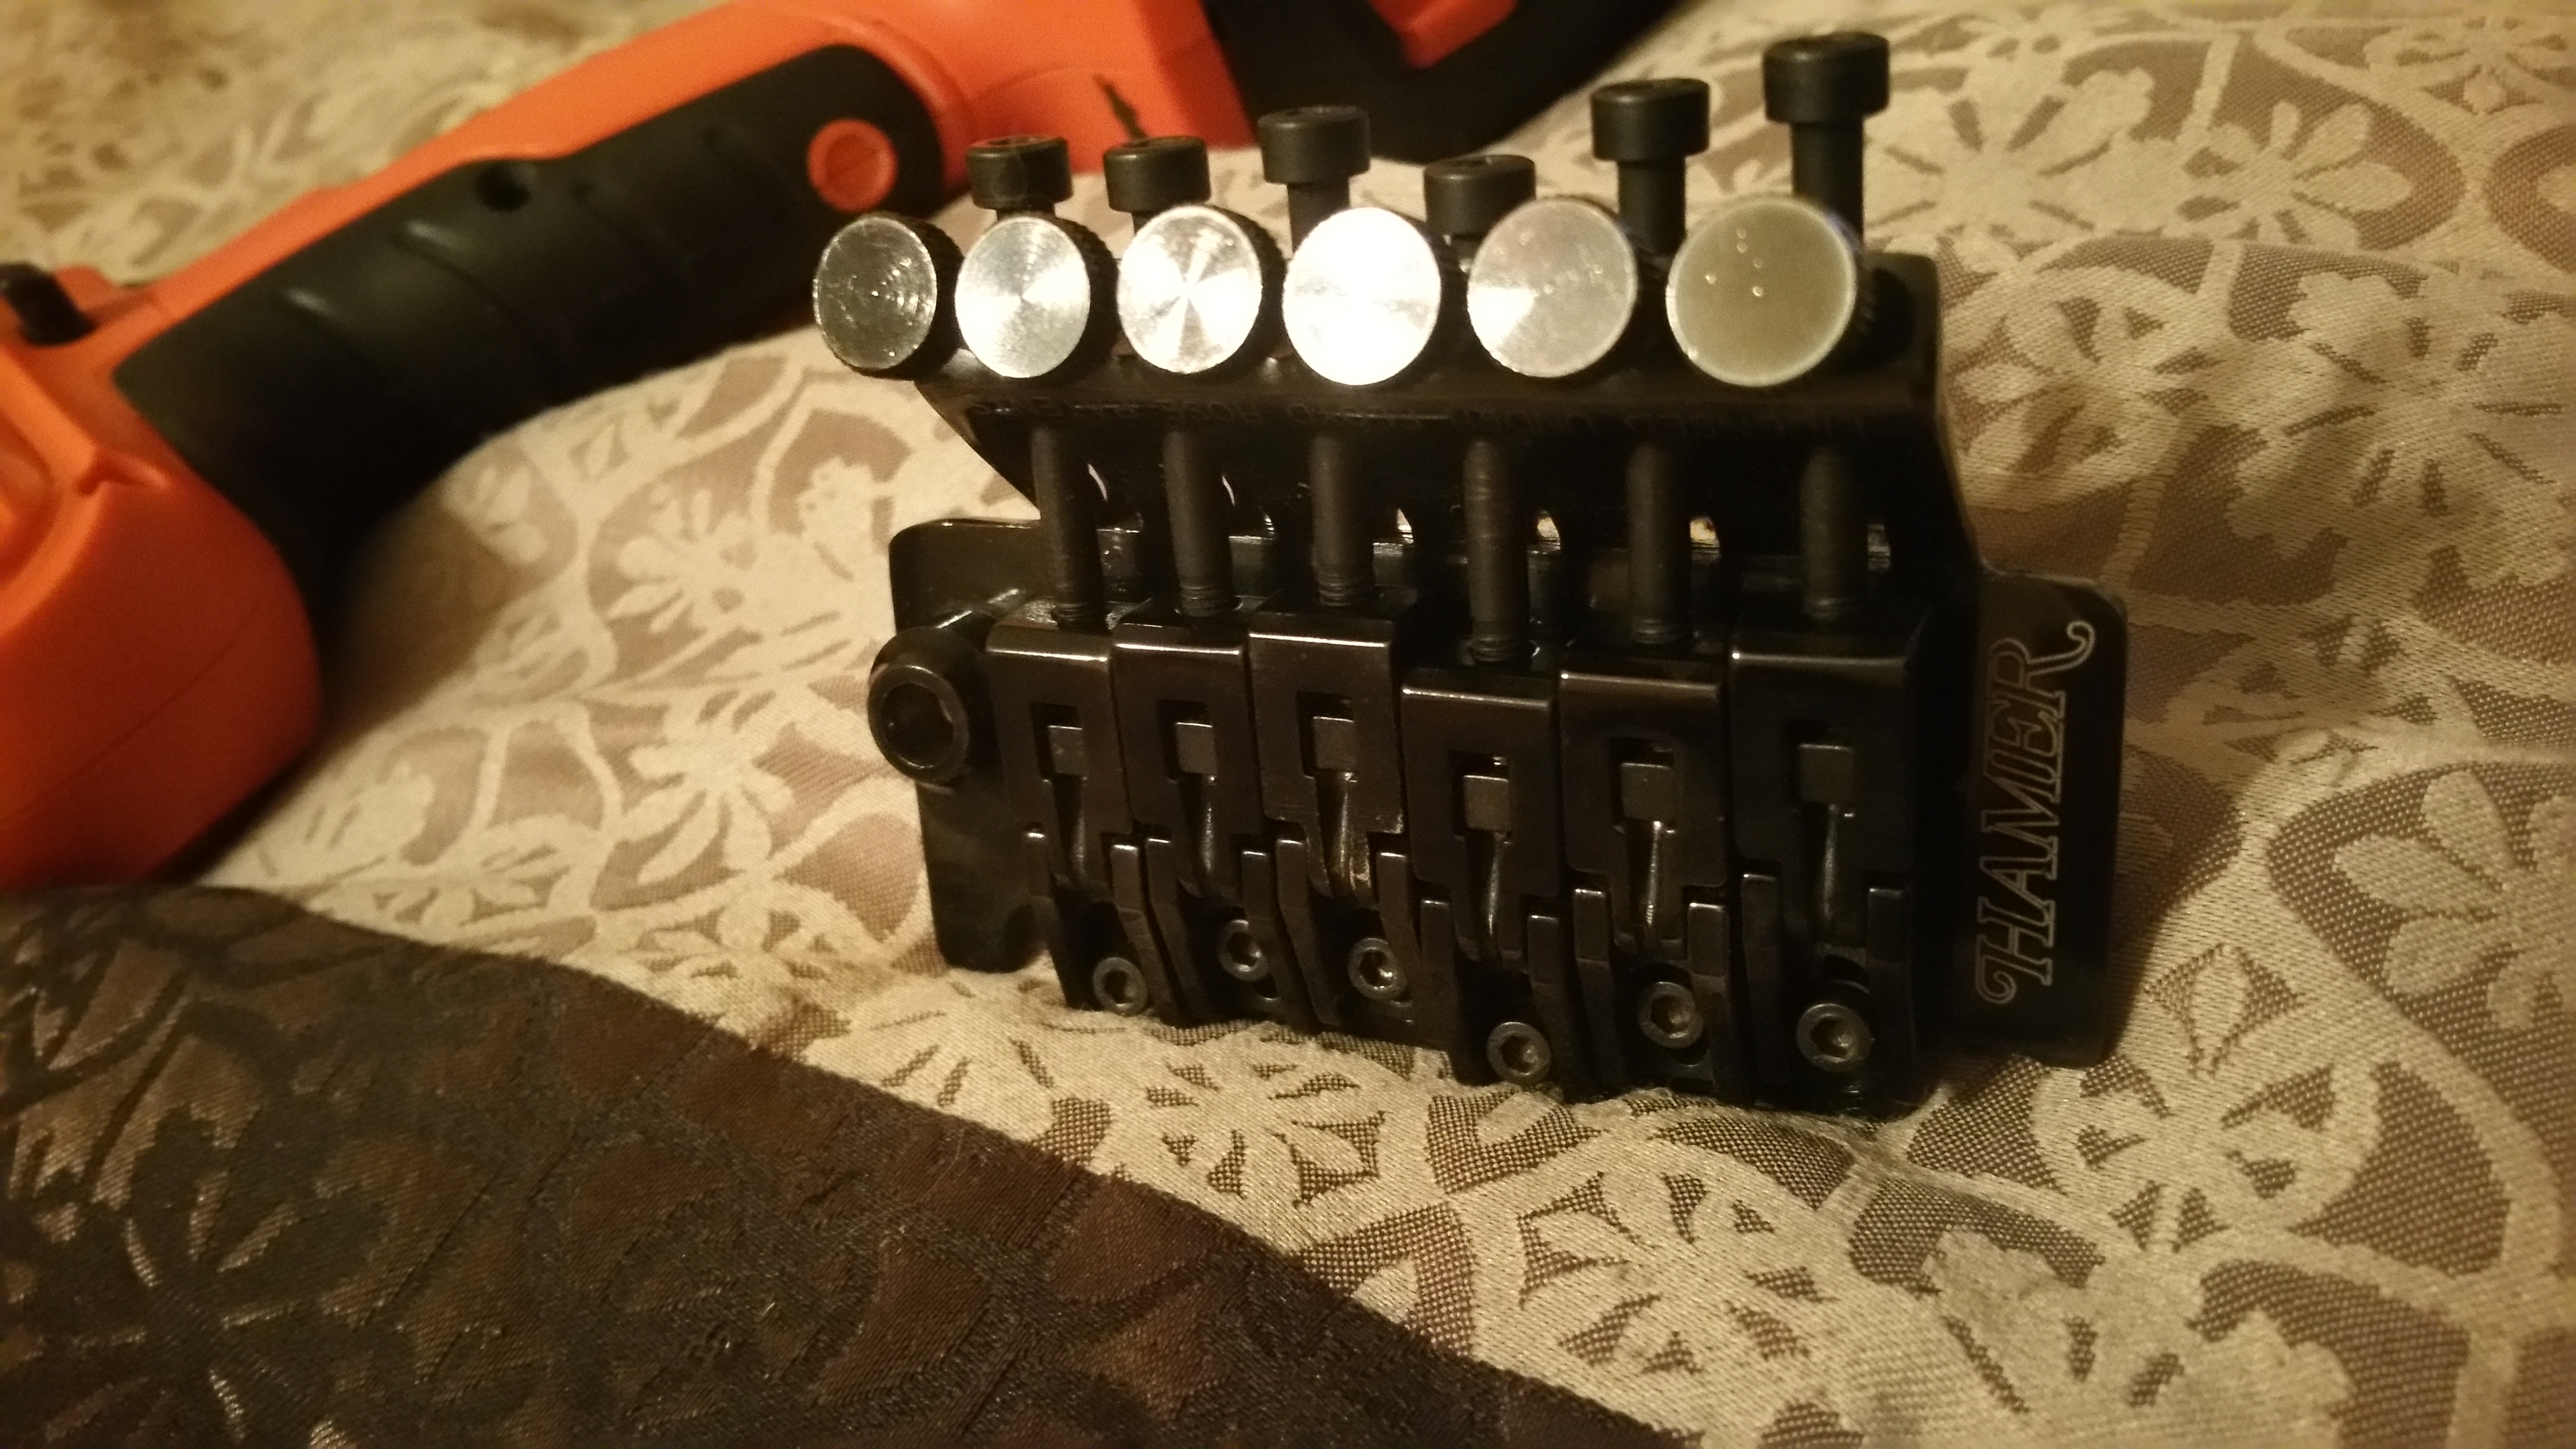
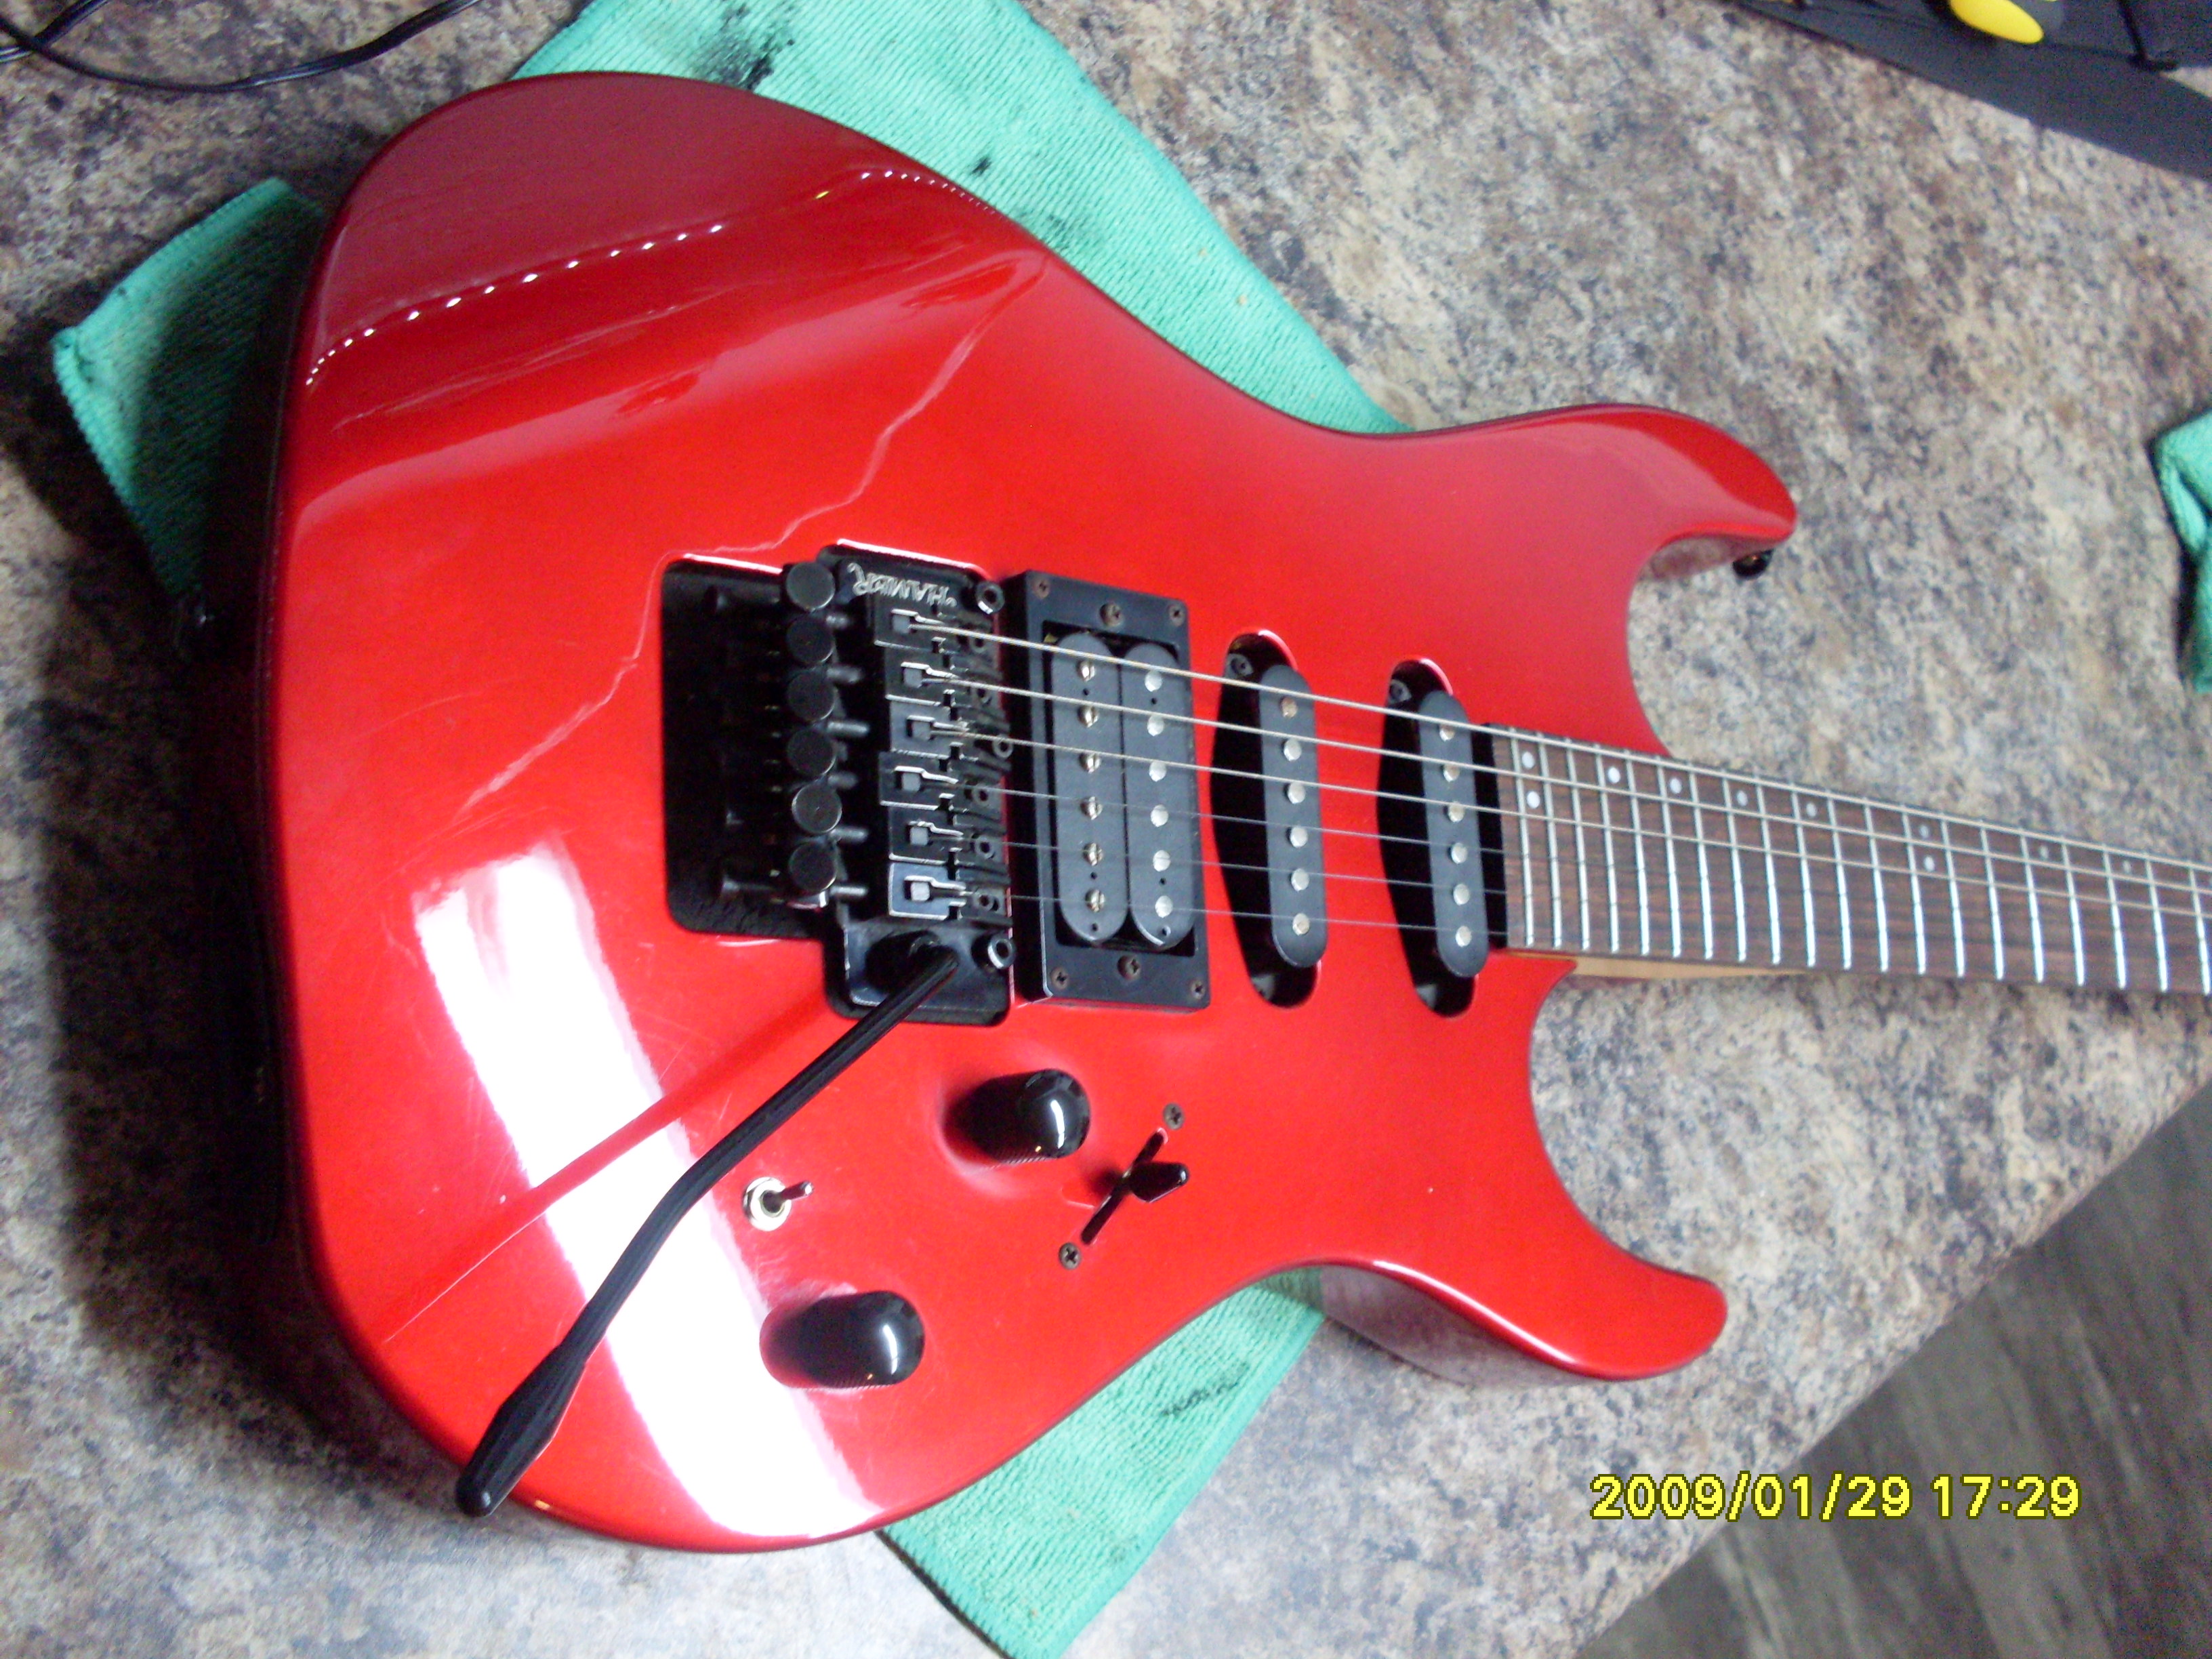
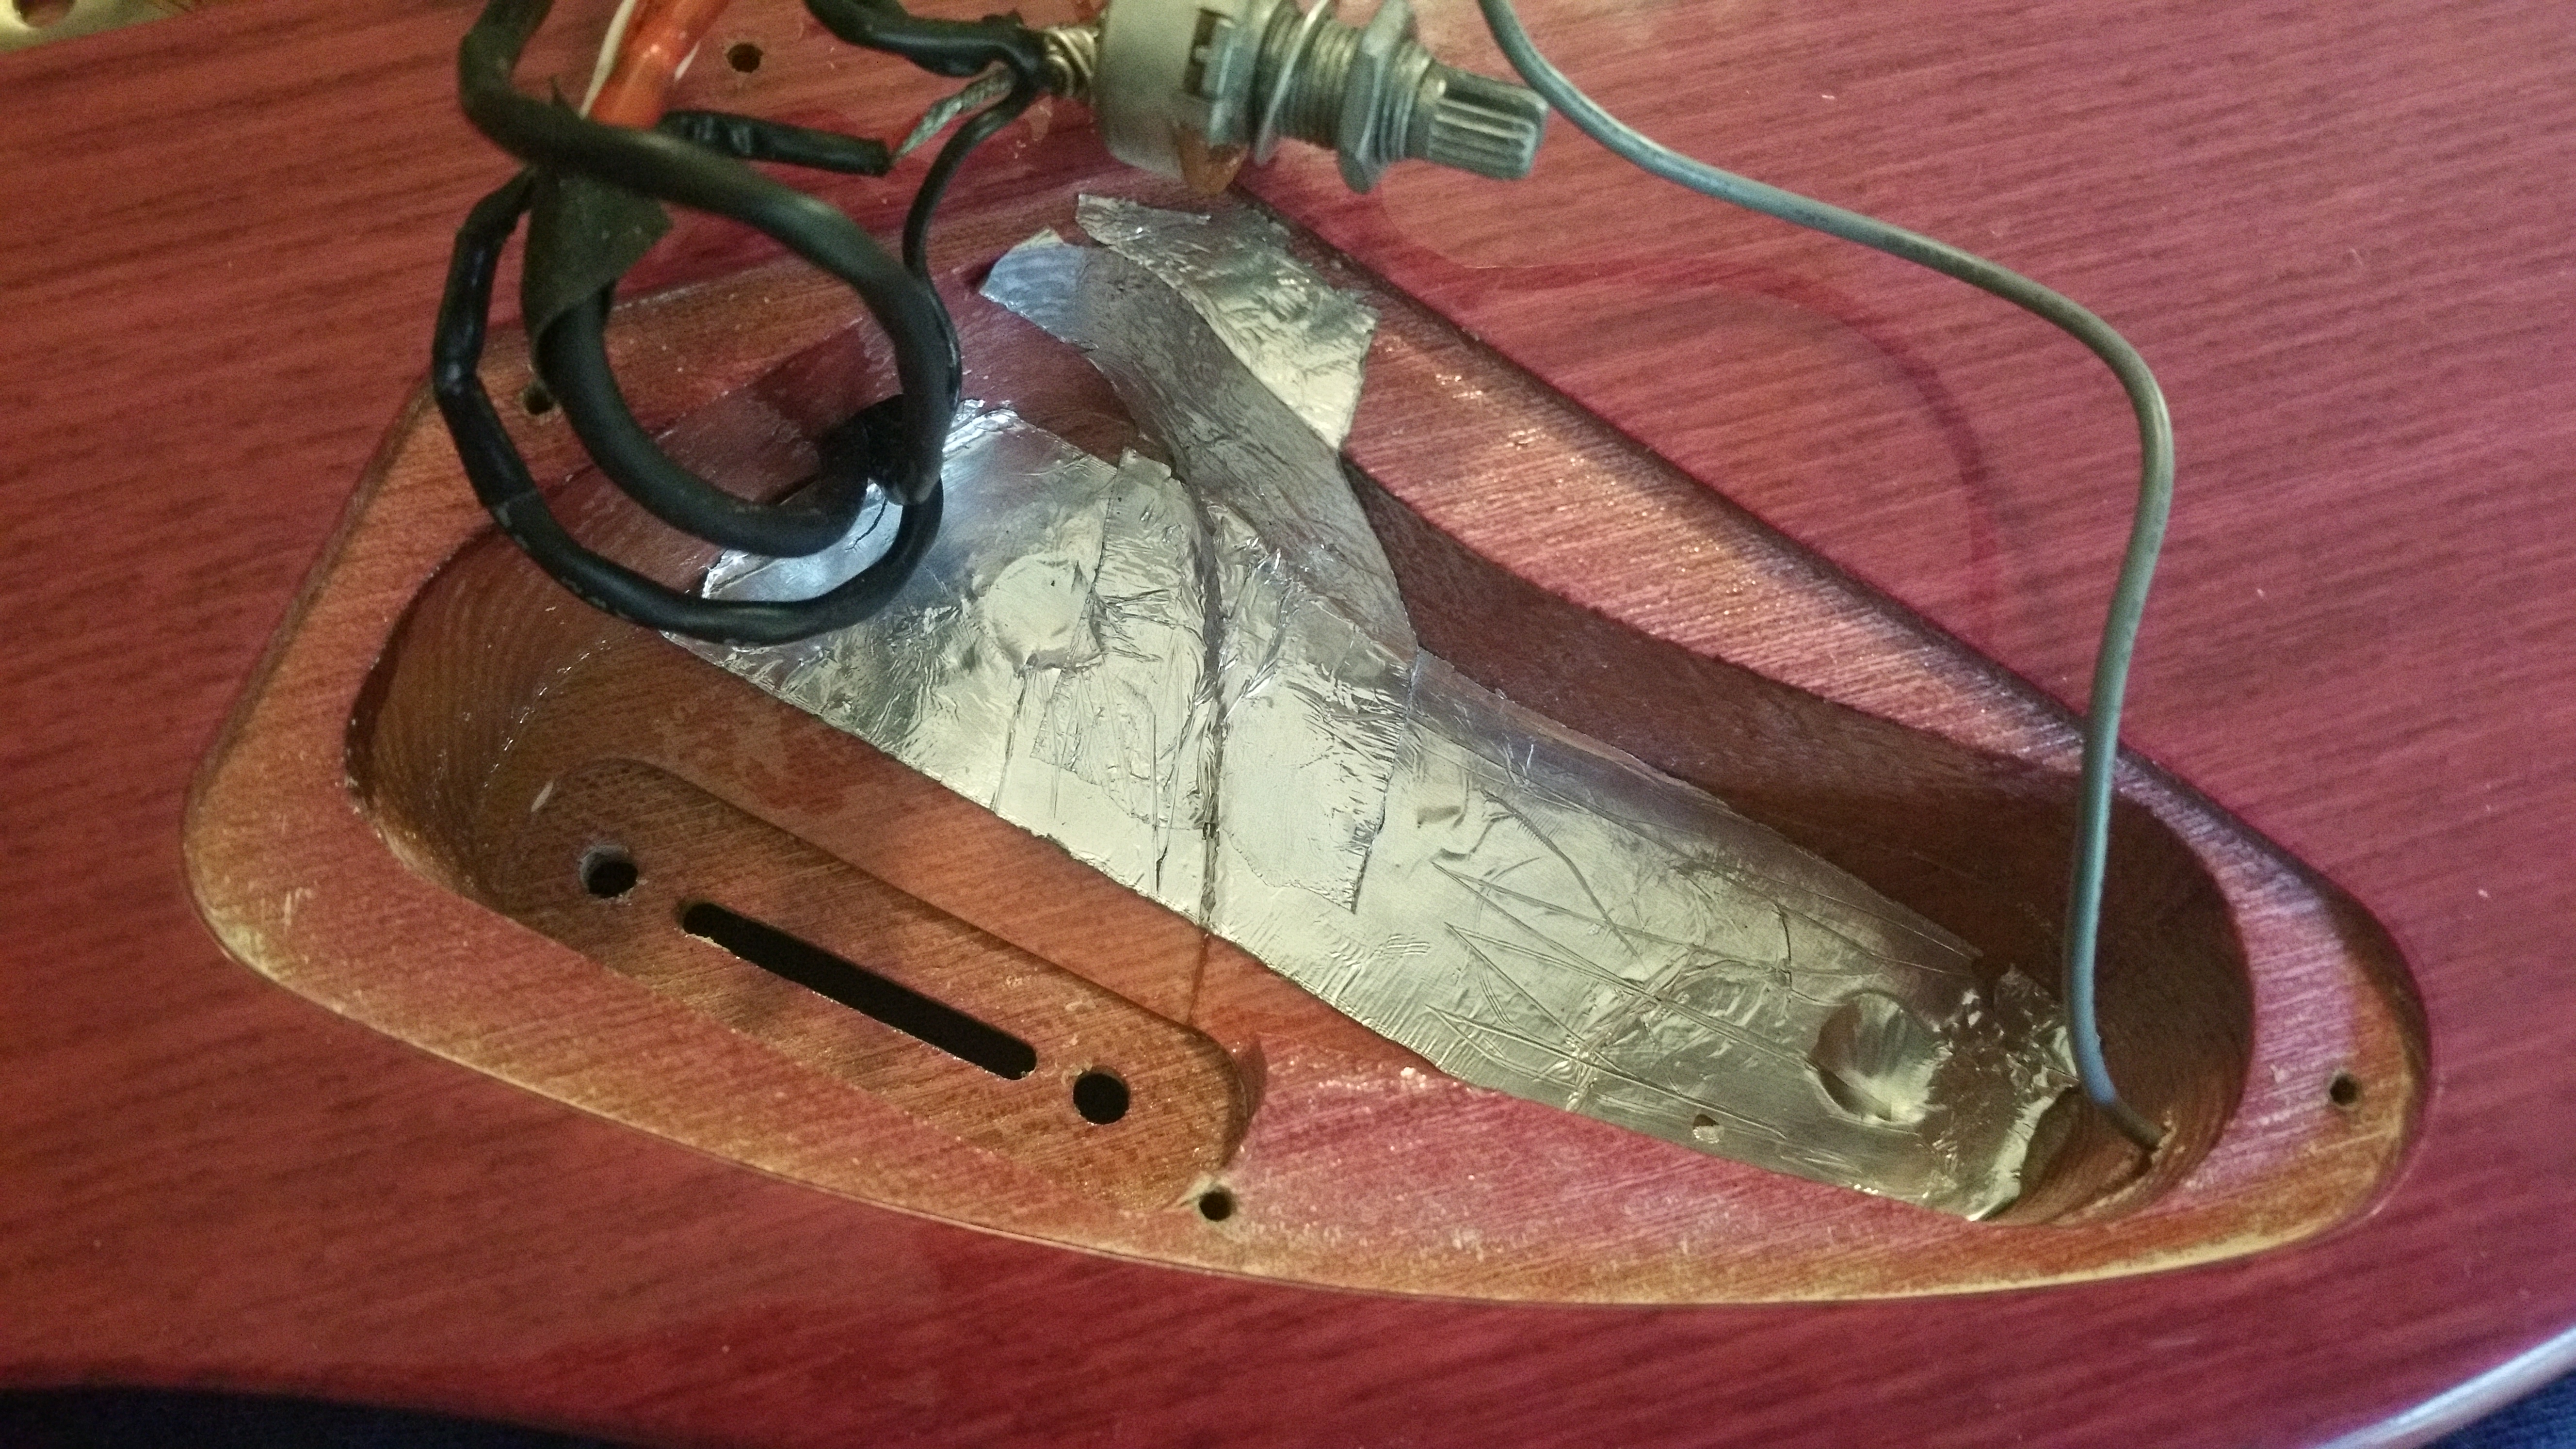
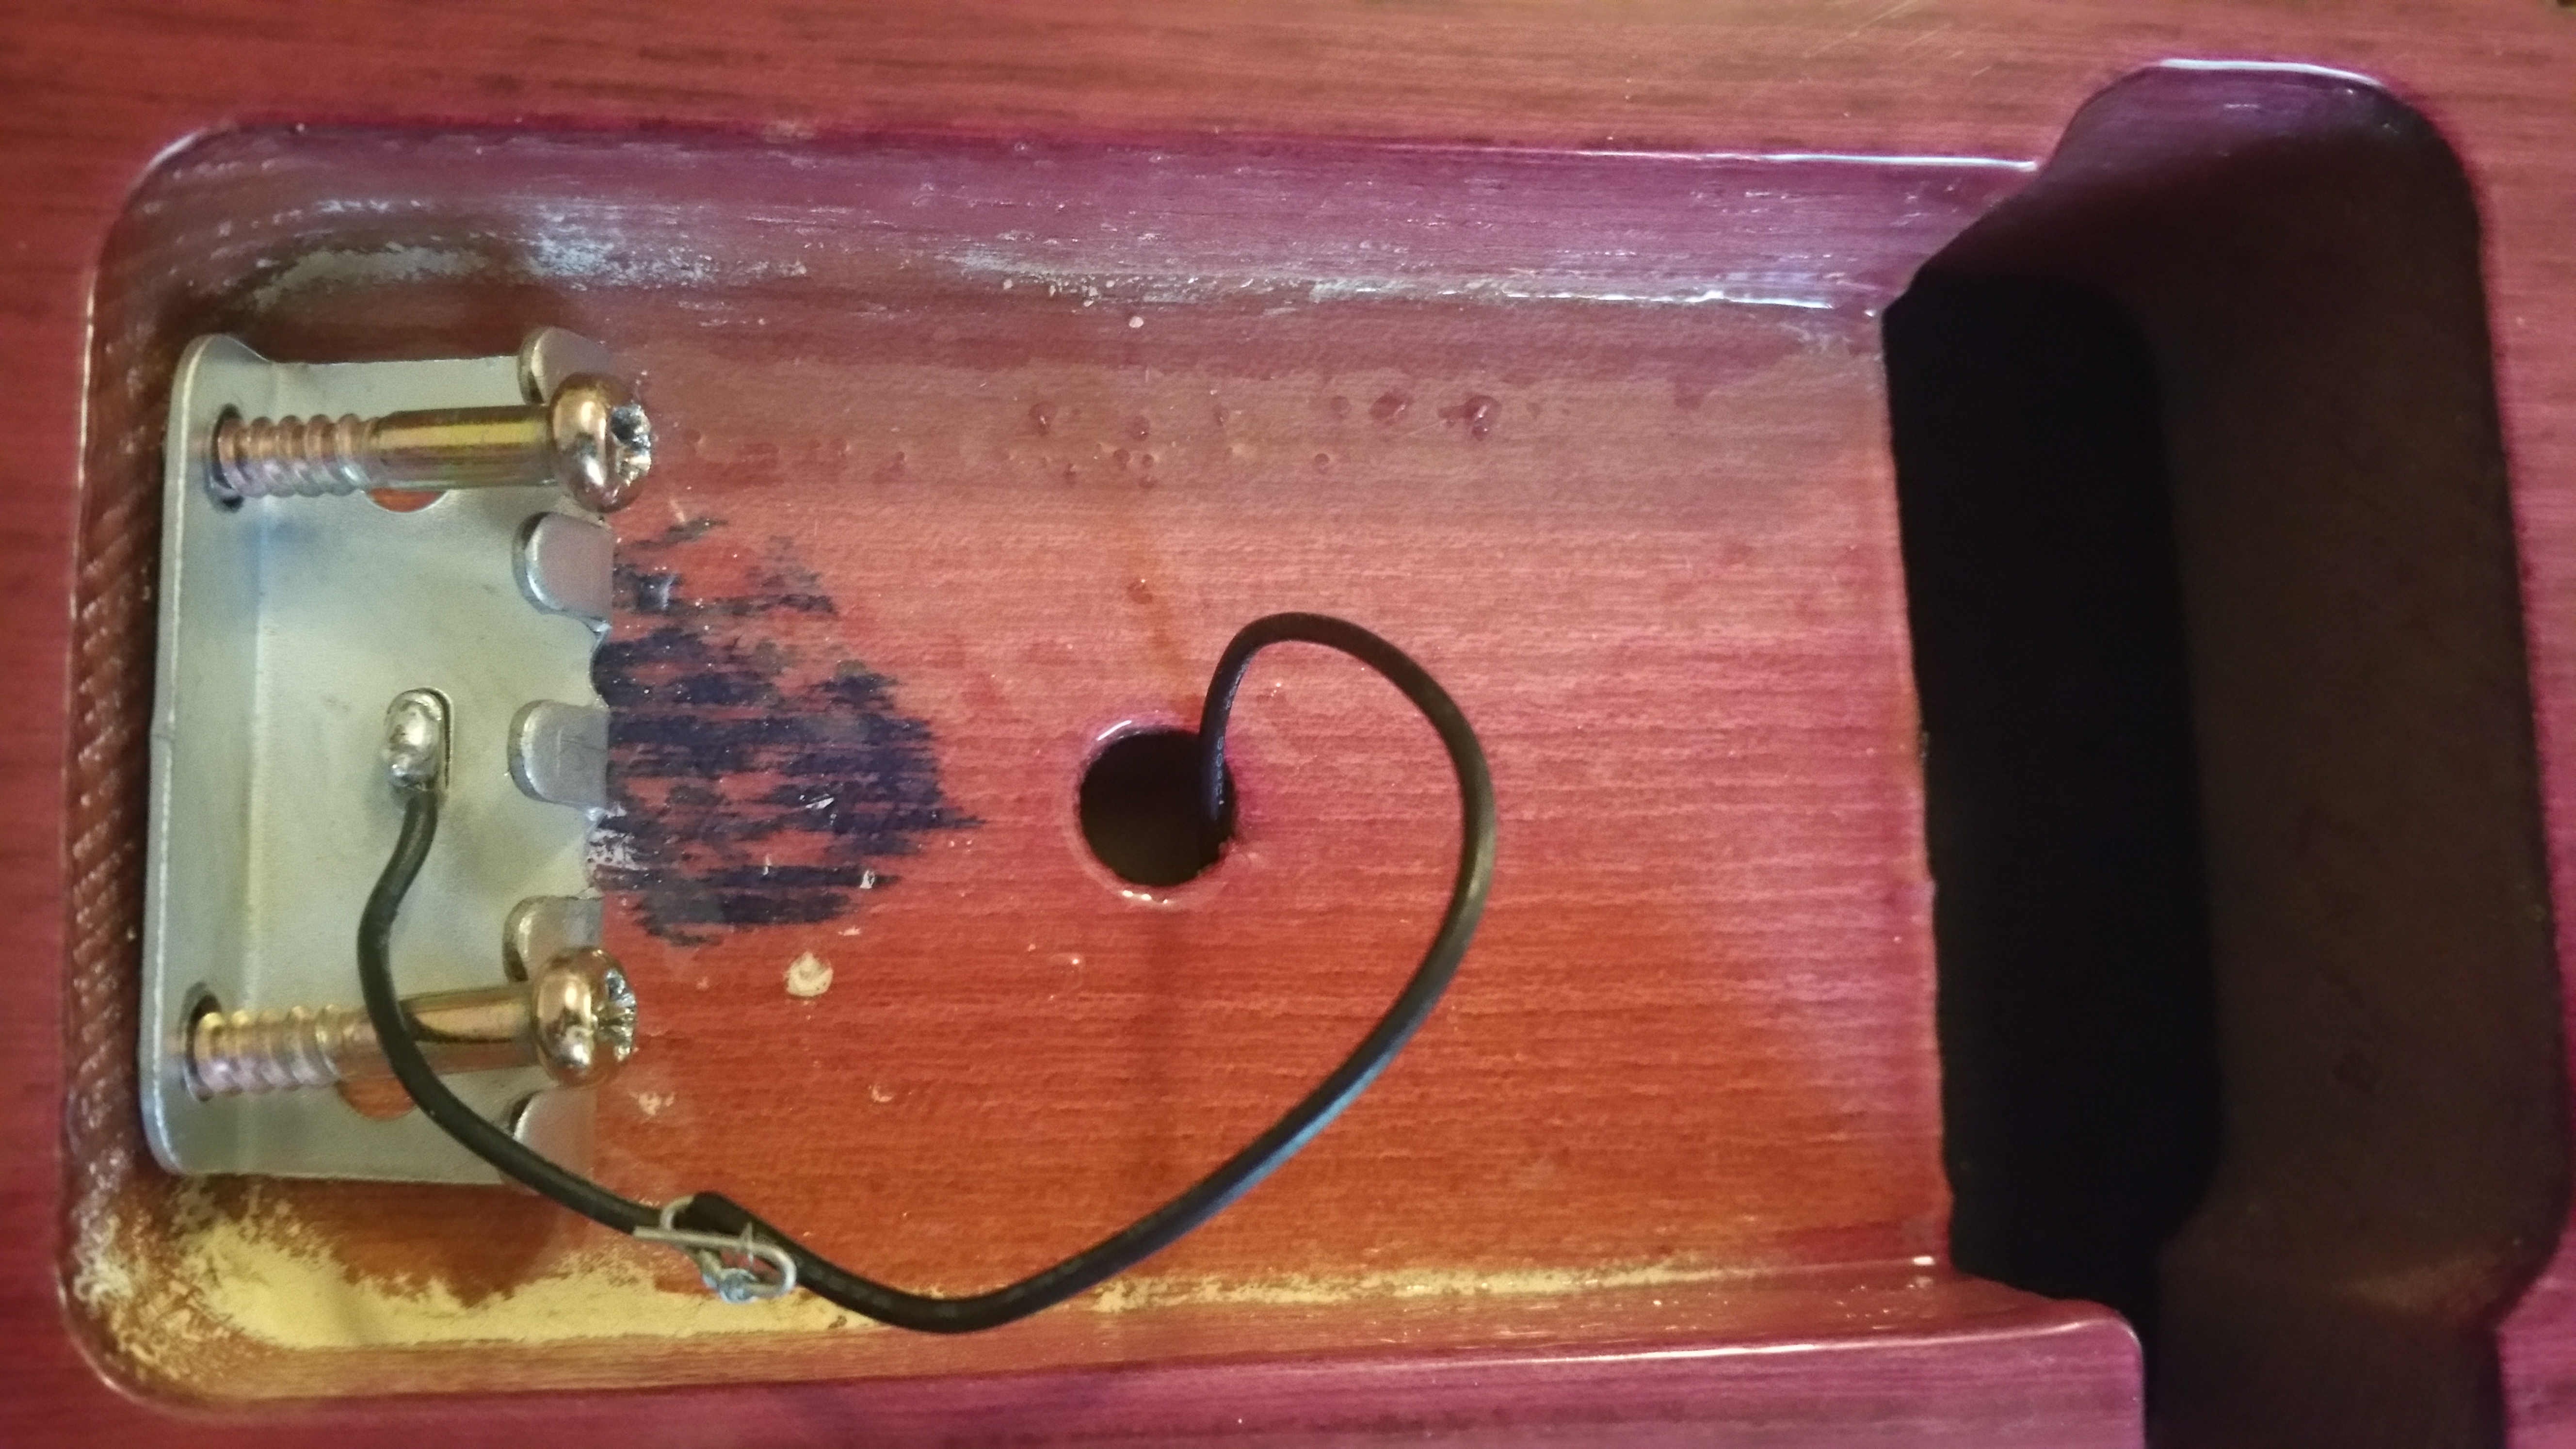
3.  Install your tremolo claw.


4.  Solder your ground wire to the tremolo claw.


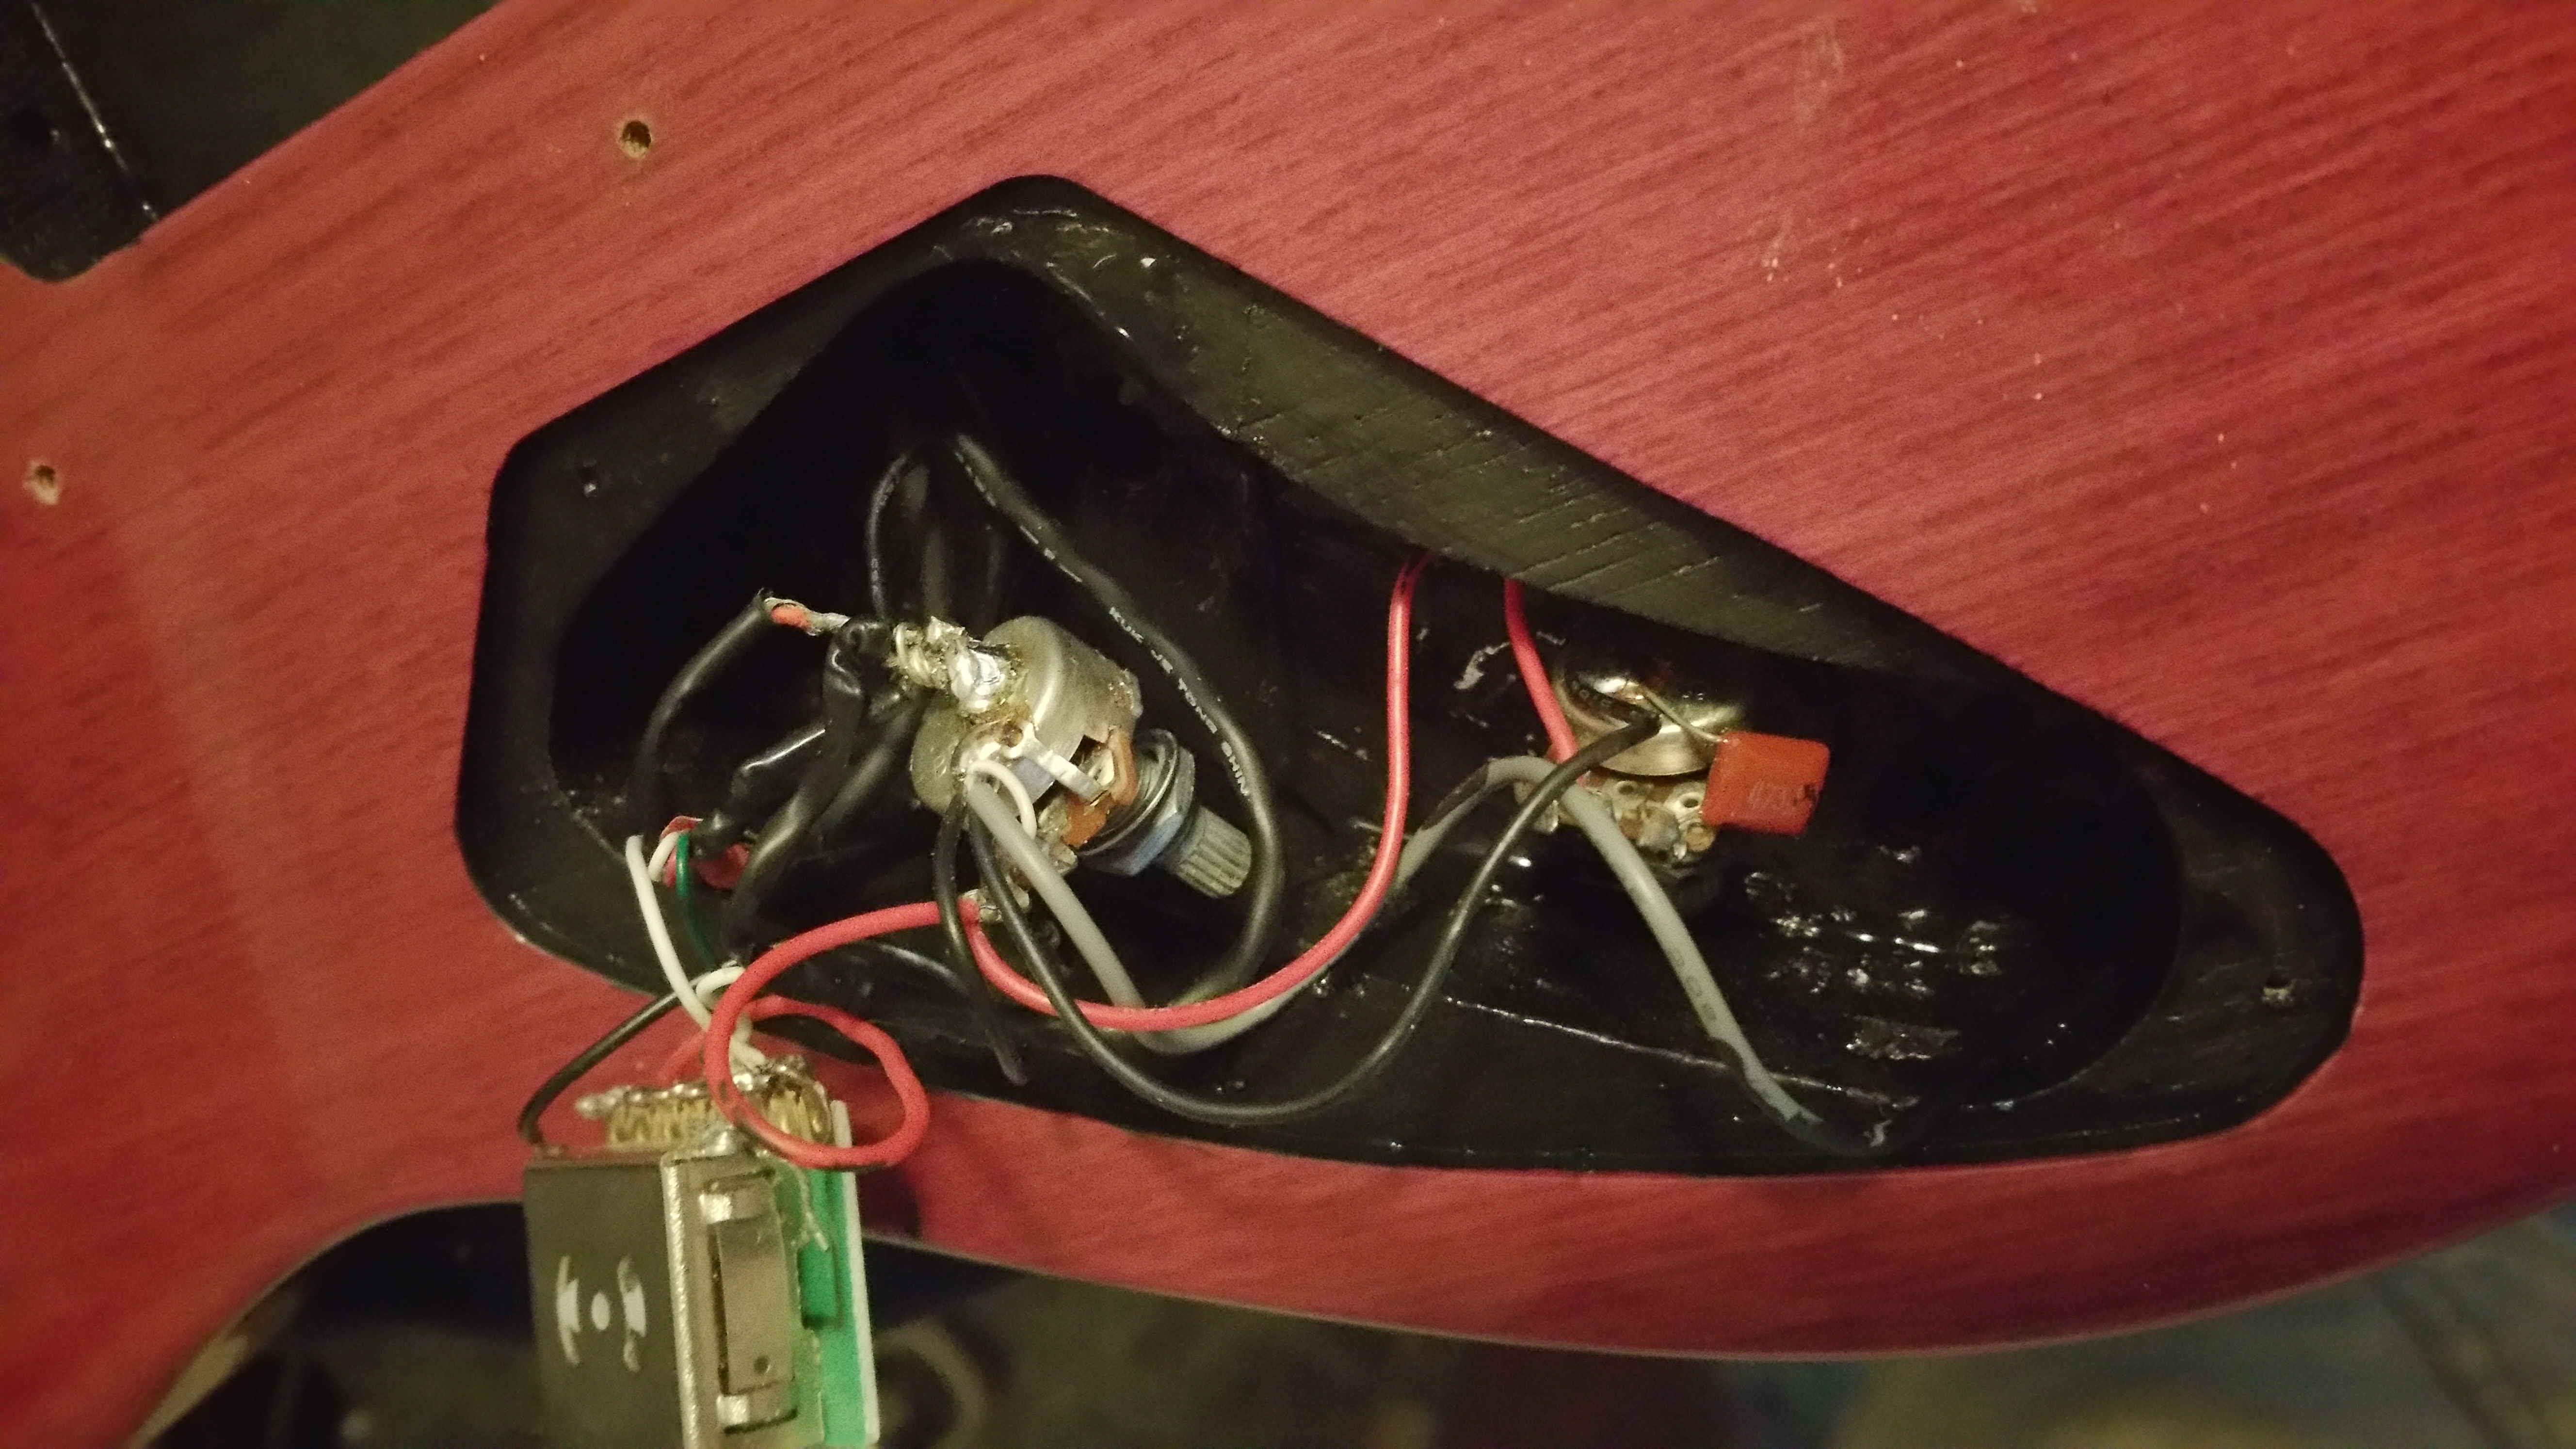
5.  The wire that feeds the selector switch power is where you need to solder in a wire to feed your "bridge on" switch, so solder a wire from there over to the "input" terminal of your 2 way toggle switch.

(if all else fails and you aren't sure where to put the wire on the switch, if there is 3 terminals solder this wire to the center terminal, if there's only 2 terminals pick the one that you think is prettiest and solder to it.)


6.  On the output side of the 2 way solder a wire from there to the bridge pickup terminal on the pickup selector.

(the same place you solder your + bridge wire)


7.  From here on its all the usual stuff, solder in each pickups + wire to the selector switch, then solder the ground wires of each pickup to a ground. do any other soldering to finish up your harness and get ready to pre test your work.


8.  Ok so now you have a wired up body with no bridge, neck, or covers. turn on a test amp and plug in your guitar. using an Allen wrench or a screw test your outputs. with the pickup selector switch all the way down the bridge should be the only pickup putting out. take your Allen wrench or screw and tap the top of all the pickups you should get noise from the amp from any pickup that is putting out. in this position we only want to hear the bridge pickup, if so good, if not you need to check your wiring and soldering.

 Click the selector switch to the second position (one click from the bottom) now when you tap you want to hear noise from the bridge pickup and the center pickup.

 Click the selector switch up one more position (center position) and only the center pickup should make noise when tapped.

 Click the selector switch up one more position and you should get noise from the middle pickup and the neck pickup when tapped.

 Click the selector switch to the last position (all the way up) and you should only get noise from the neck pickup when tapped.


 Ok so with all that good lets test the "bridge on" switch.


9.  With the selector switch still in the neck pickup only position (all the way up) flip the "bridge on" switch. you should now get noise from the neck when tapping it and the bridge pickup when you tap it.

 Click the selector switch down one position, you should get tap noise from all 3 pickups. Flip the "bridge on" switch off now and you then should stop getting noise from taps in the bridge pickup but still have the middle and neck pickups.

 Any other position on the selector switch the "bridge on" switch should not really be used because the selector switch can achieve all the tones achievable without needing the "bridge on" switch.


10.  Your now ready to simply reassemble the rest of the guitar. if you did all your checks before we ever disassembled you should be able to reinstall everything to a playable position, only needing to do final setting up.

11. We wanted our parts to all look new and to be all black, we use semi gloss black paint brushed onto the final pieces.


 Taping off and doing final touches. This is where we painted all the other hardware and pieces.

 This step is hard to get right because you need to use the right paint here not your supermarket brand water color clumpy sloppy paint. Basically we mix a batch of paint that is brushed on but is very thin and after 2 or 3 coats it is nice and smooth and evenly covered.

  Switches, and screw heads are the main parts that would use this paint, you can skimp out on painting the body cavity with a cheap water paint but the screws and stitches need a paint that will not only stick but will get down into the small places and cover even.


  Pictures of this guitar complete are coming.


We will end part 2 here, if there is anything we need to add we will create a part 3.


Used Guitars Revival - Part 1 Disassembly and Cleaning

  Apr 23rd 2018 by Sam

  In part 1 we will cover a few different areas of consideration, but mainly the body and the tremolo system. so lets get started.

  Before we get into the step by step portion of this guide let's begin with a few "pre-considerations". When you receive your guitar before you jump into disassembly it is a good idea to try to get it set up and working the best you can. Tune it up checking all the tuners and fine tuners for Floyd Rose setups, set the string height checking for "fretting out" and dead spots and neck straightness. If you need to adjust the truss rod I would do that now to insure the desired adjustment can be achieved. Plug in to an amp and check the electronics, Check the input jack for dead spots, turn the knobs to check for crackling, flip through the pickup selector switch checking the operation and any noise. Most of this is pretty straight forward, just note all the issues you find and be sure the deficiencies can be corrected. if you can't get the truss rod to function then continuing would not produce a good playing guitar no matter how clean and otherwise setup it is.
  So with your used guitar crudely setup and tested lets begin disassembly and cleaning.


1.  Use a cleaner to wipe down all accessible areas of the guitar body and neck. If you start taking apart a dirty guitar you just end up spreading the mess to areas that we clean.

2.  Loosen and remove all the strings.

3.  If your taking the neck off this would be a good time to do so, I don't recommend taking it off unless it's necessary because of the potential to chip the paint around the neck pocket.

4.  Continue the disassembly and apply paint to the cavities. We use flat black so the cavities hide behind the hardware if you use gloss black the cavities stand out.


5.  While this paint is drying this is a good time to clean your hardware and repair and damage to your hardware. We will go through a Floyd Rose cleaning in this post.


 There are a lot of small pieces with the Floyd Rose and even the traditional 2 and 6 point tremolo, we recommend using a tray to hold all the little pieces until reassembly.


  Its amazing the places where dirt and dust get into. The end results depend on the effort and attention you put into cleaning these pieces.


  Removing all the parts allow you to get the dirt you can see but not get to with any cleaning equipment.


  As you can see there is no substitute for this job.


  Ready to install.

 6. With all the hardware clean and any new parts ready to install now is a good time to get out your soldering iron and find the solder and soldering flux

We will end part 1 here so we can start reassembly at the beginning of step 2. We will post part 2 in the next couple of days.


Raspberry - Not Pink - Austin

  Apr 10th 2018 by Sam

  This Austin is in great shape considering from 2010 to 2011 it was in Afghanistan. The pickups were upgraded about a year ago and now it just needs a good cleaning and freshening up. I expect to find a lot of Afghanistan funk in the tremolo cavity and control cavity.

  Some before and afters.


Any idea what this said? Me either.


Finished.


A Complete Rebuild - Kramer 422 Stryker

  Apr 8th 2018 by Sam

  This one came in a box completely disassembled. We put the pieces back together and ended up with one sweet Kramer 422 Striker. As you can see it had the HSS pickup configuration with the Dual Rail singles and the Quad Rail humbucker, with a push pull coil tapper.


 American Strings - In Our Shop - Restorations - Upgrades - For Sale - Parts Reviews


2018 American Strings.net

webmaster@americanstrings.net