|
You can follow us as we work. All the work we
do that seems interesting enough will be posted here if we work on your
guitar it may be featured on this page.
|
In The Shop Now - Austin Floyd
|
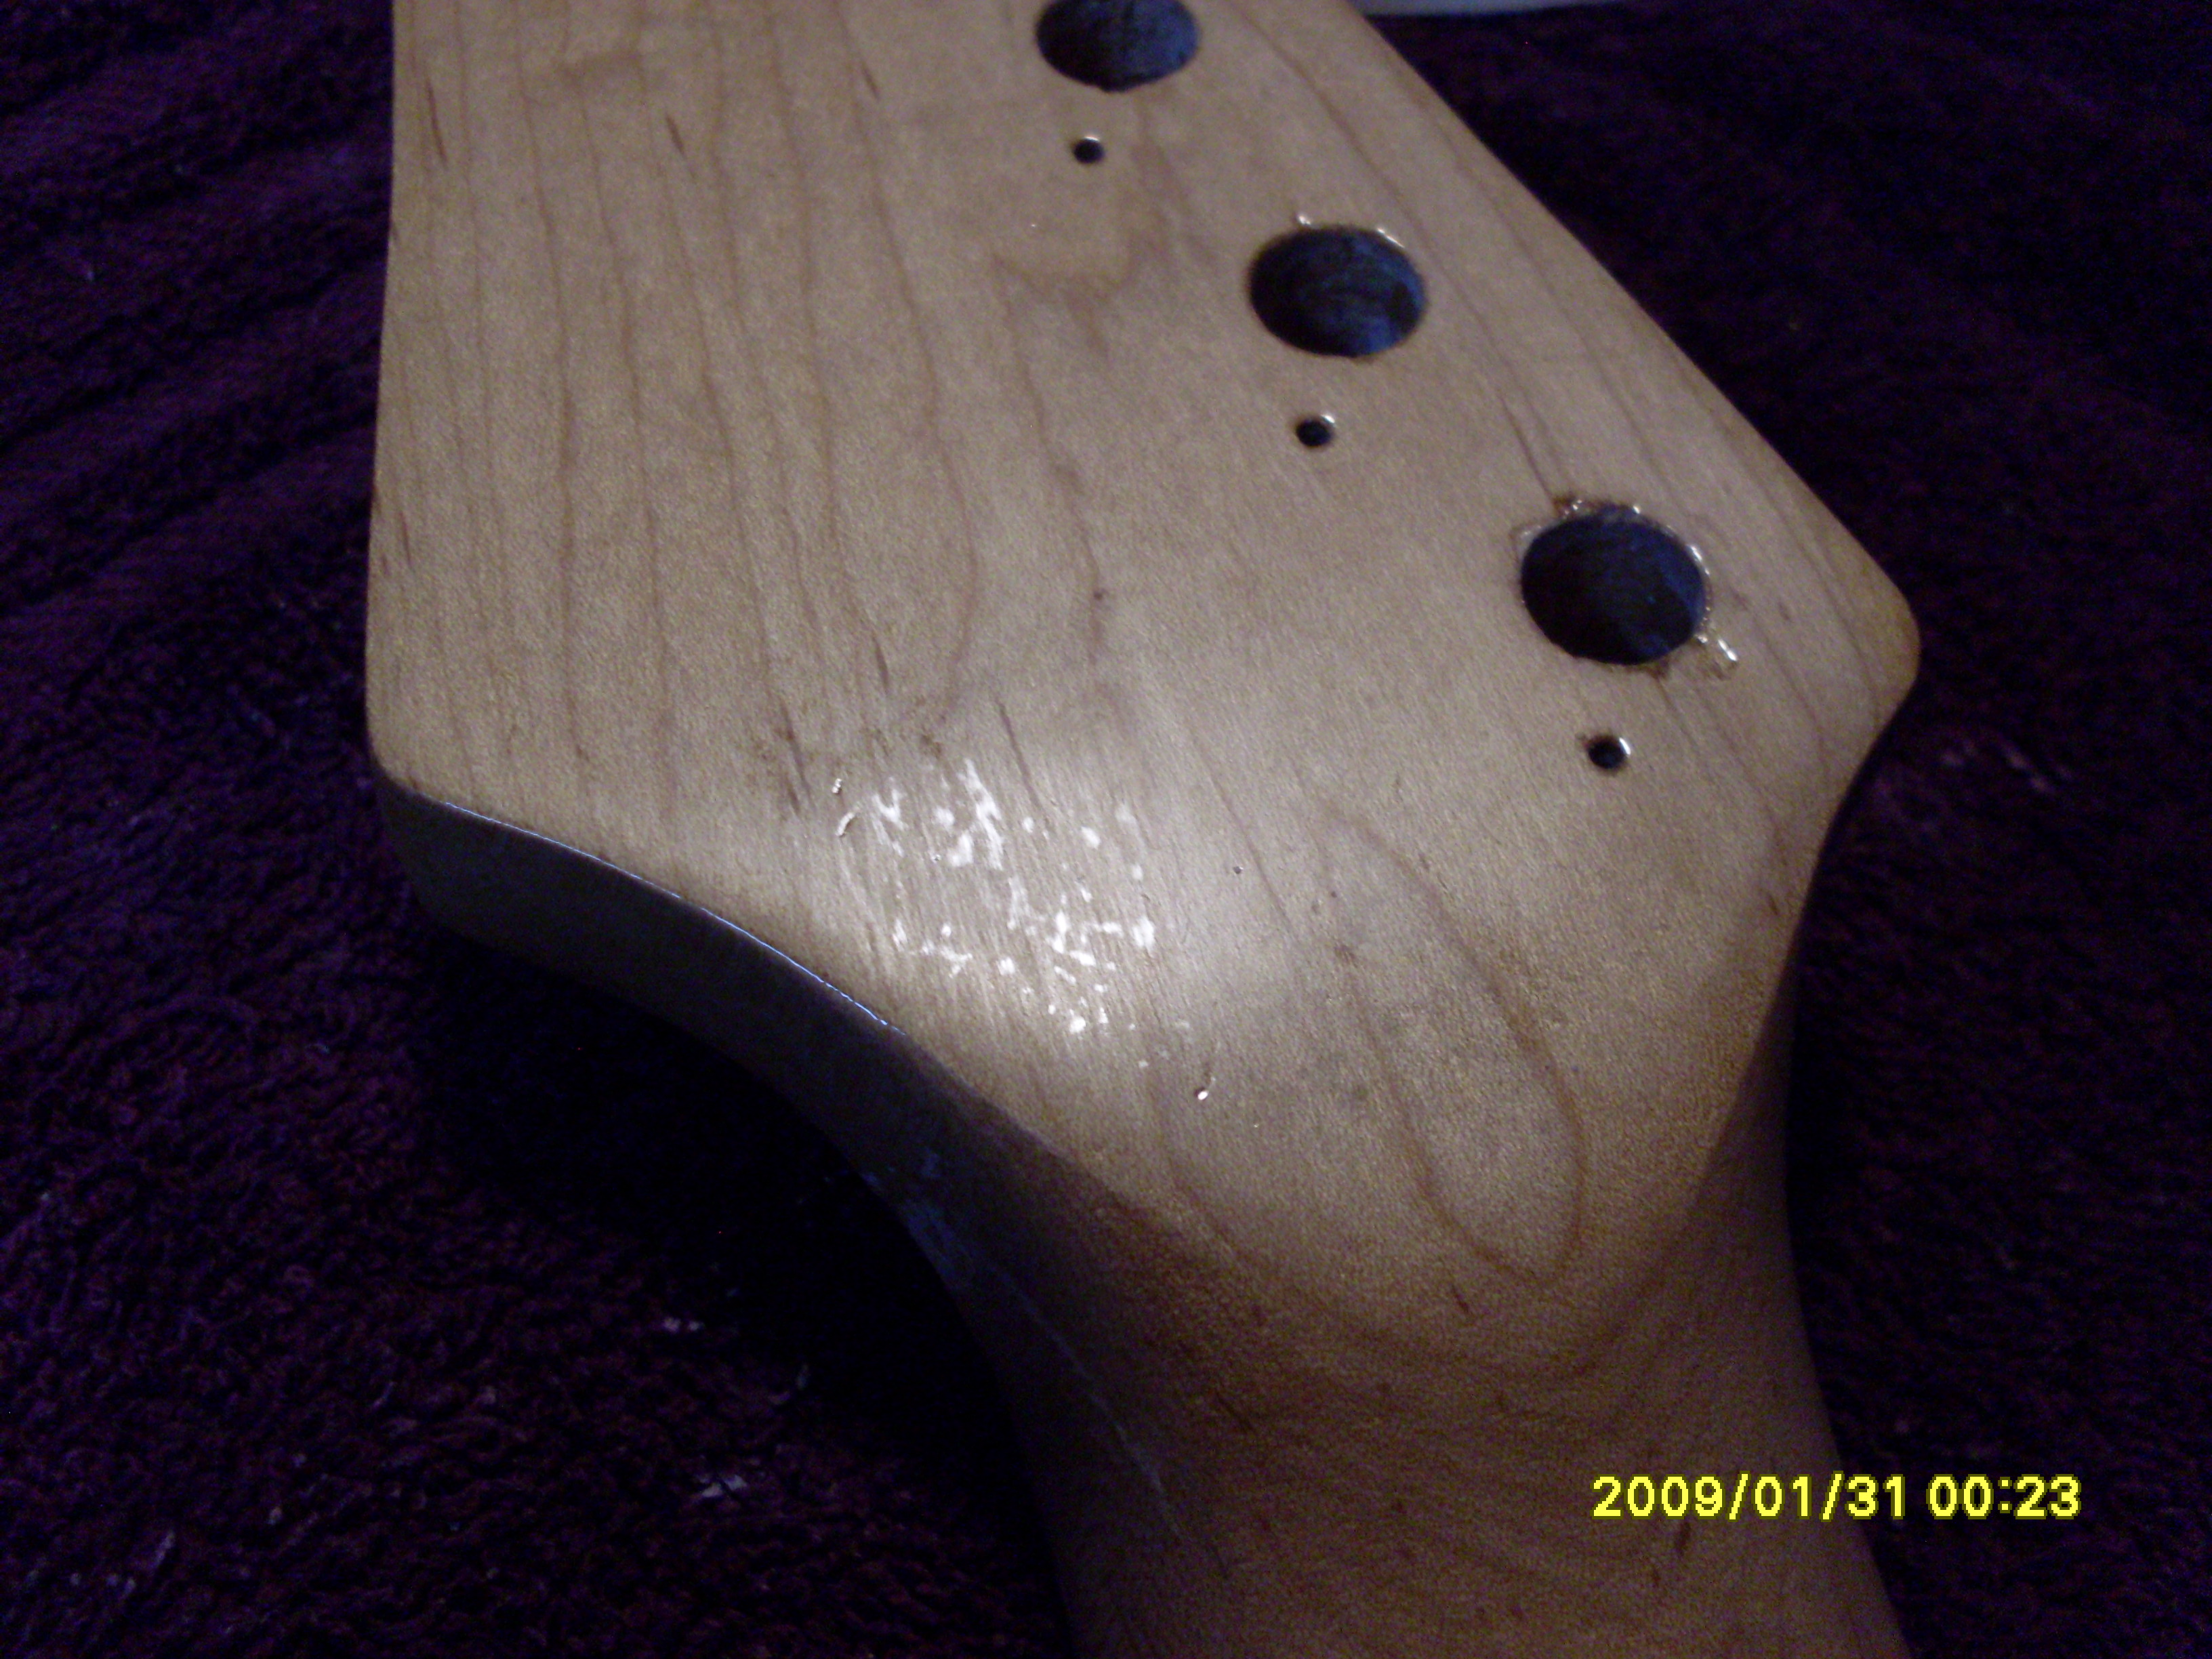
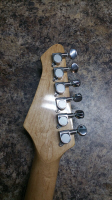
Sanding and polishing the neck is
complete, everything turned out great, It was assembled and
installed and checked for alignment and scale length
(25.5"). The next step is to decide on the pickups, use
these un branded (no logo) set or install an aftermarket
replacement set.
|
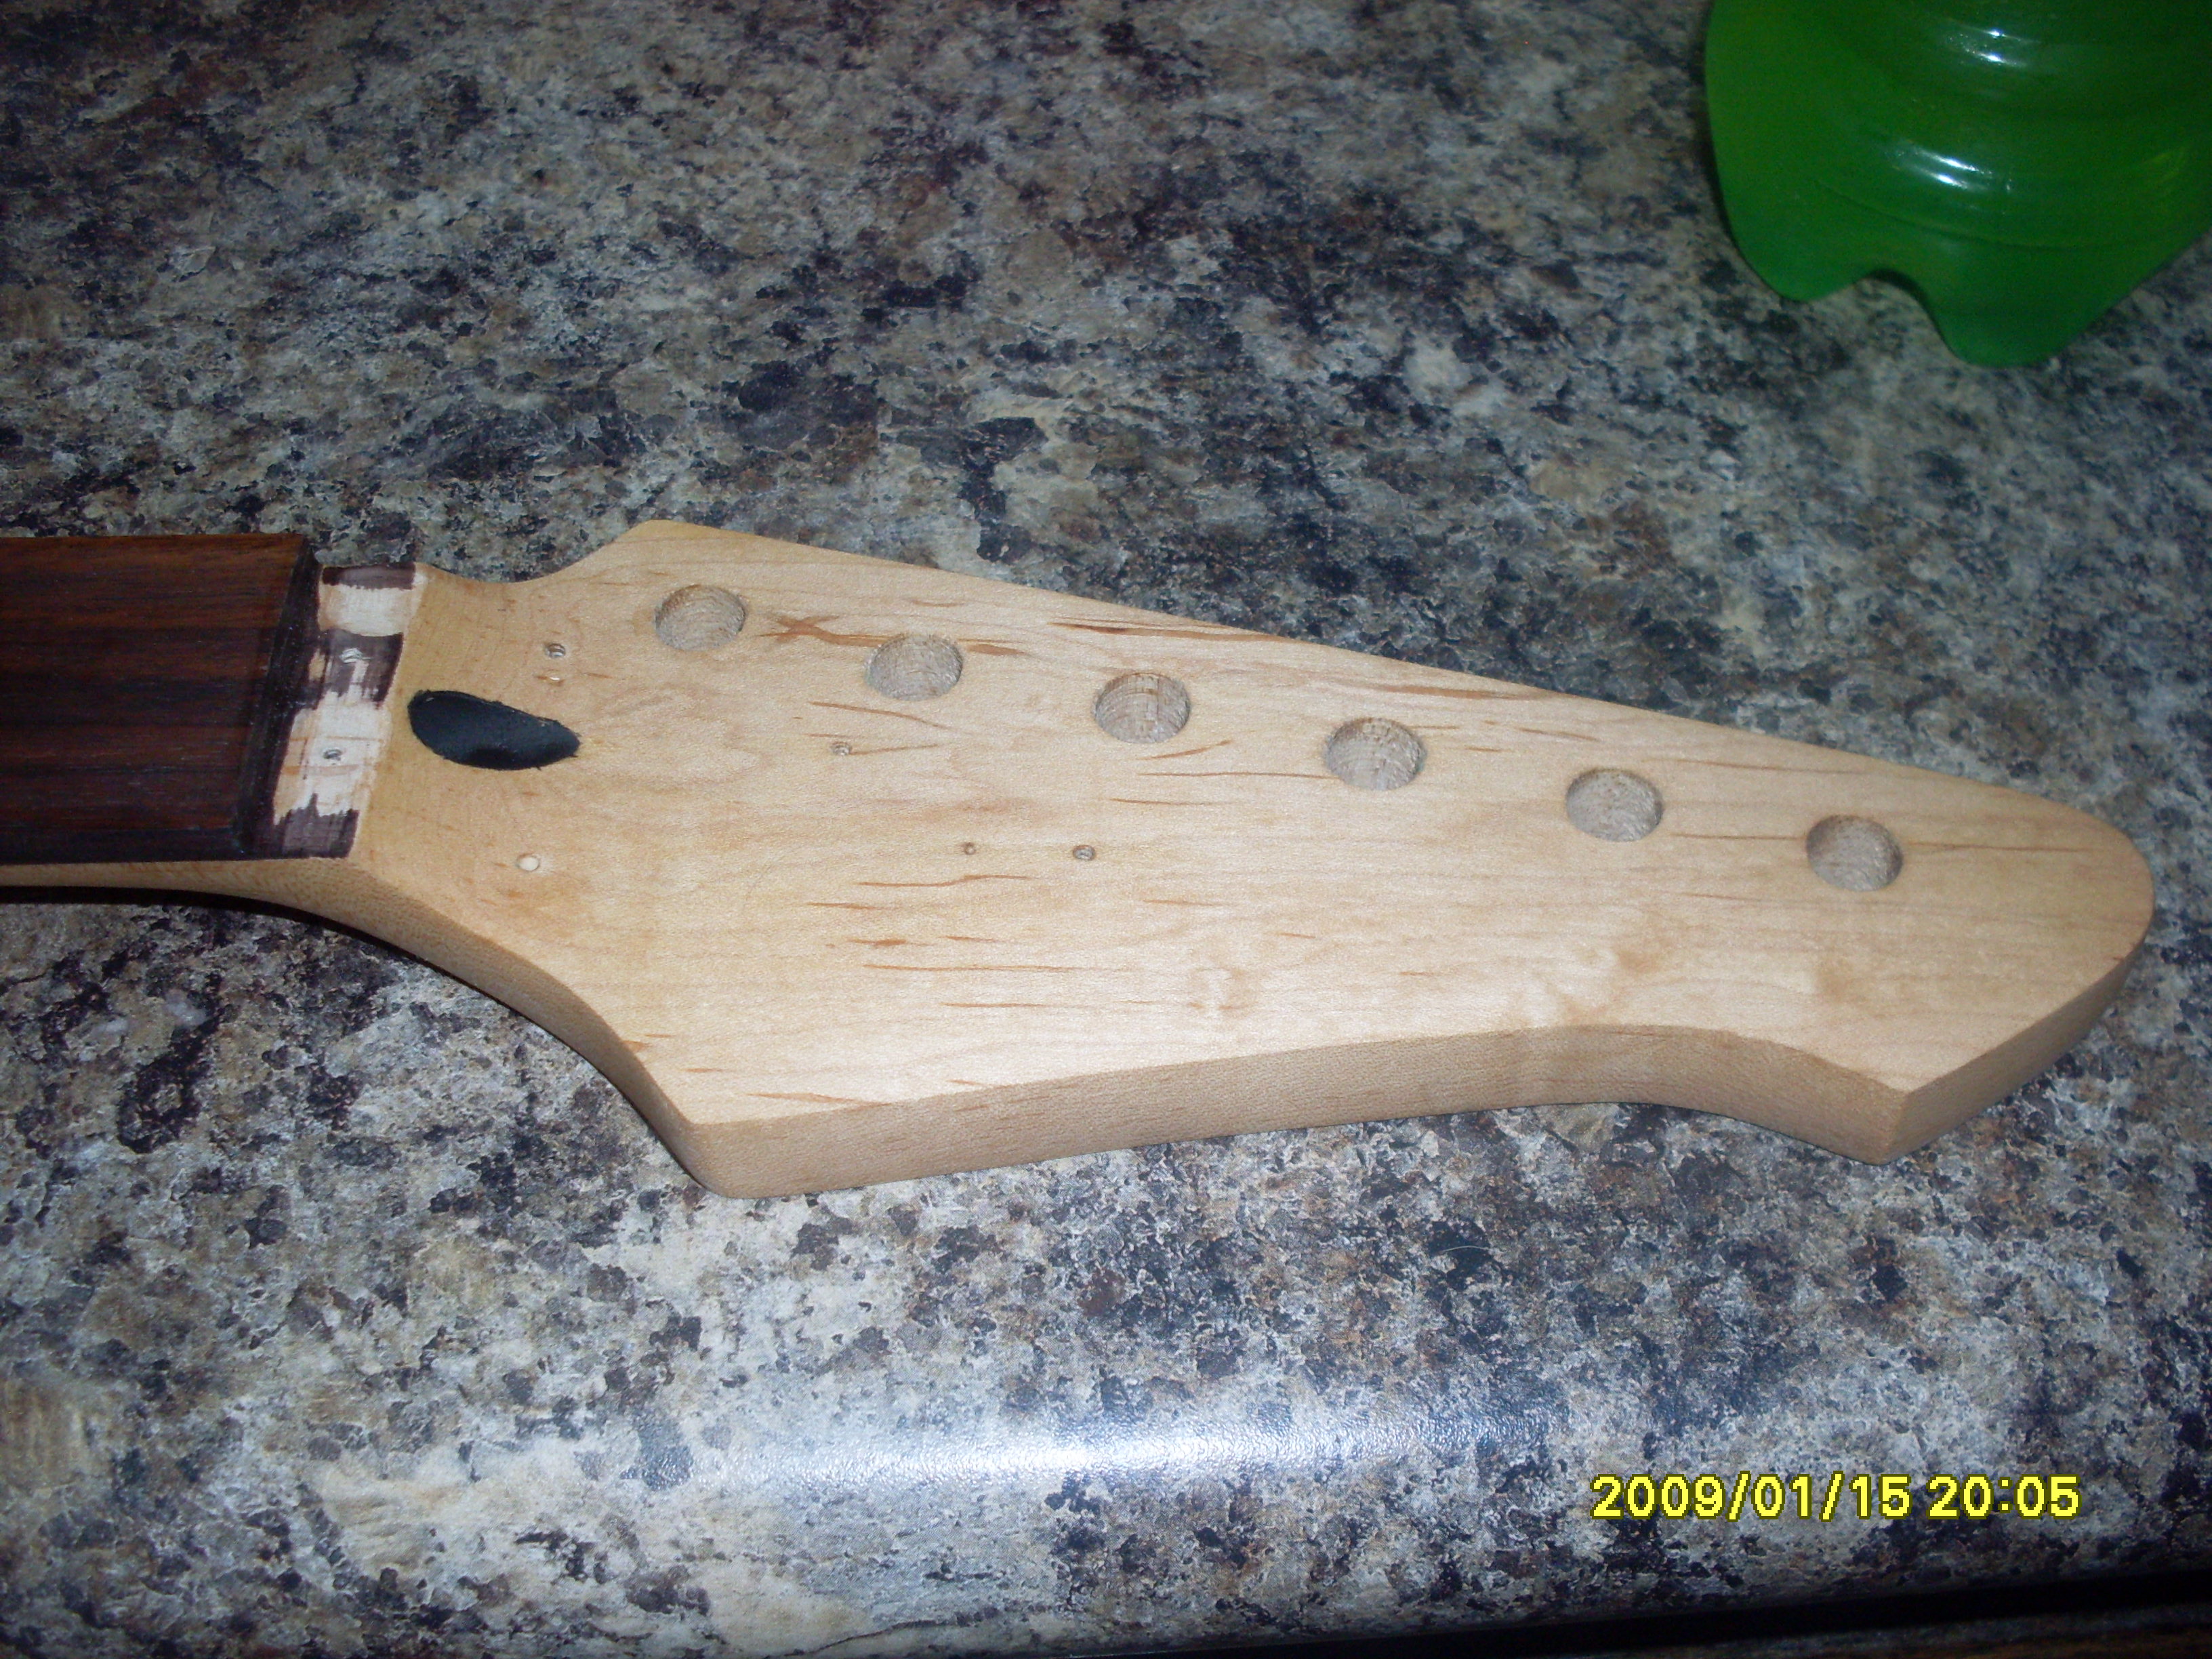
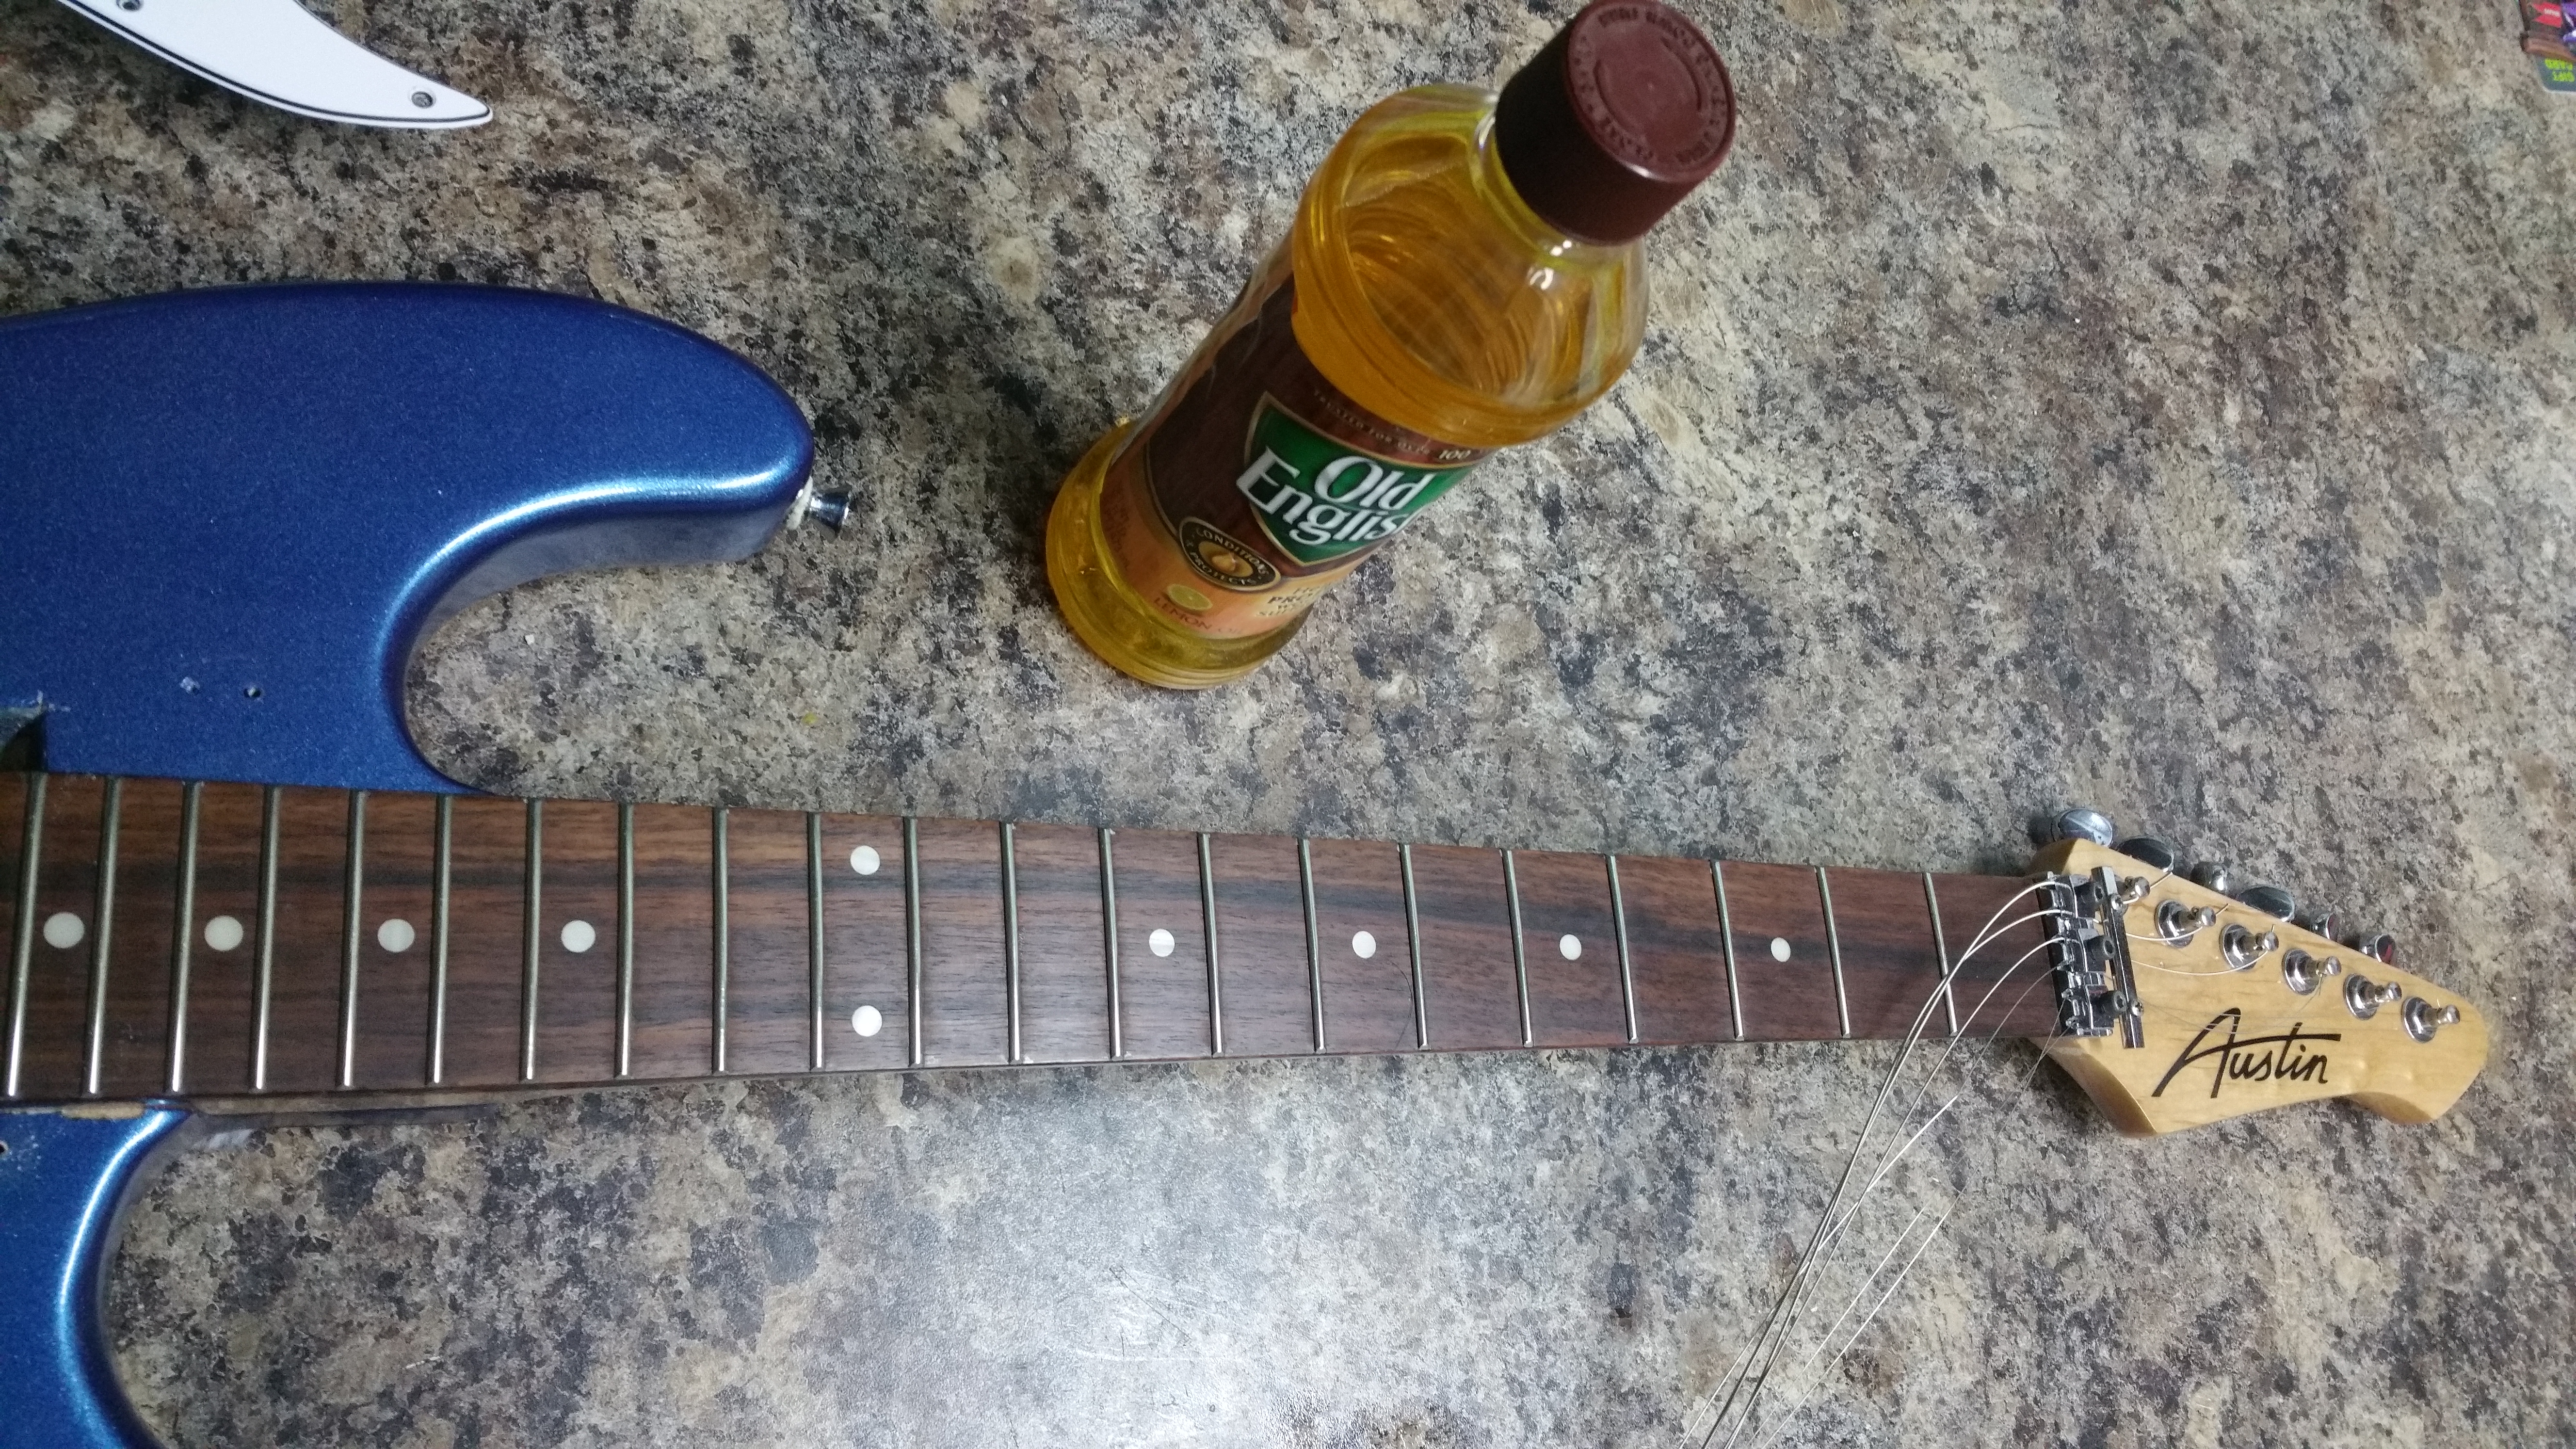
The neck is installed and now its
time to wire this bad boy up, but first here are the pictures of the
finished neck. After the clear coat is finished its a good time to
treat your fret board. You don't want to put the treatment on while
the back of the neck is sanded because it will soak into that wood
and you would have a heck of a time getting the clear coat to lay
down.
|
|
_small.jpg) _small.jpg)
|
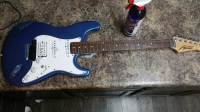 The neck is assembled and installed to the correct length of
25.5". Notice how far into the body it had to go to reach
the proper scale length. When we get to working on the body
you will see why this has happened.
The neck is assembled and installed to the correct length of
25.5". Notice how far into the body it had to go to reach
the proper scale length. When we get to working on the body
you will see why this has happened.
|
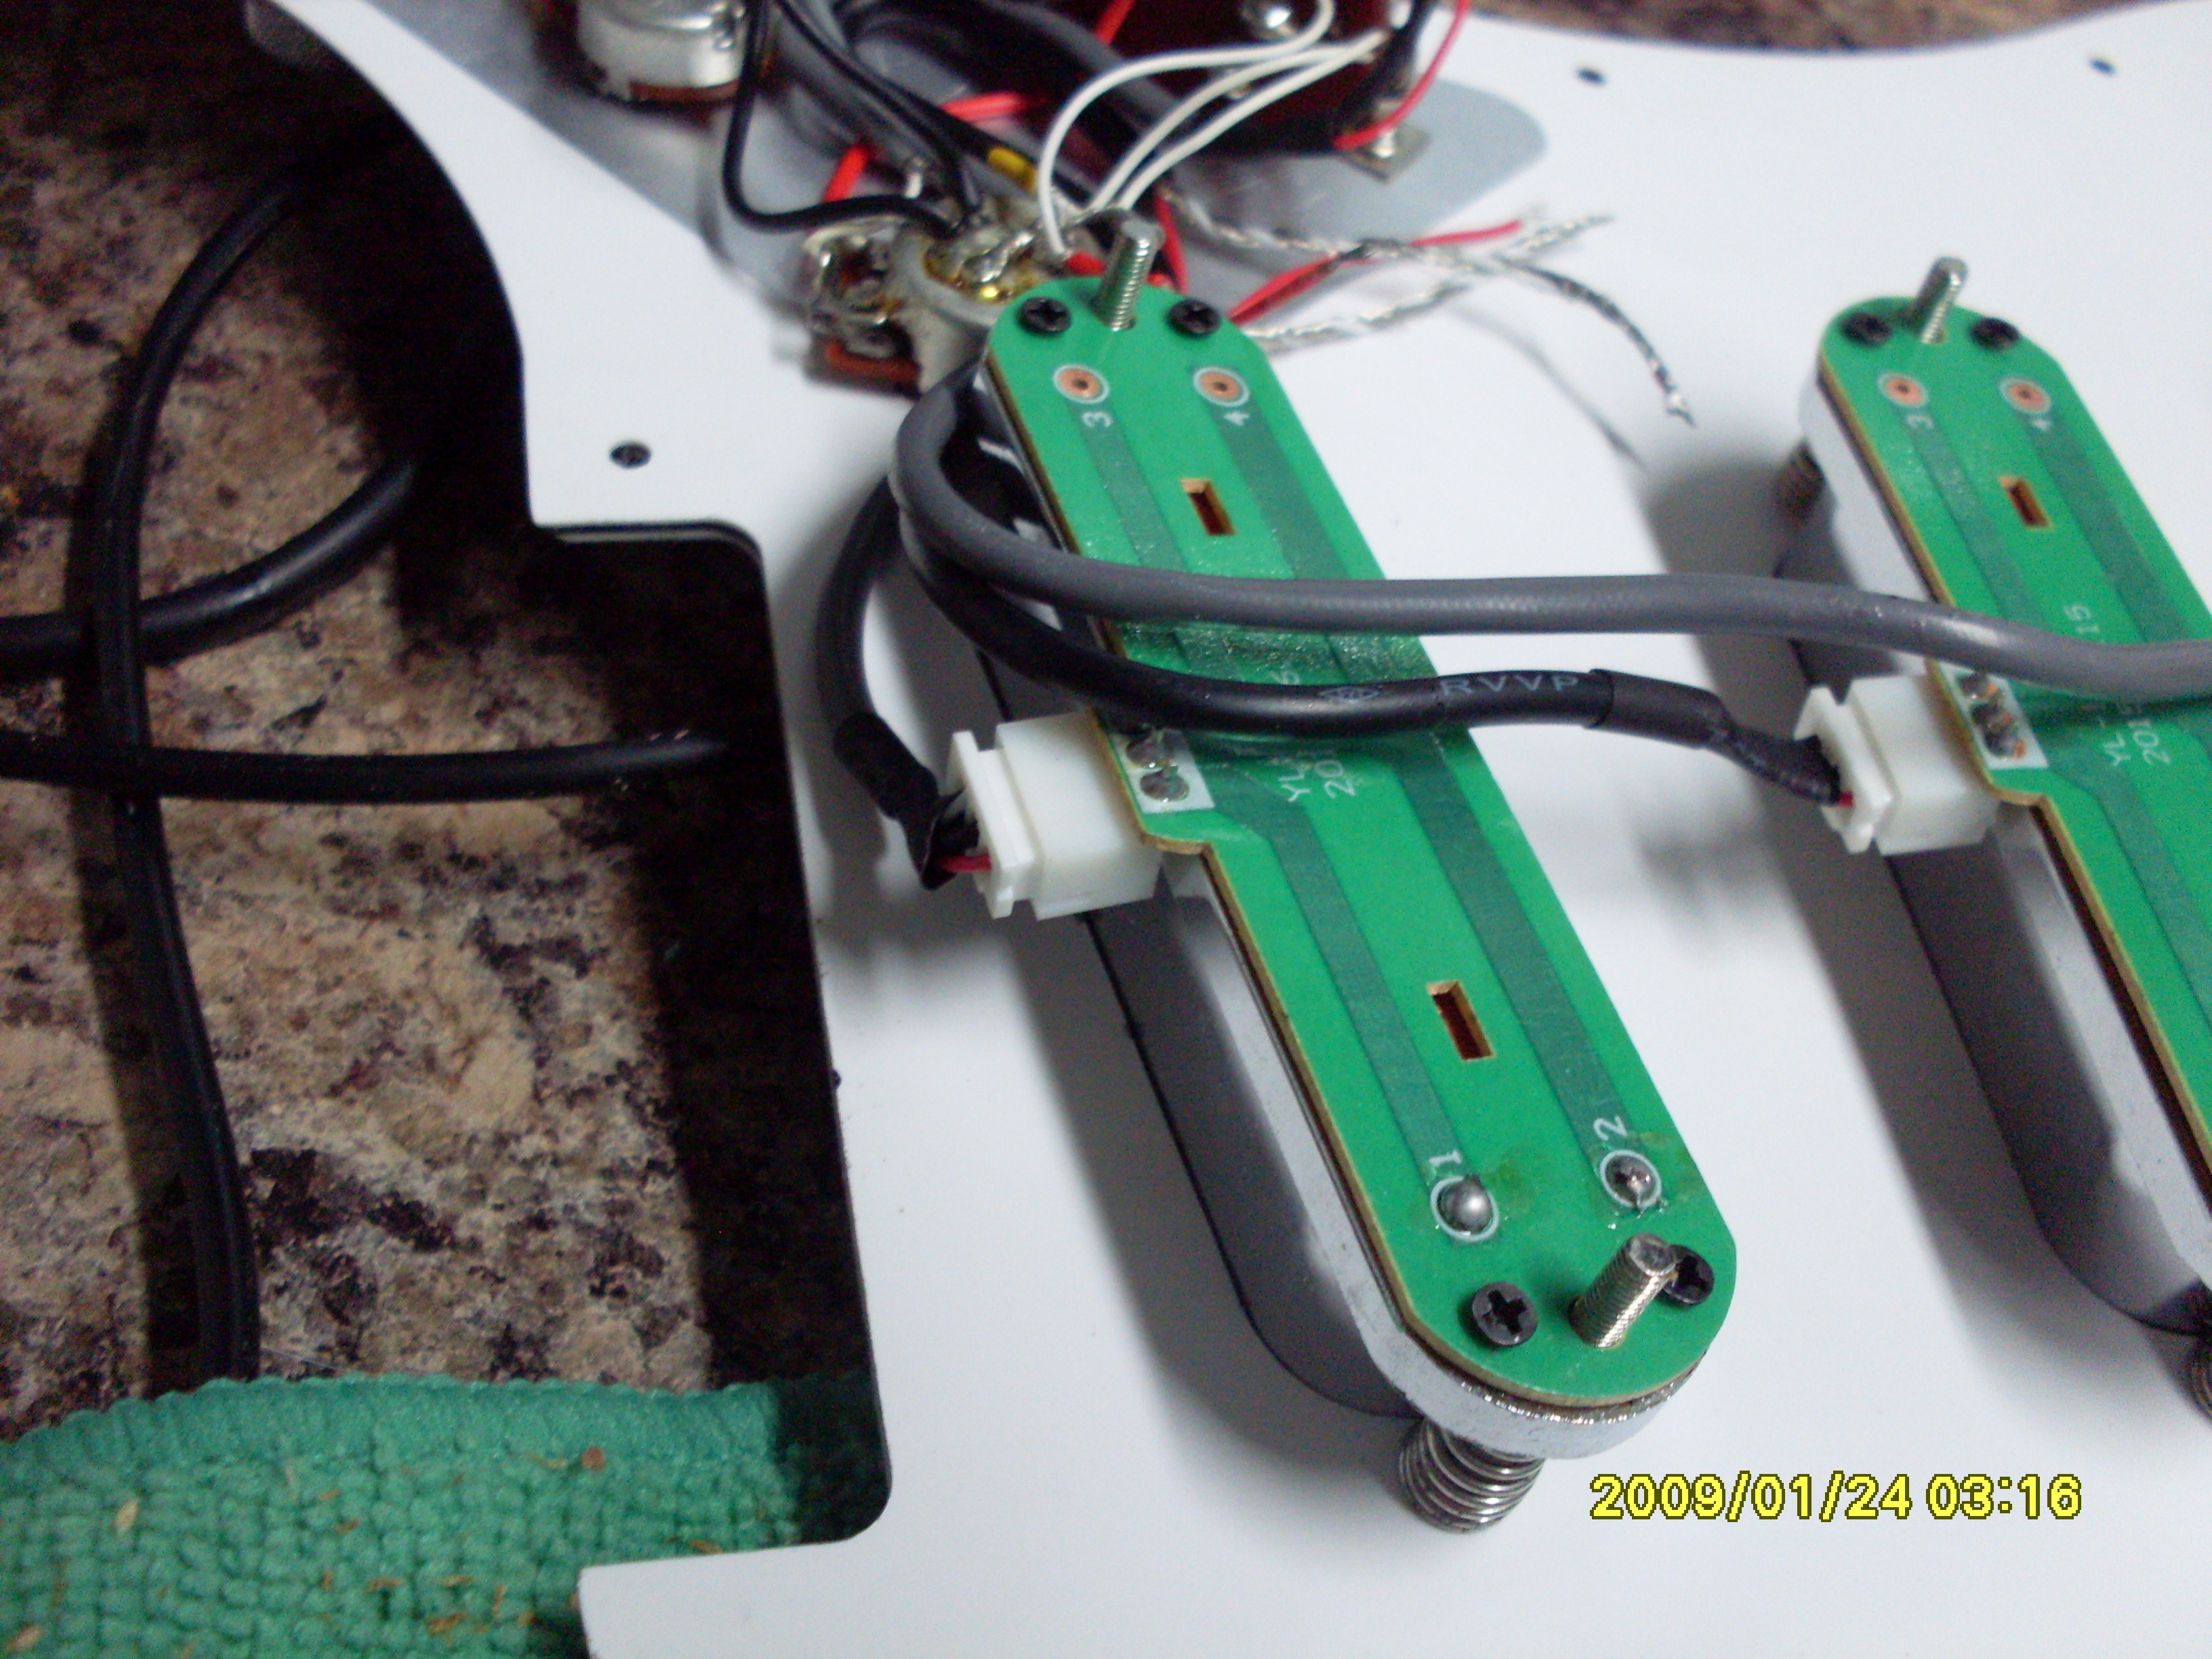
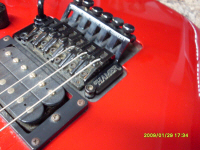
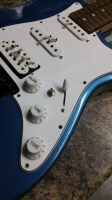 Next we will work on the wiring, we'll show you how
to install a "bridge on" switch, and explain the
tones that it creates. Here is our "bridge on"
switch for this project, when you flip it up the
bridge comes on no matter where you are on your
pickup selector allowing you to run all three
pickups at once or allow you the combination of
bridge pickup and neck pickup together, neither
setting is available in a stock 5-way switch setup.
Next we will work on the wiring, we'll show you how
to install a "bridge on" switch, and explain the
tones that it creates. Here is our "bridge on"
switch for this project, when you flip it up the
bridge comes on no matter where you are on your
pickup selector allowing you to run all three
pickups at once or allow you the combination of
bridge pickup and neck pickup together, neither
setting is available in a stock 5-way switch setup.
|
|
|
Work Completed In Our Shop -
Austin Floyd
|
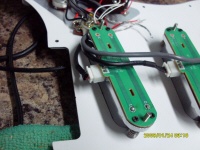
Sanding and polishing has begun on
the Austin Floyd neck and it looks like it's going to turn
out nice. The clear coat was pretty orange peeled (meaning
it was not smooth and if you look at it in the right light
the surface looks like an orange peel does.) so we started
with 600 grit sand paper and wet sanded it down until it was
smooth enough for the next step which will be 1200 grit wet.
|

The goal with wet sanding is to get all the shiny
spots sanded which in turn should make it smooth. |
|
 This is what your looking for and trying to sand out
without sanding through.
This is what your looking for and trying to sand out
without sanding through. |
|
|
Work Completed In Our Shop -
Austin Floyd
|
We are just waiting for the clear coat on the neck to be
ready to wet sand and polish and then we will continue the
conversion. Wet sanding began on the 10th of April so check
back soon for updates on this project.
We have the Floyd Rose mounted and ready to string this baby
up but I am upgrading the pickups now too and I have to wait
for them to arrive. Hopefully this will be in the finished
category.
|
|
|
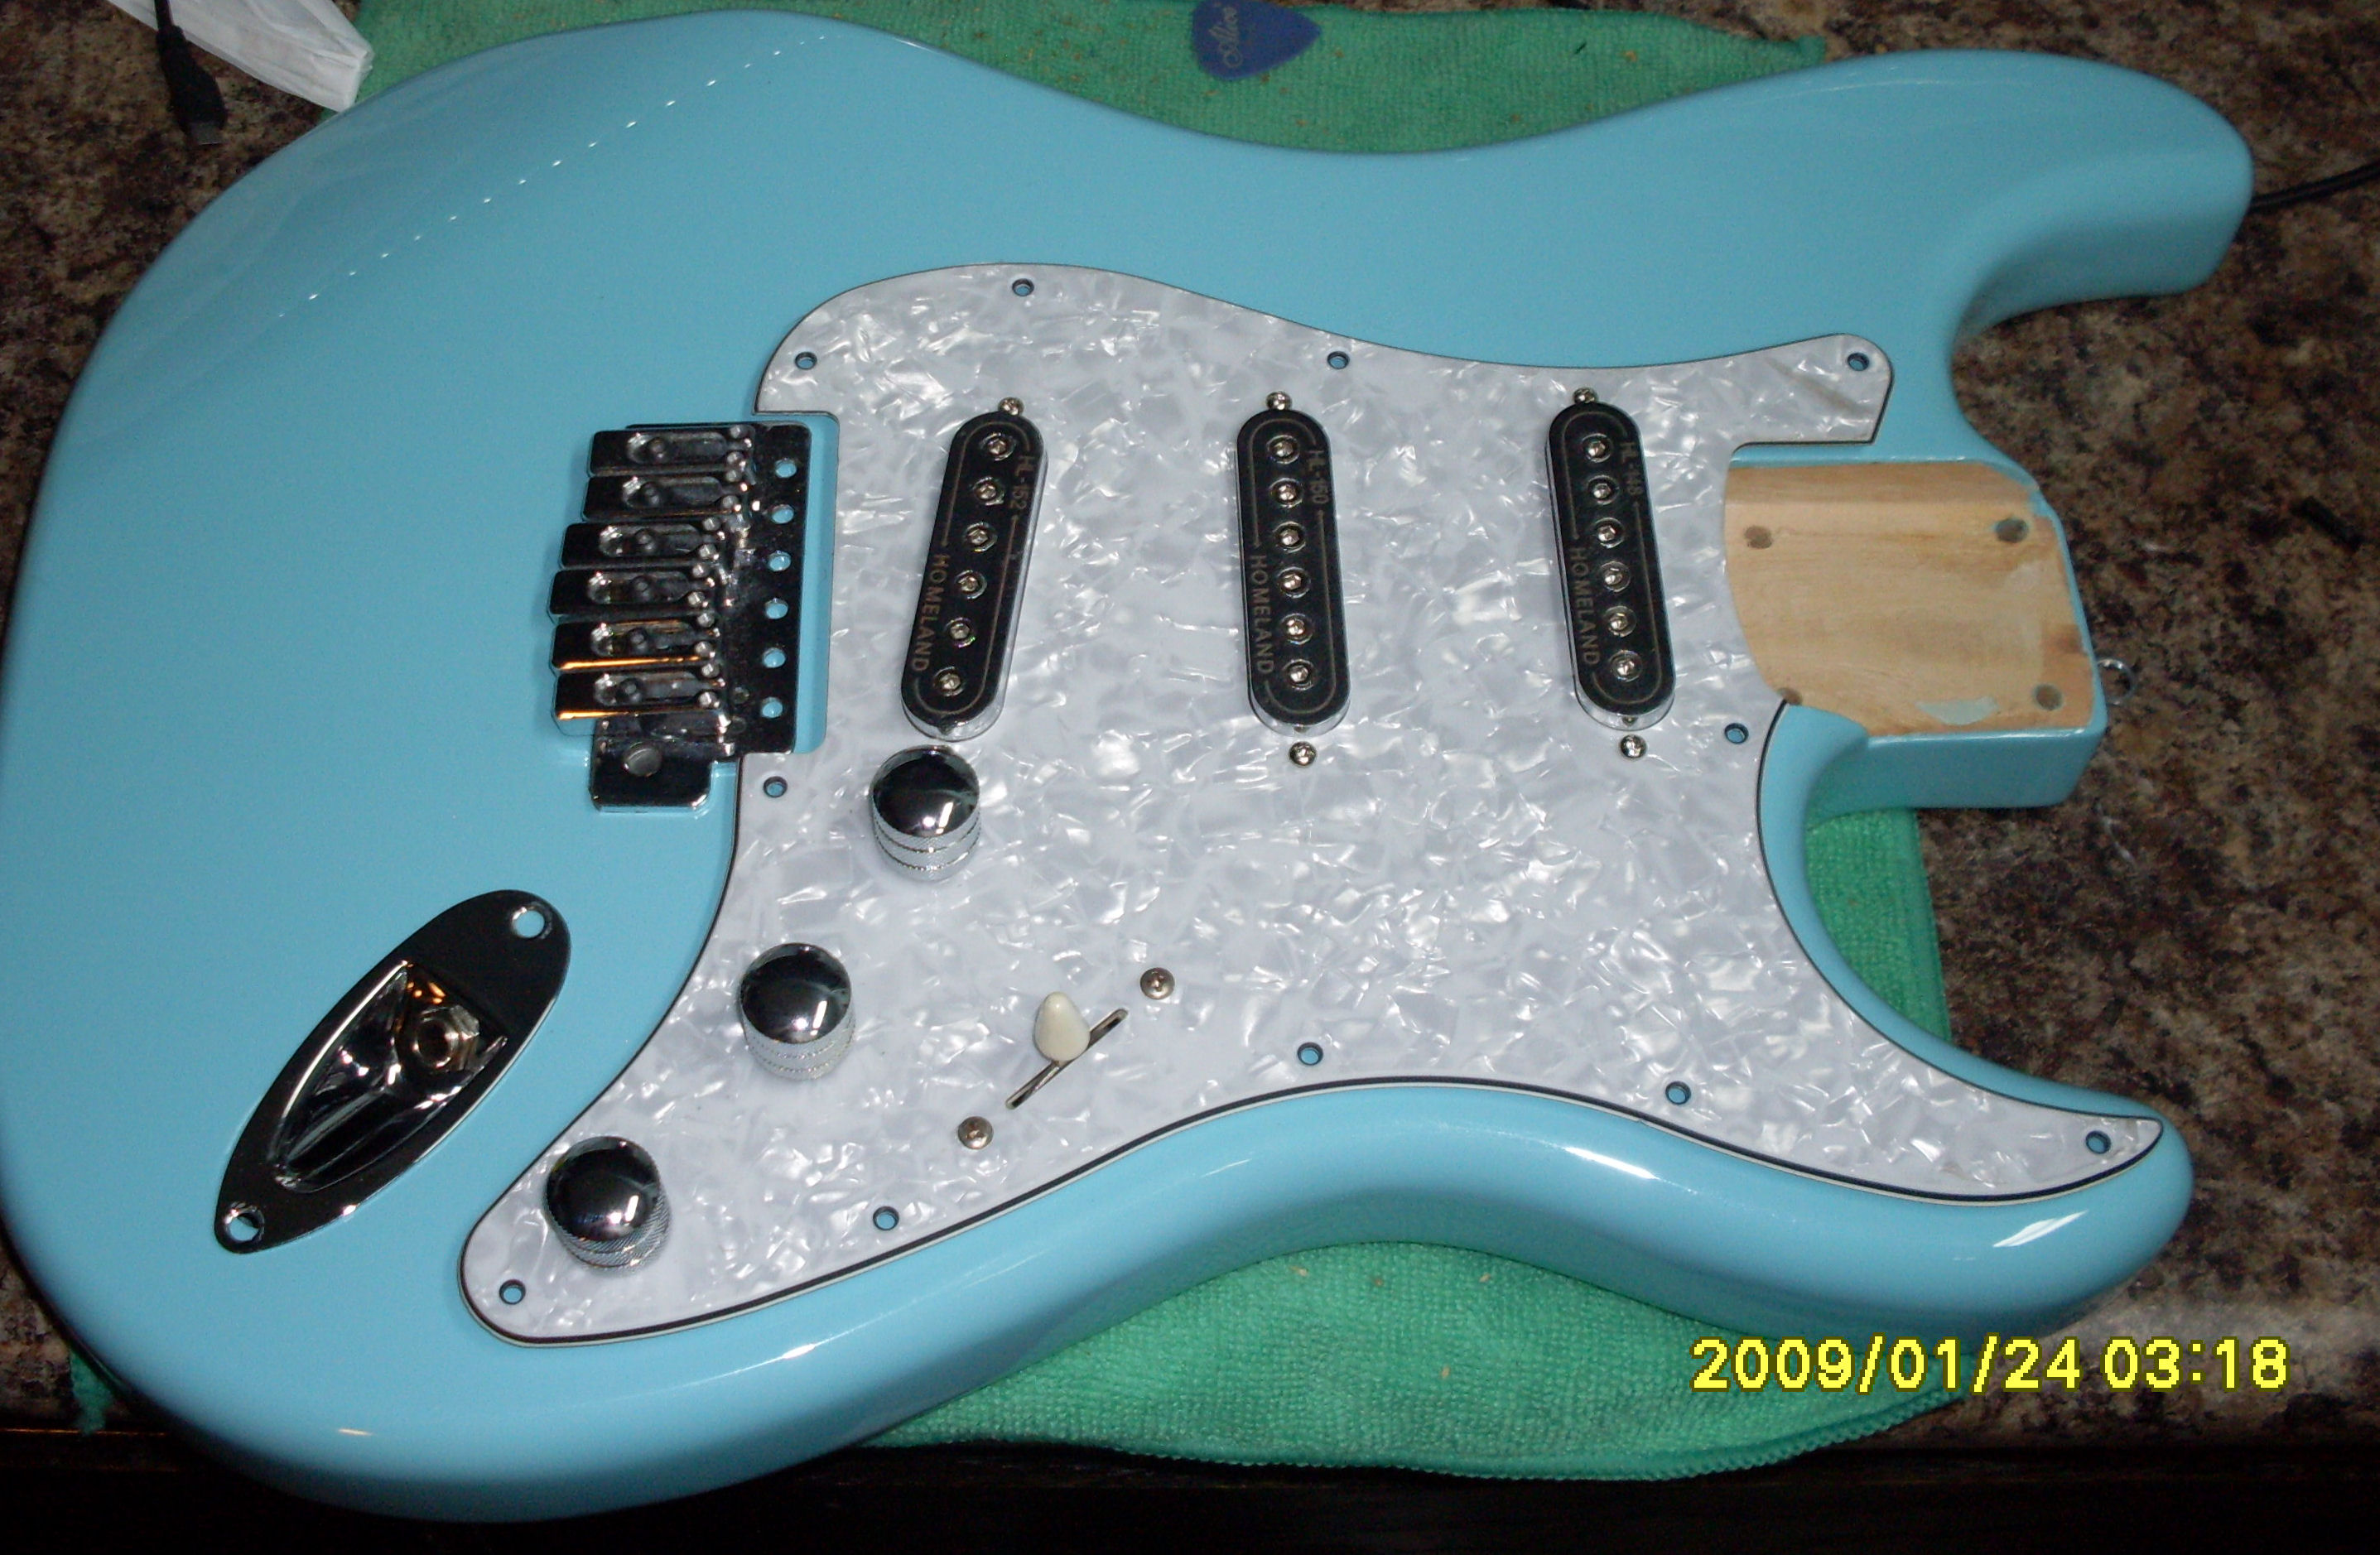
In The Shop Now - Light Blue
Daytona #5
|
We are about a week away from
fully assembling this custom clone build of a Hamer Dayton.
All the parts are laid out in their various places ready to
be assembled just waiting on some parts to come in to
assemble it.
 This is the 5th Daytona clone we have made and this
one is going to get all the stuff that people look
for when trying to pick a Hamer Daytona out of a
crowd. Strap buttons, bridge, locking tuners,
tremolo cavity cover and with the 22 fret neck with
the skunk stripe it will look almost completely
accurate.
This is the 5th Daytona clone we have made and this
one is going to get all the stuff that people look
for when trying to pick a Hamer Daytona out of a
crowd. Strap buttons, bridge, locking tuners,
tremolo cavity cover and with the 22 fret neck with
the skunk stripe it will look almost completely
accurate. |
|
 This one will potentially carry some unique Homeland
pickups if they pass the test and I hope they do
because they are being reviewed on this months "Parts
Review" The ones being reviewed are the HL-148,
HL-150, and HL-152.
This one will potentially carry some unique Homeland
pickups if they pass the test and I hope they do
because they are being reviewed on this months "Parts
Review" The ones being reviewed are the HL-148,
HL-150, and HL-152. |
|
|
|
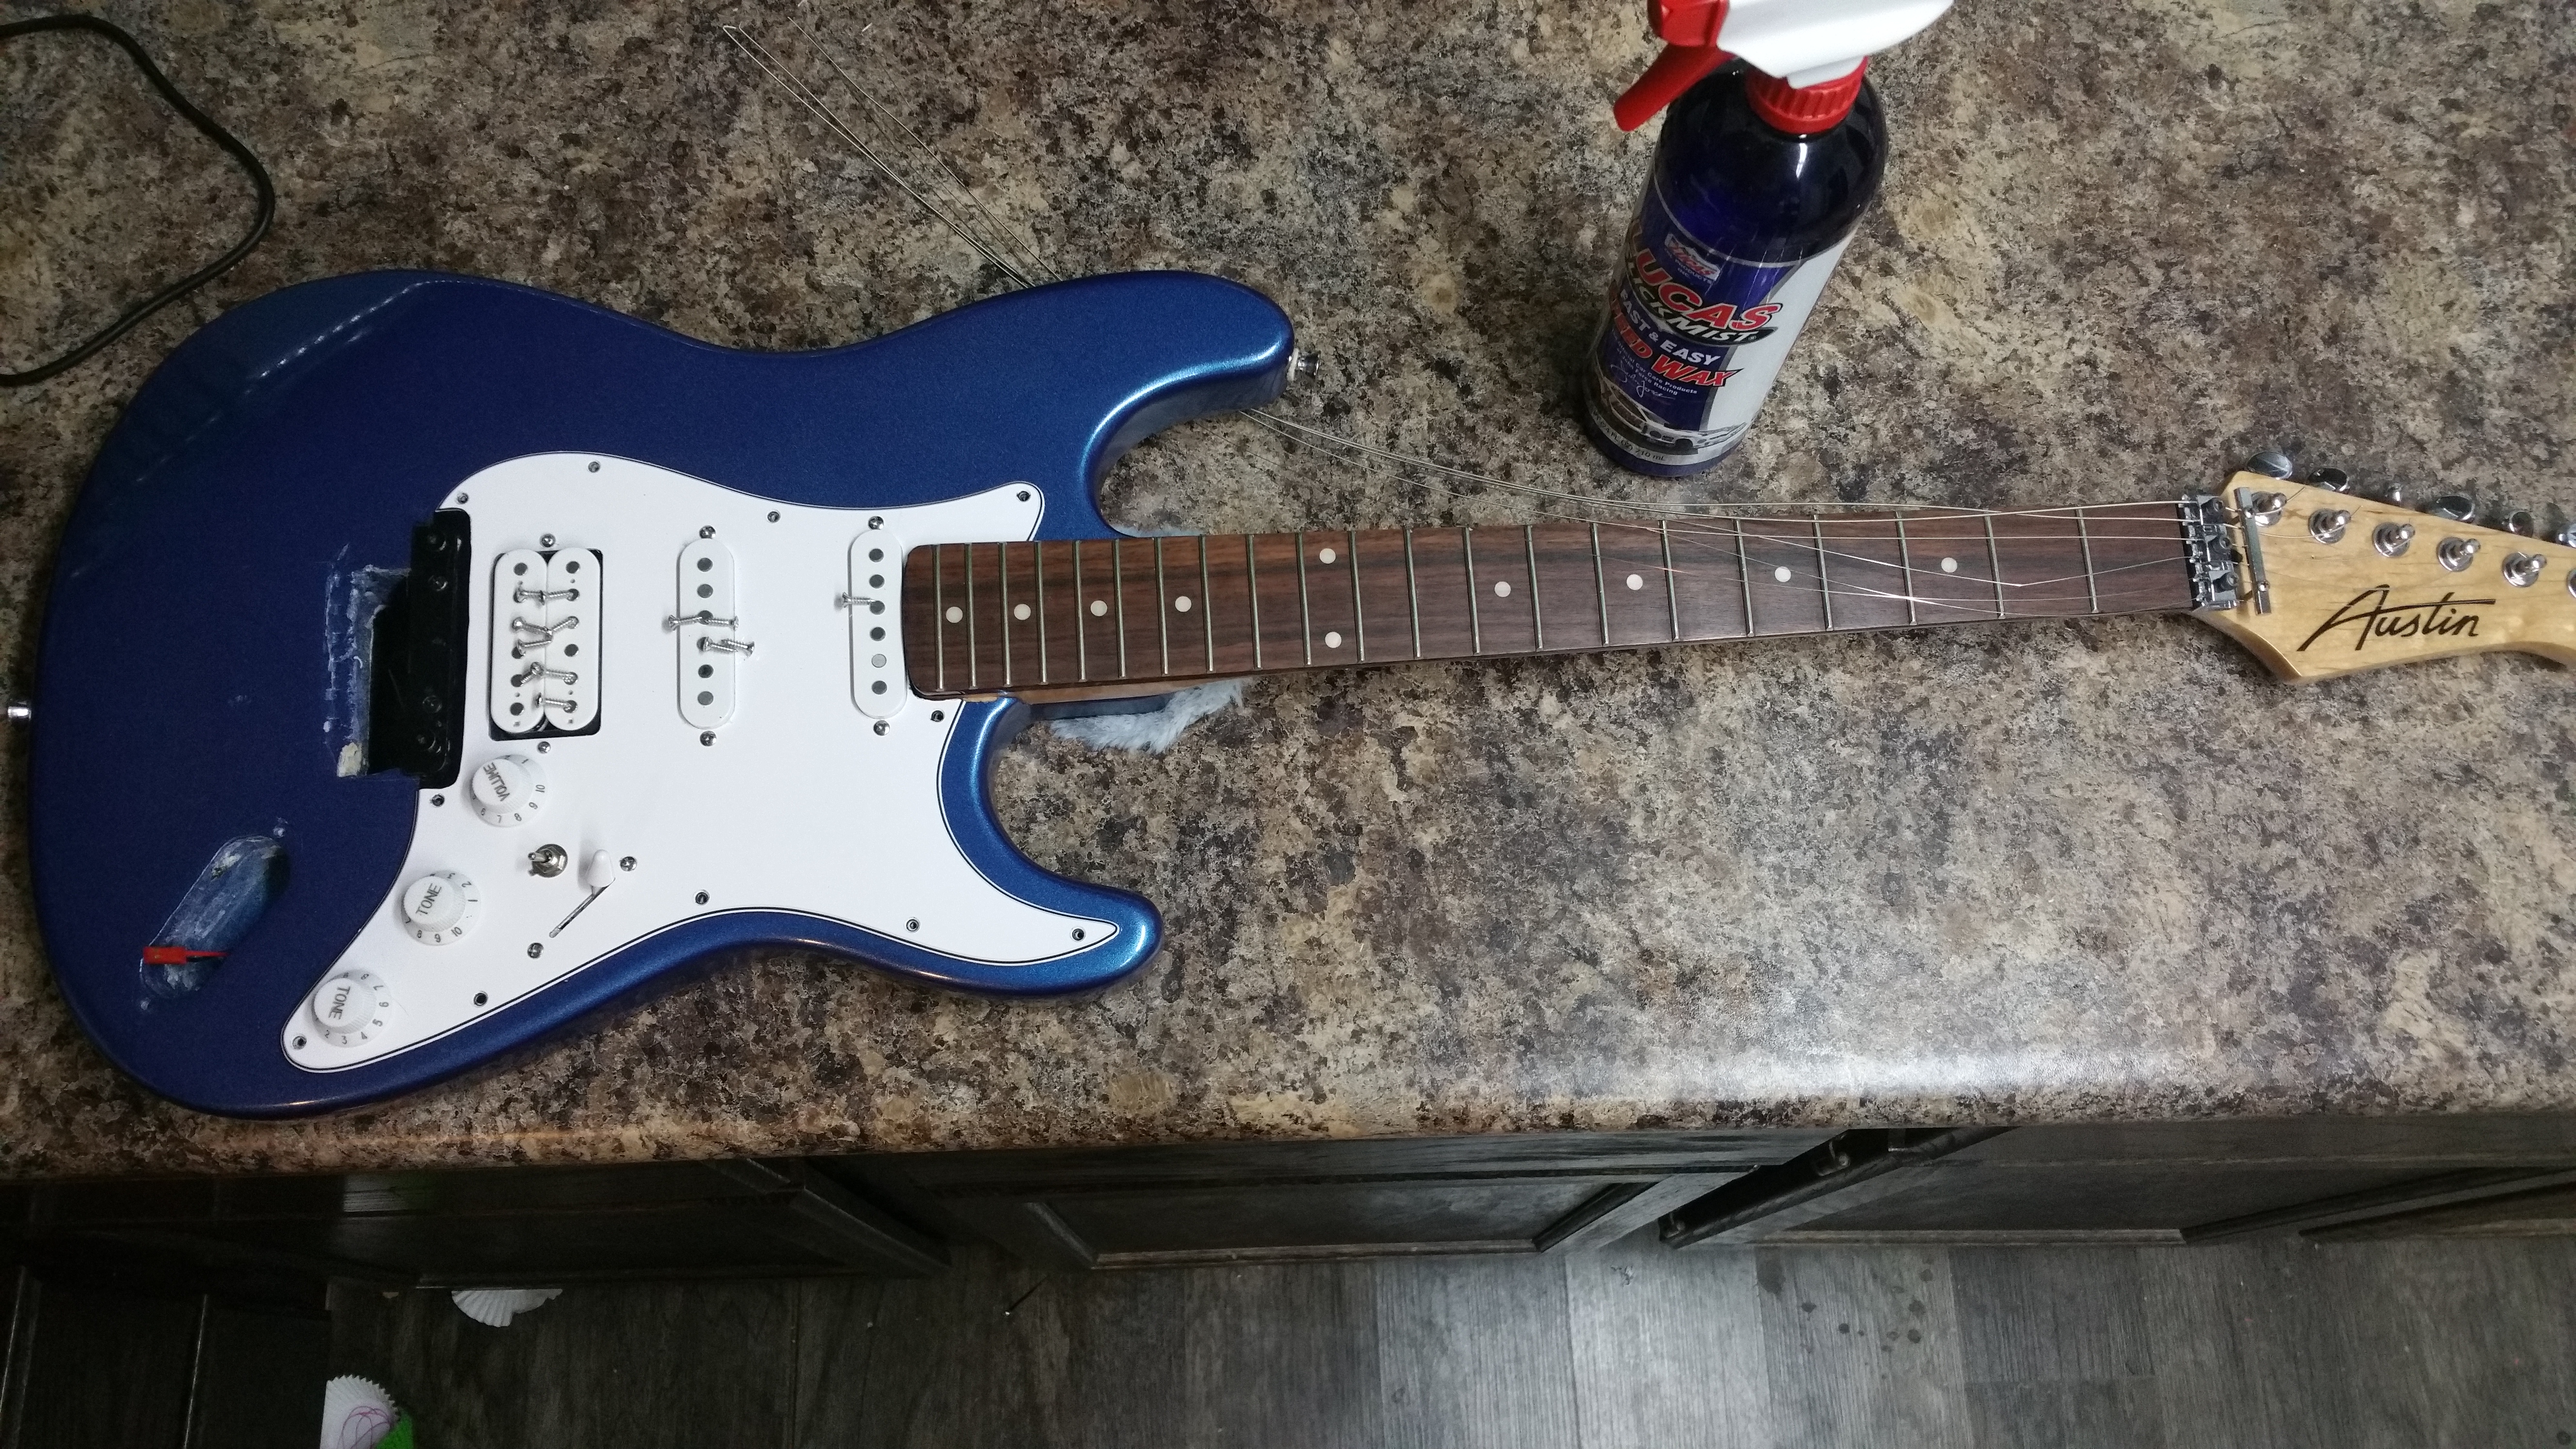
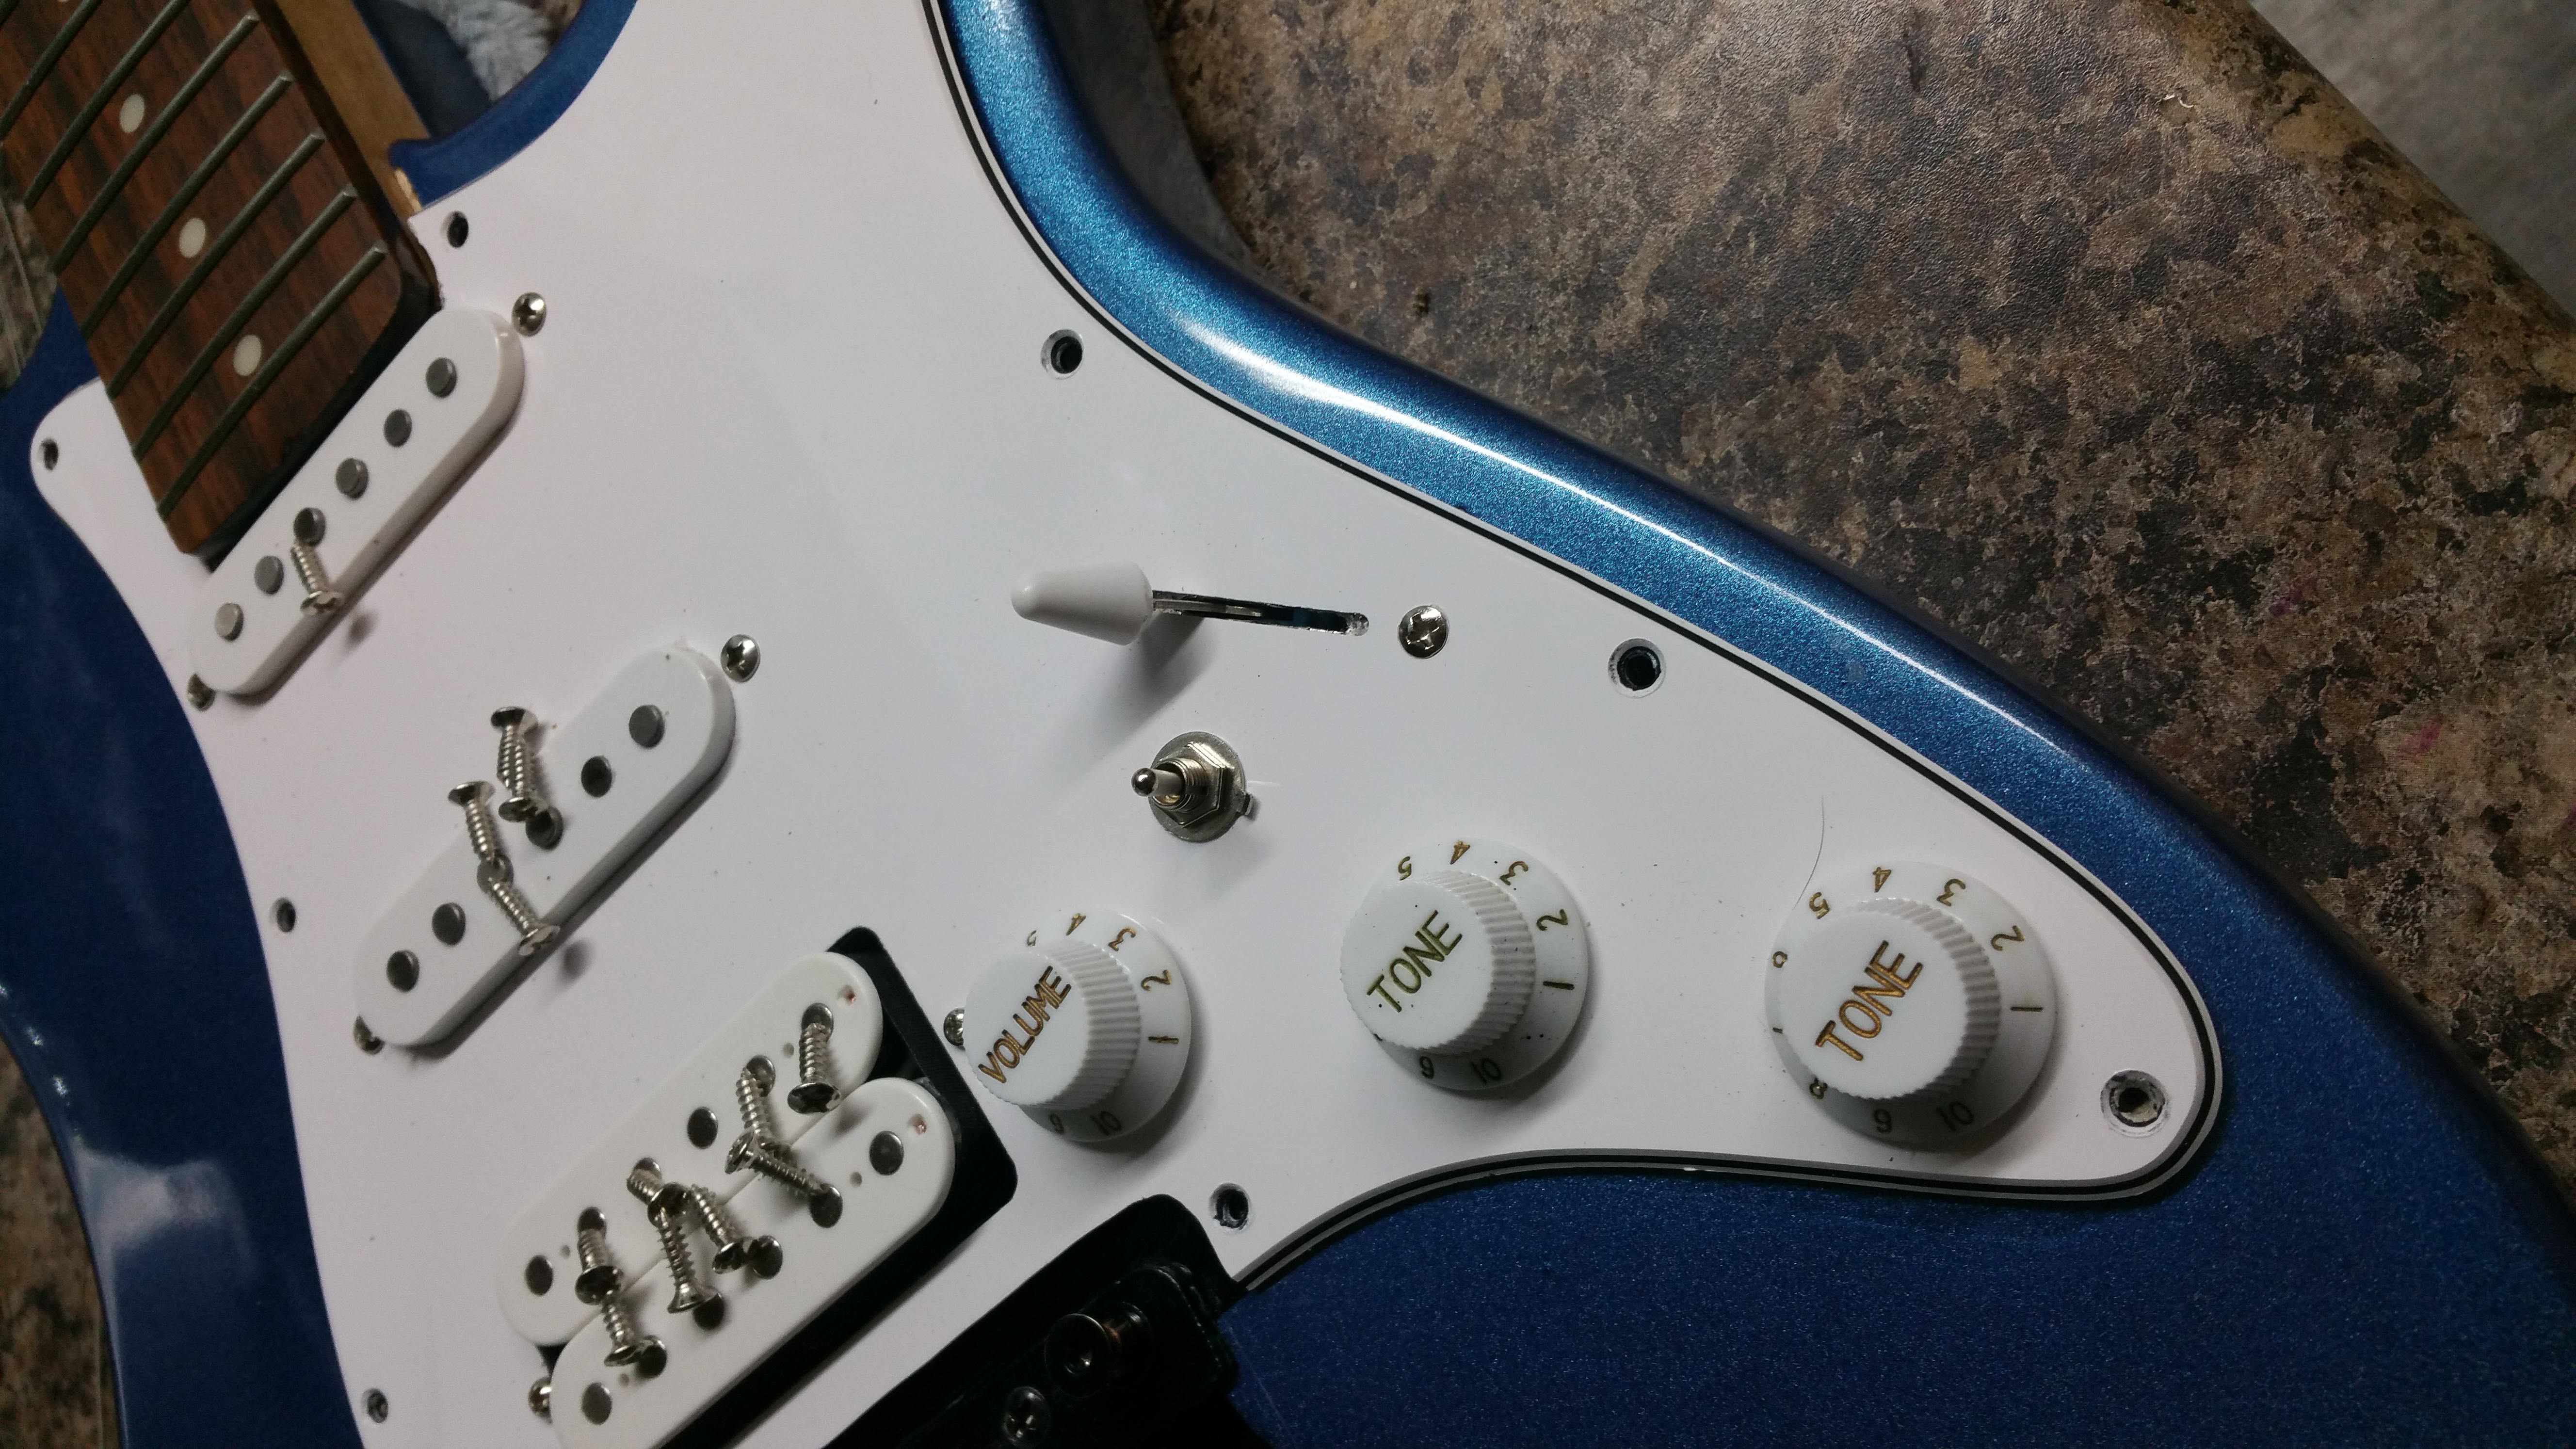
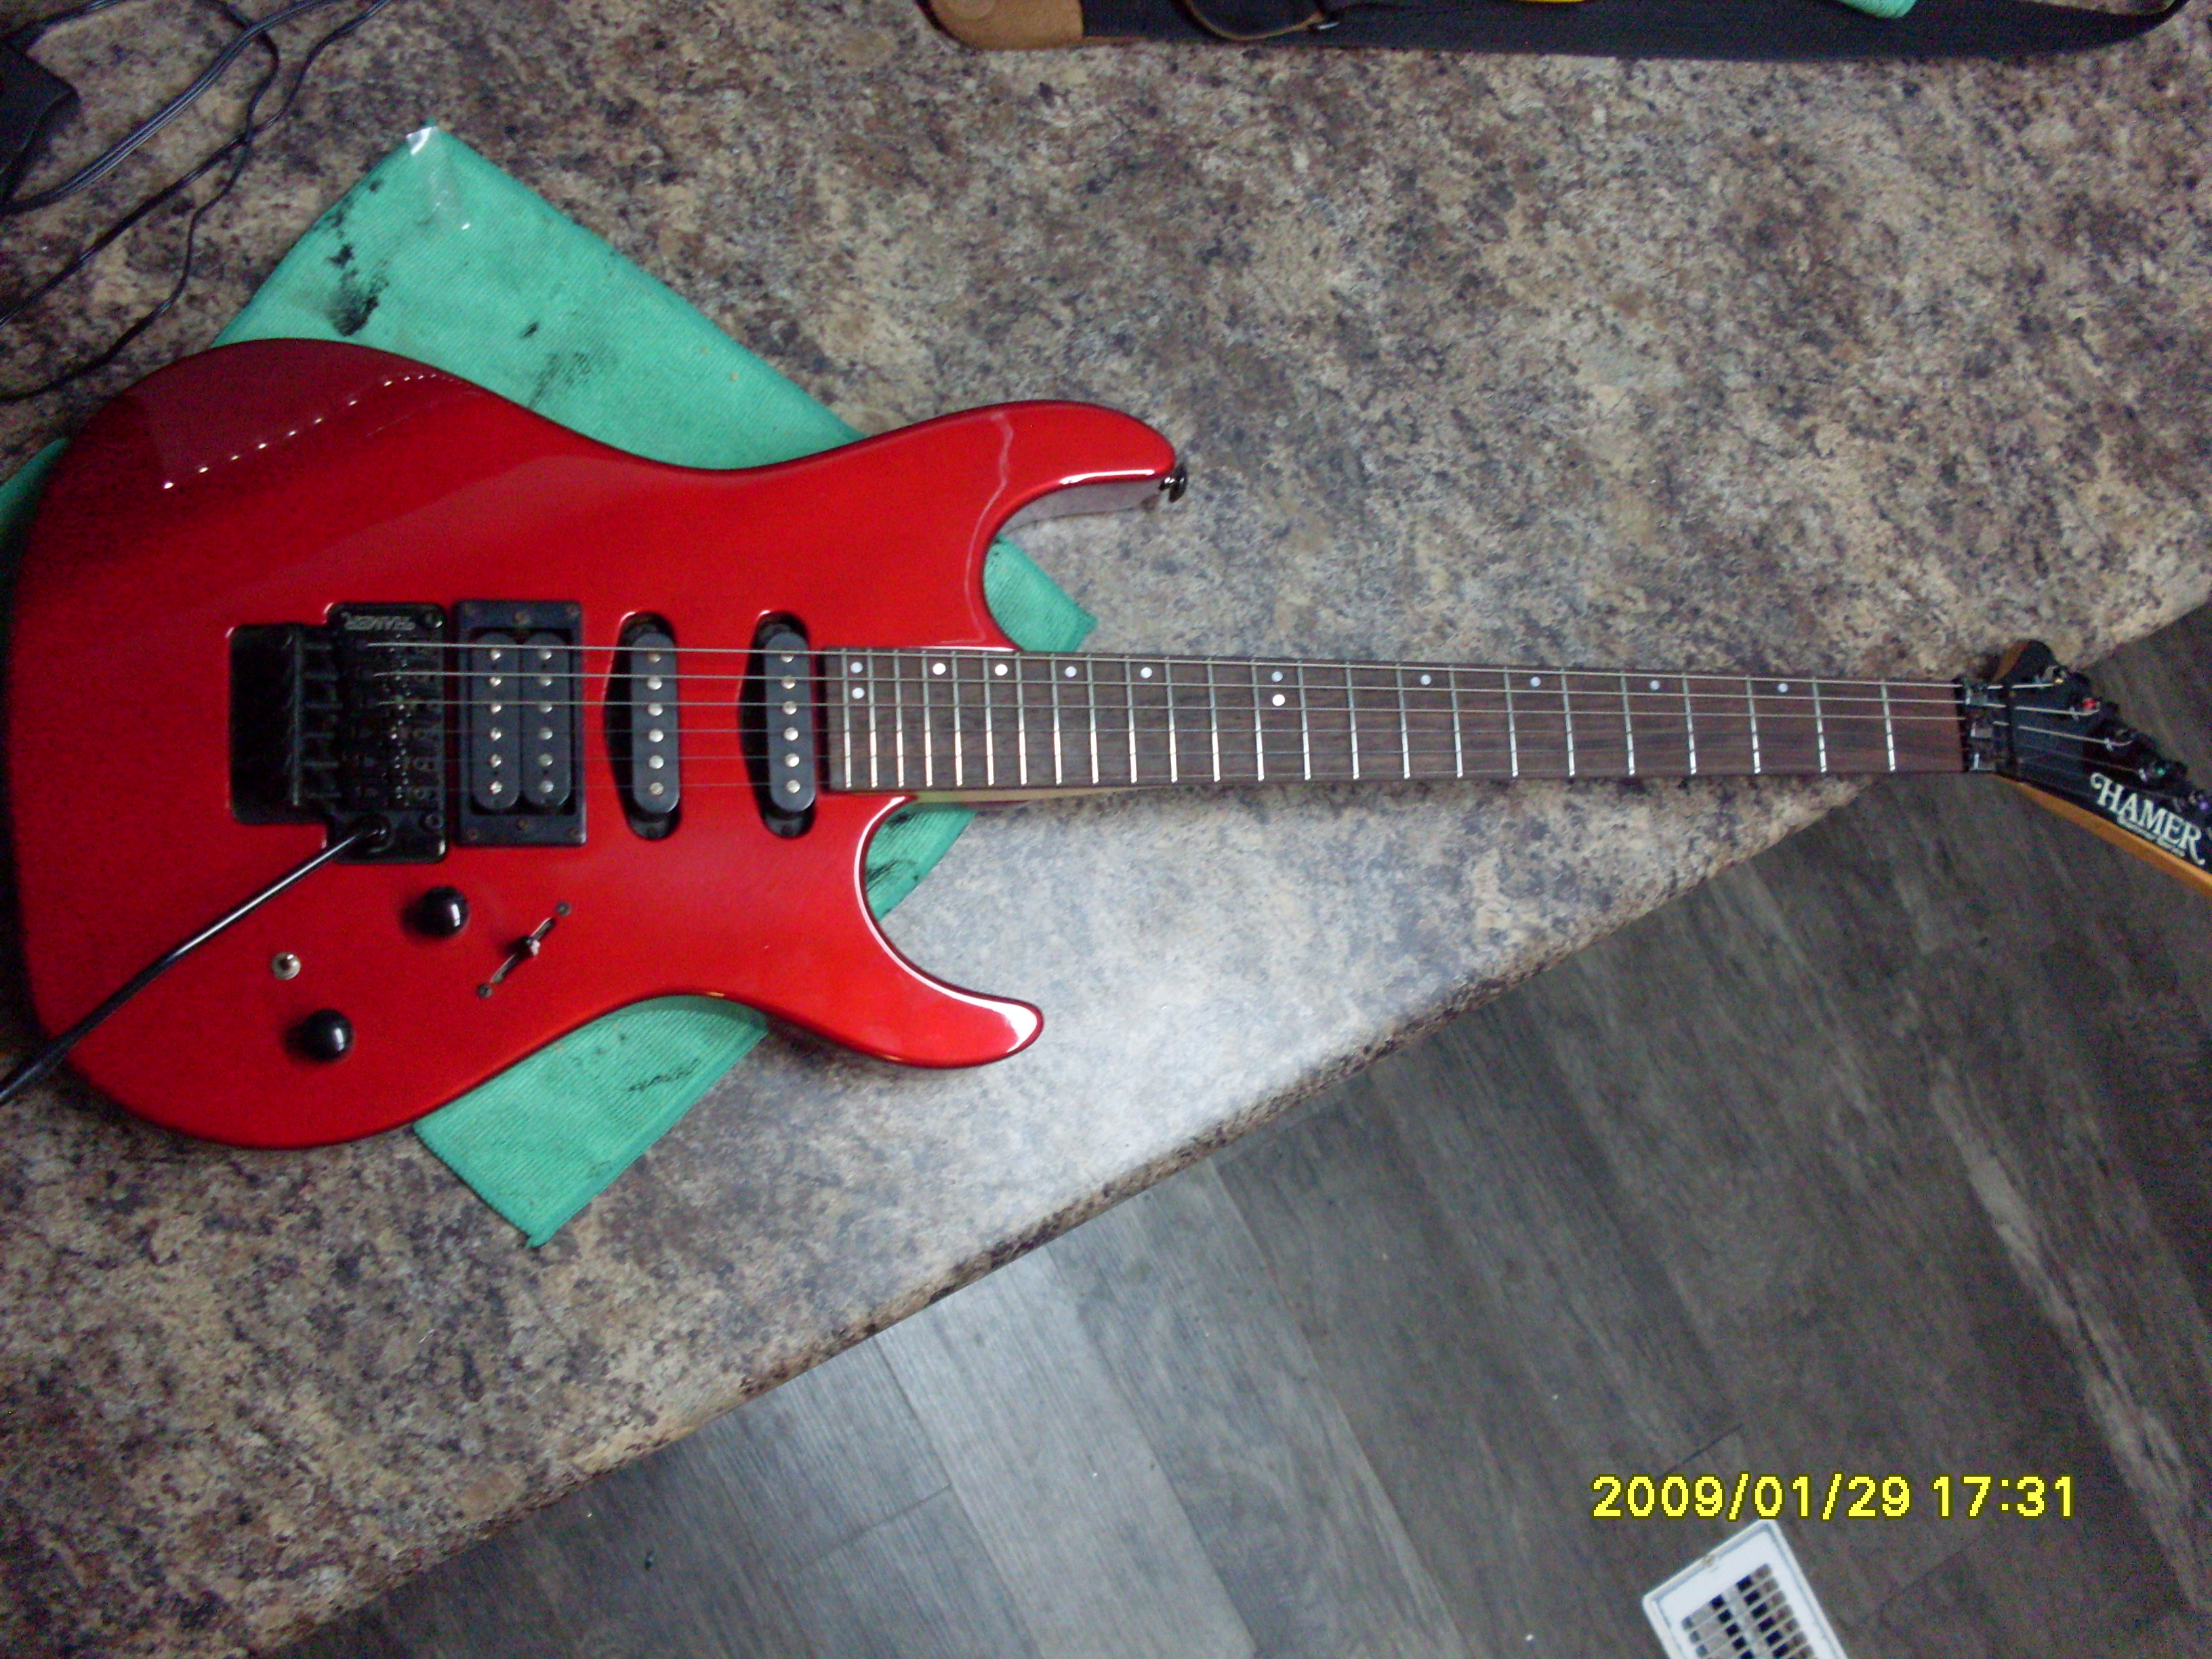
In The Shop Now - Hamer Slammer Series
|
We bought a used guitar to walk you
through the steps of cleaning and maintaining a used guitar
and we are going to do some upgrades to it too. The full
stories on the modifications will be on the
Upgrades page and the cleaning
and maintenance will be on the
Restoration page.
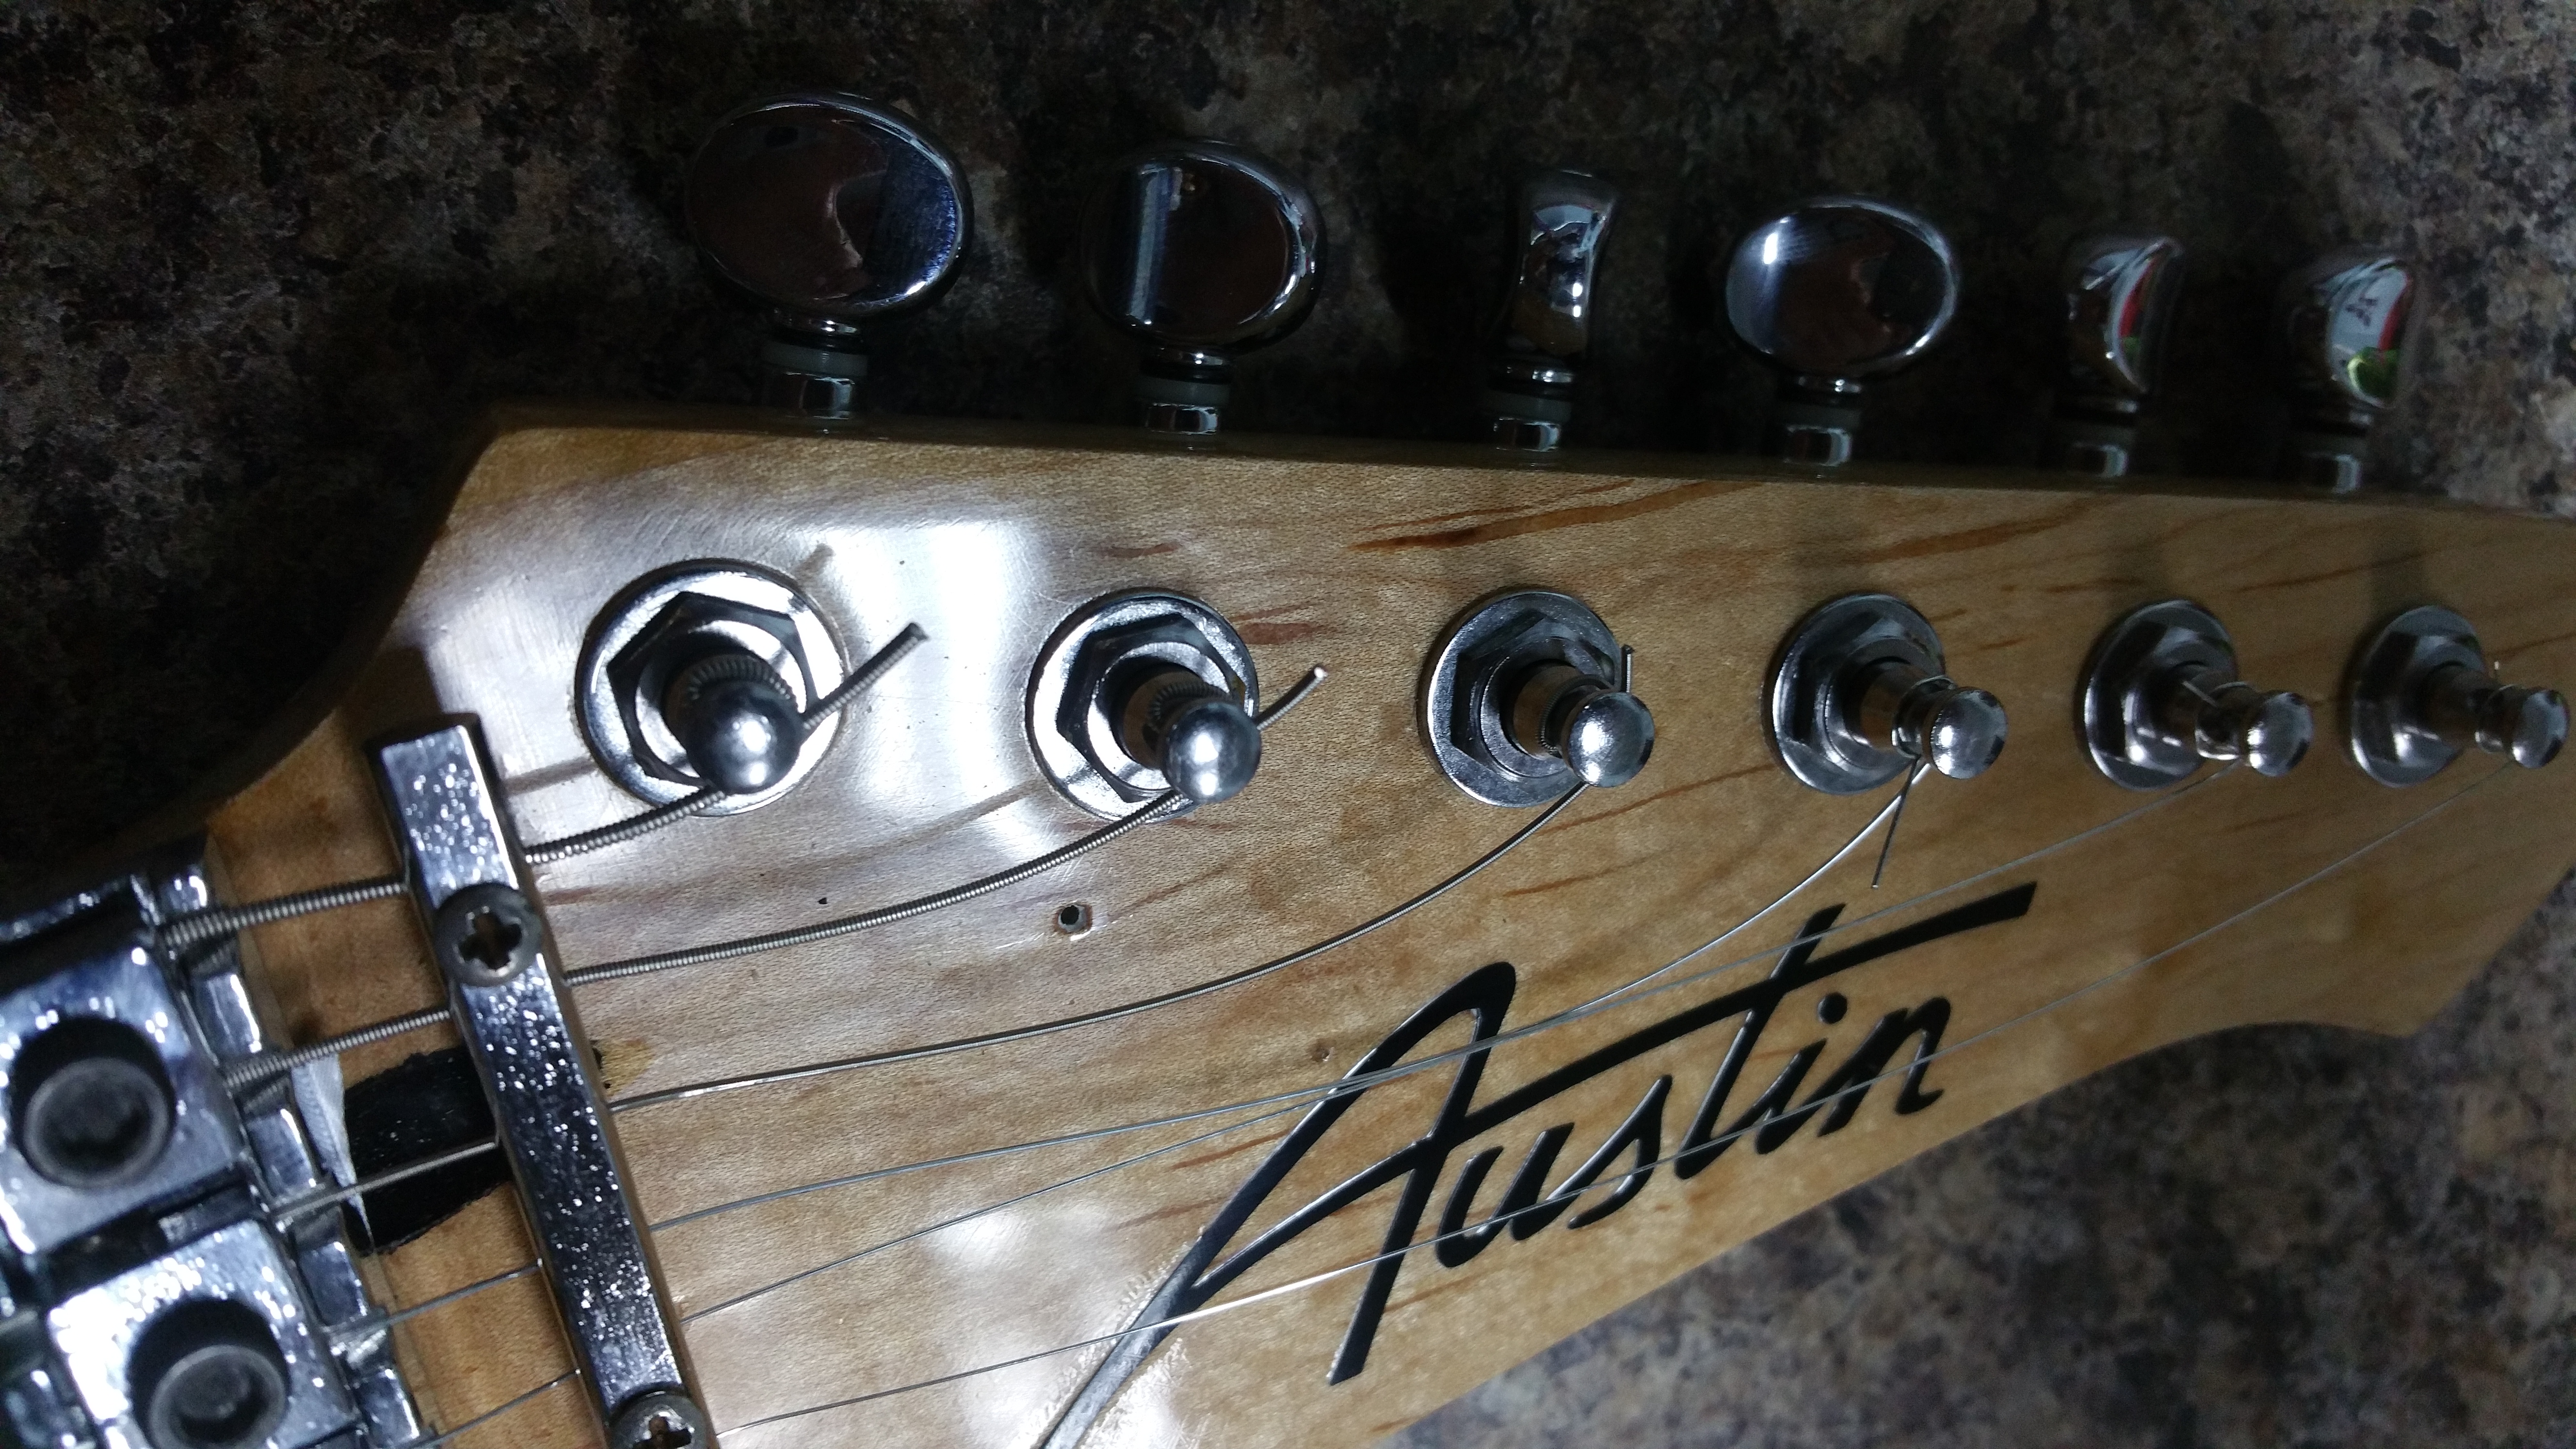
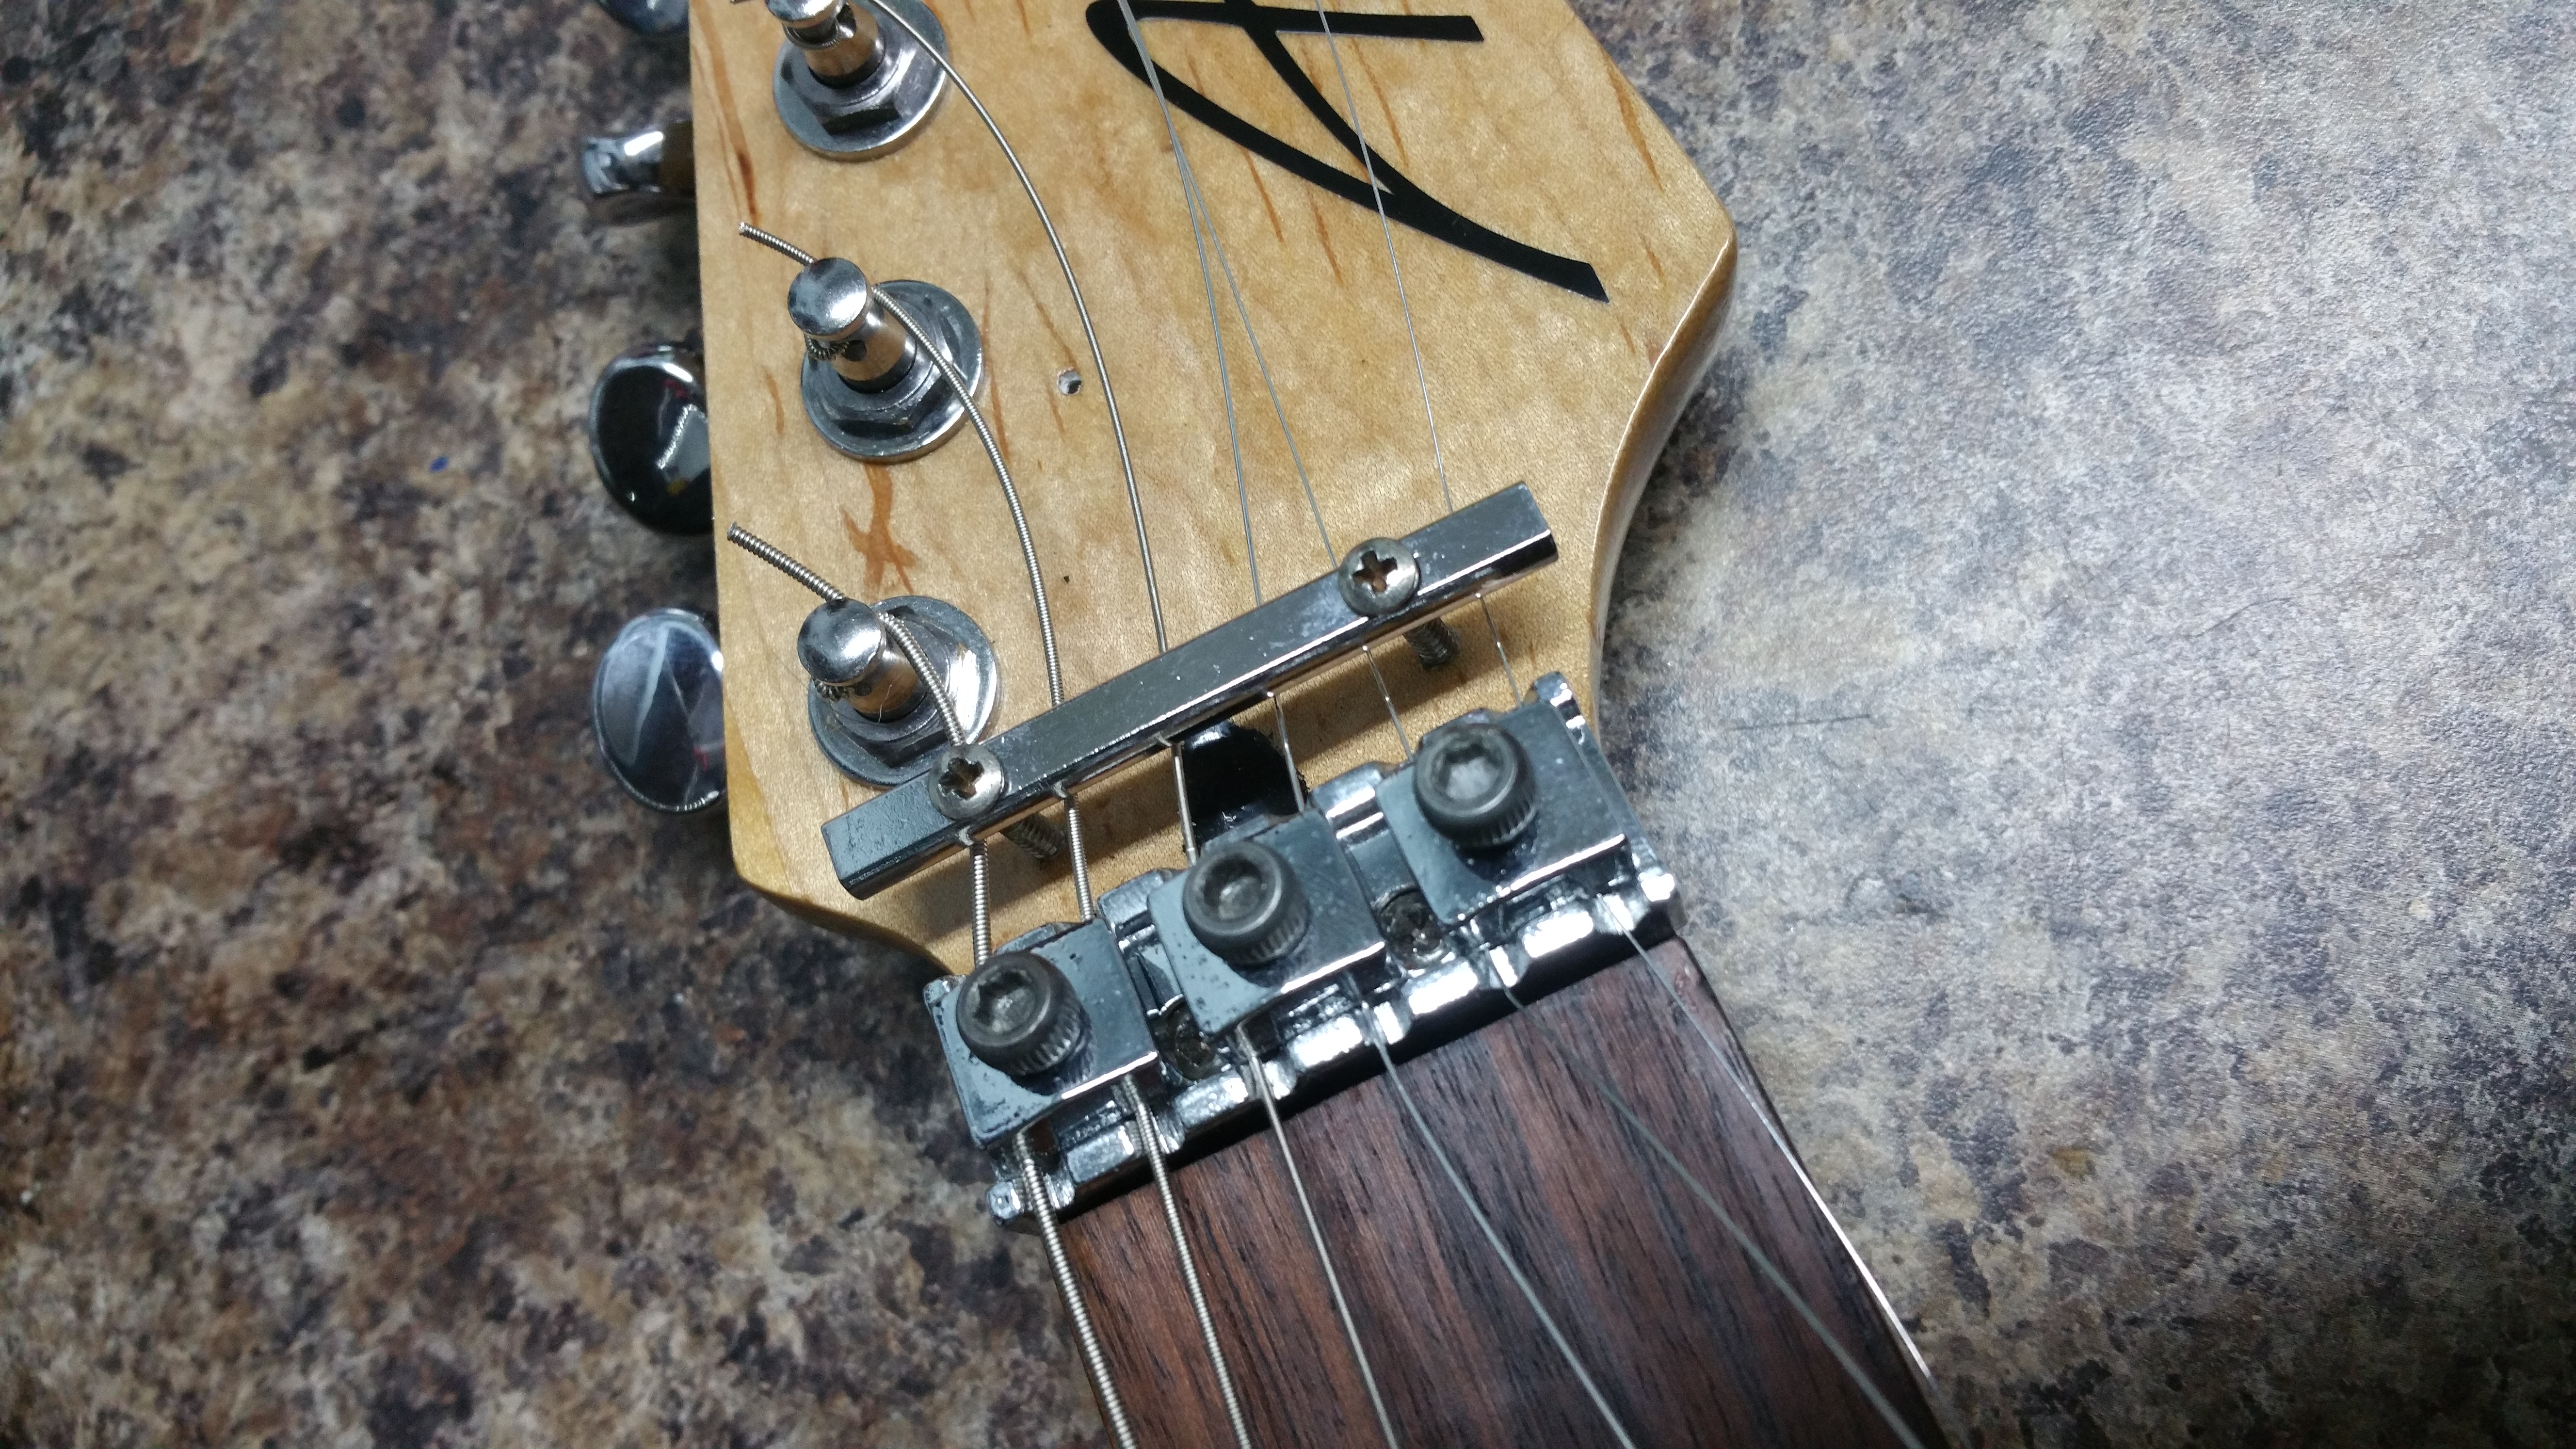
 This is a beautiful guitar, but it almost wasn't, it
was shipped here with the headstock hanging out of
the end of the box. Anything could have happened to
it, it doesn't take much to break the headstock off
especially when the strings still have full tension
on them. Fortunately it made it here with only a
bent tuner on the high E string. Luck. It would have
a shame to destroy something so pretty and in such
good shape before hand.
This is a beautiful guitar, but it almost wasn't, it
was shipped here with the headstock hanging out of
the end of the box. Anything could have happened to
it, it doesn't take much to break the headstock off
especially when the strings still have full tension
on them. Fortunately it made it here with only a
bent tuner on the high E string. Luck. It would have
a shame to destroy something so pretty and in such
good shape before hand. |
|
 The Story on the
Restoration page is broke up into 2 sections,
section 1 covers tear down, cleaning, and
hardware cleaning.
The Story on the
Restoration page is broke up into 2 sections,
section 1 covers tear down, cleaning, and
hardware cleaning.
Part 2 will cover wiring options, reassembly and
setup. Part 2 should be posted some time in the
middle of May. |
These articles assume that you are mechanically inclined and
know how to disassemble various parts such as the tremolo
system and harness removal. If you have any questions simply
email me it is checked at least once a day.
|
|

.jpg)
.jpg)